Your cart is currently empty!

Crafts Freebie
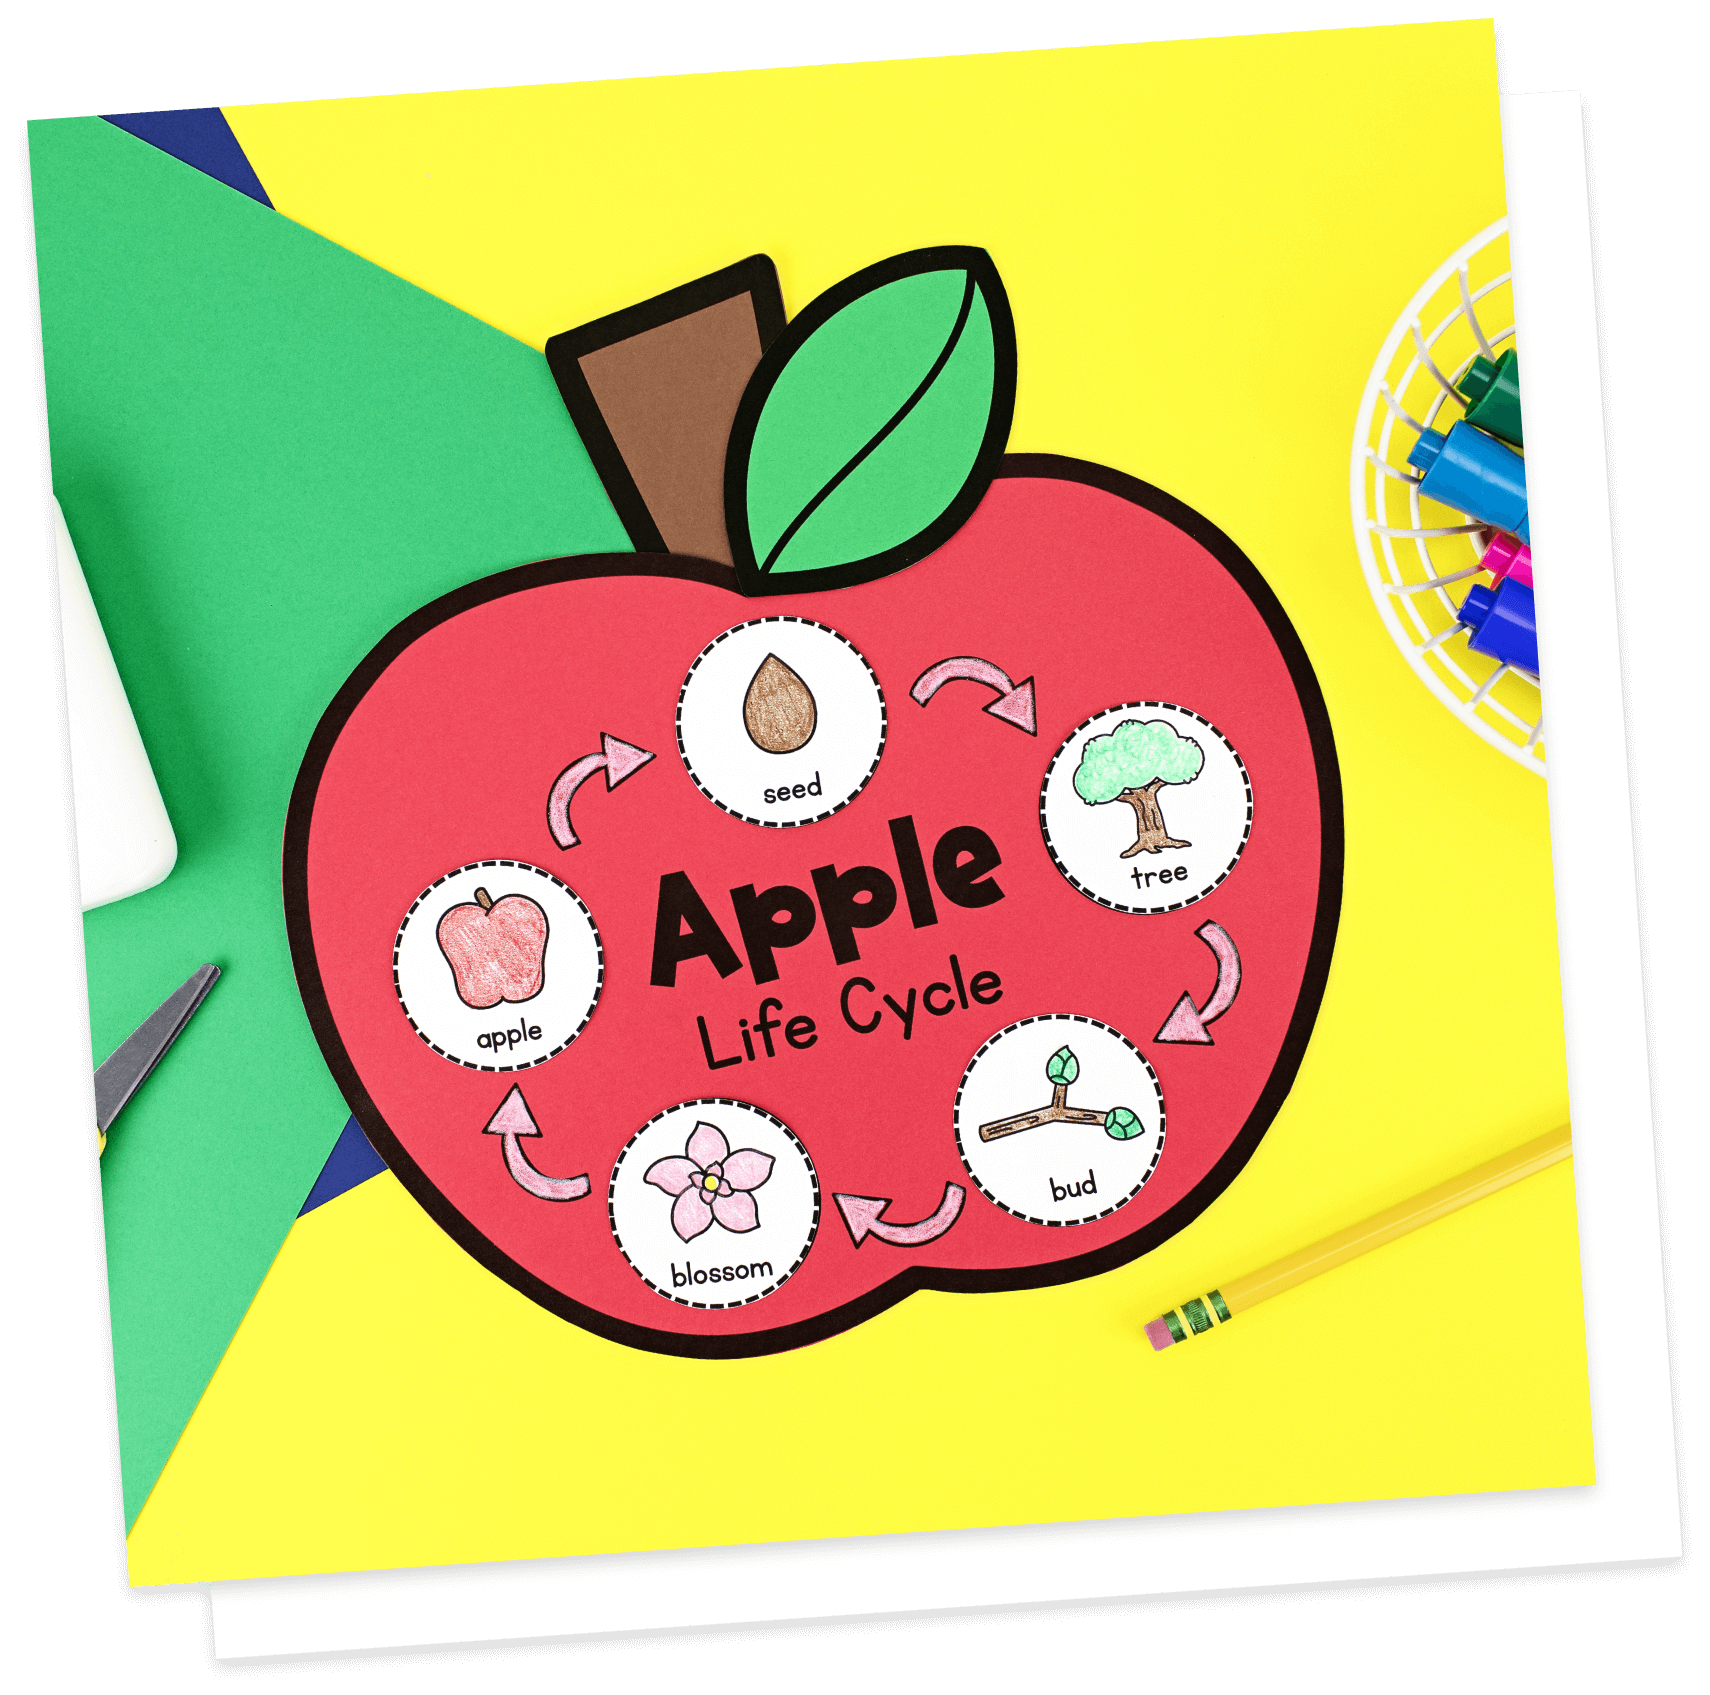
Free Apple Life Cycle Craft
Learn all about the life cycle of an apple, as your students sequence each stage, with this FREE (easy-to-assemble) apple life cycle craft!
⎯ Crafts ⎯
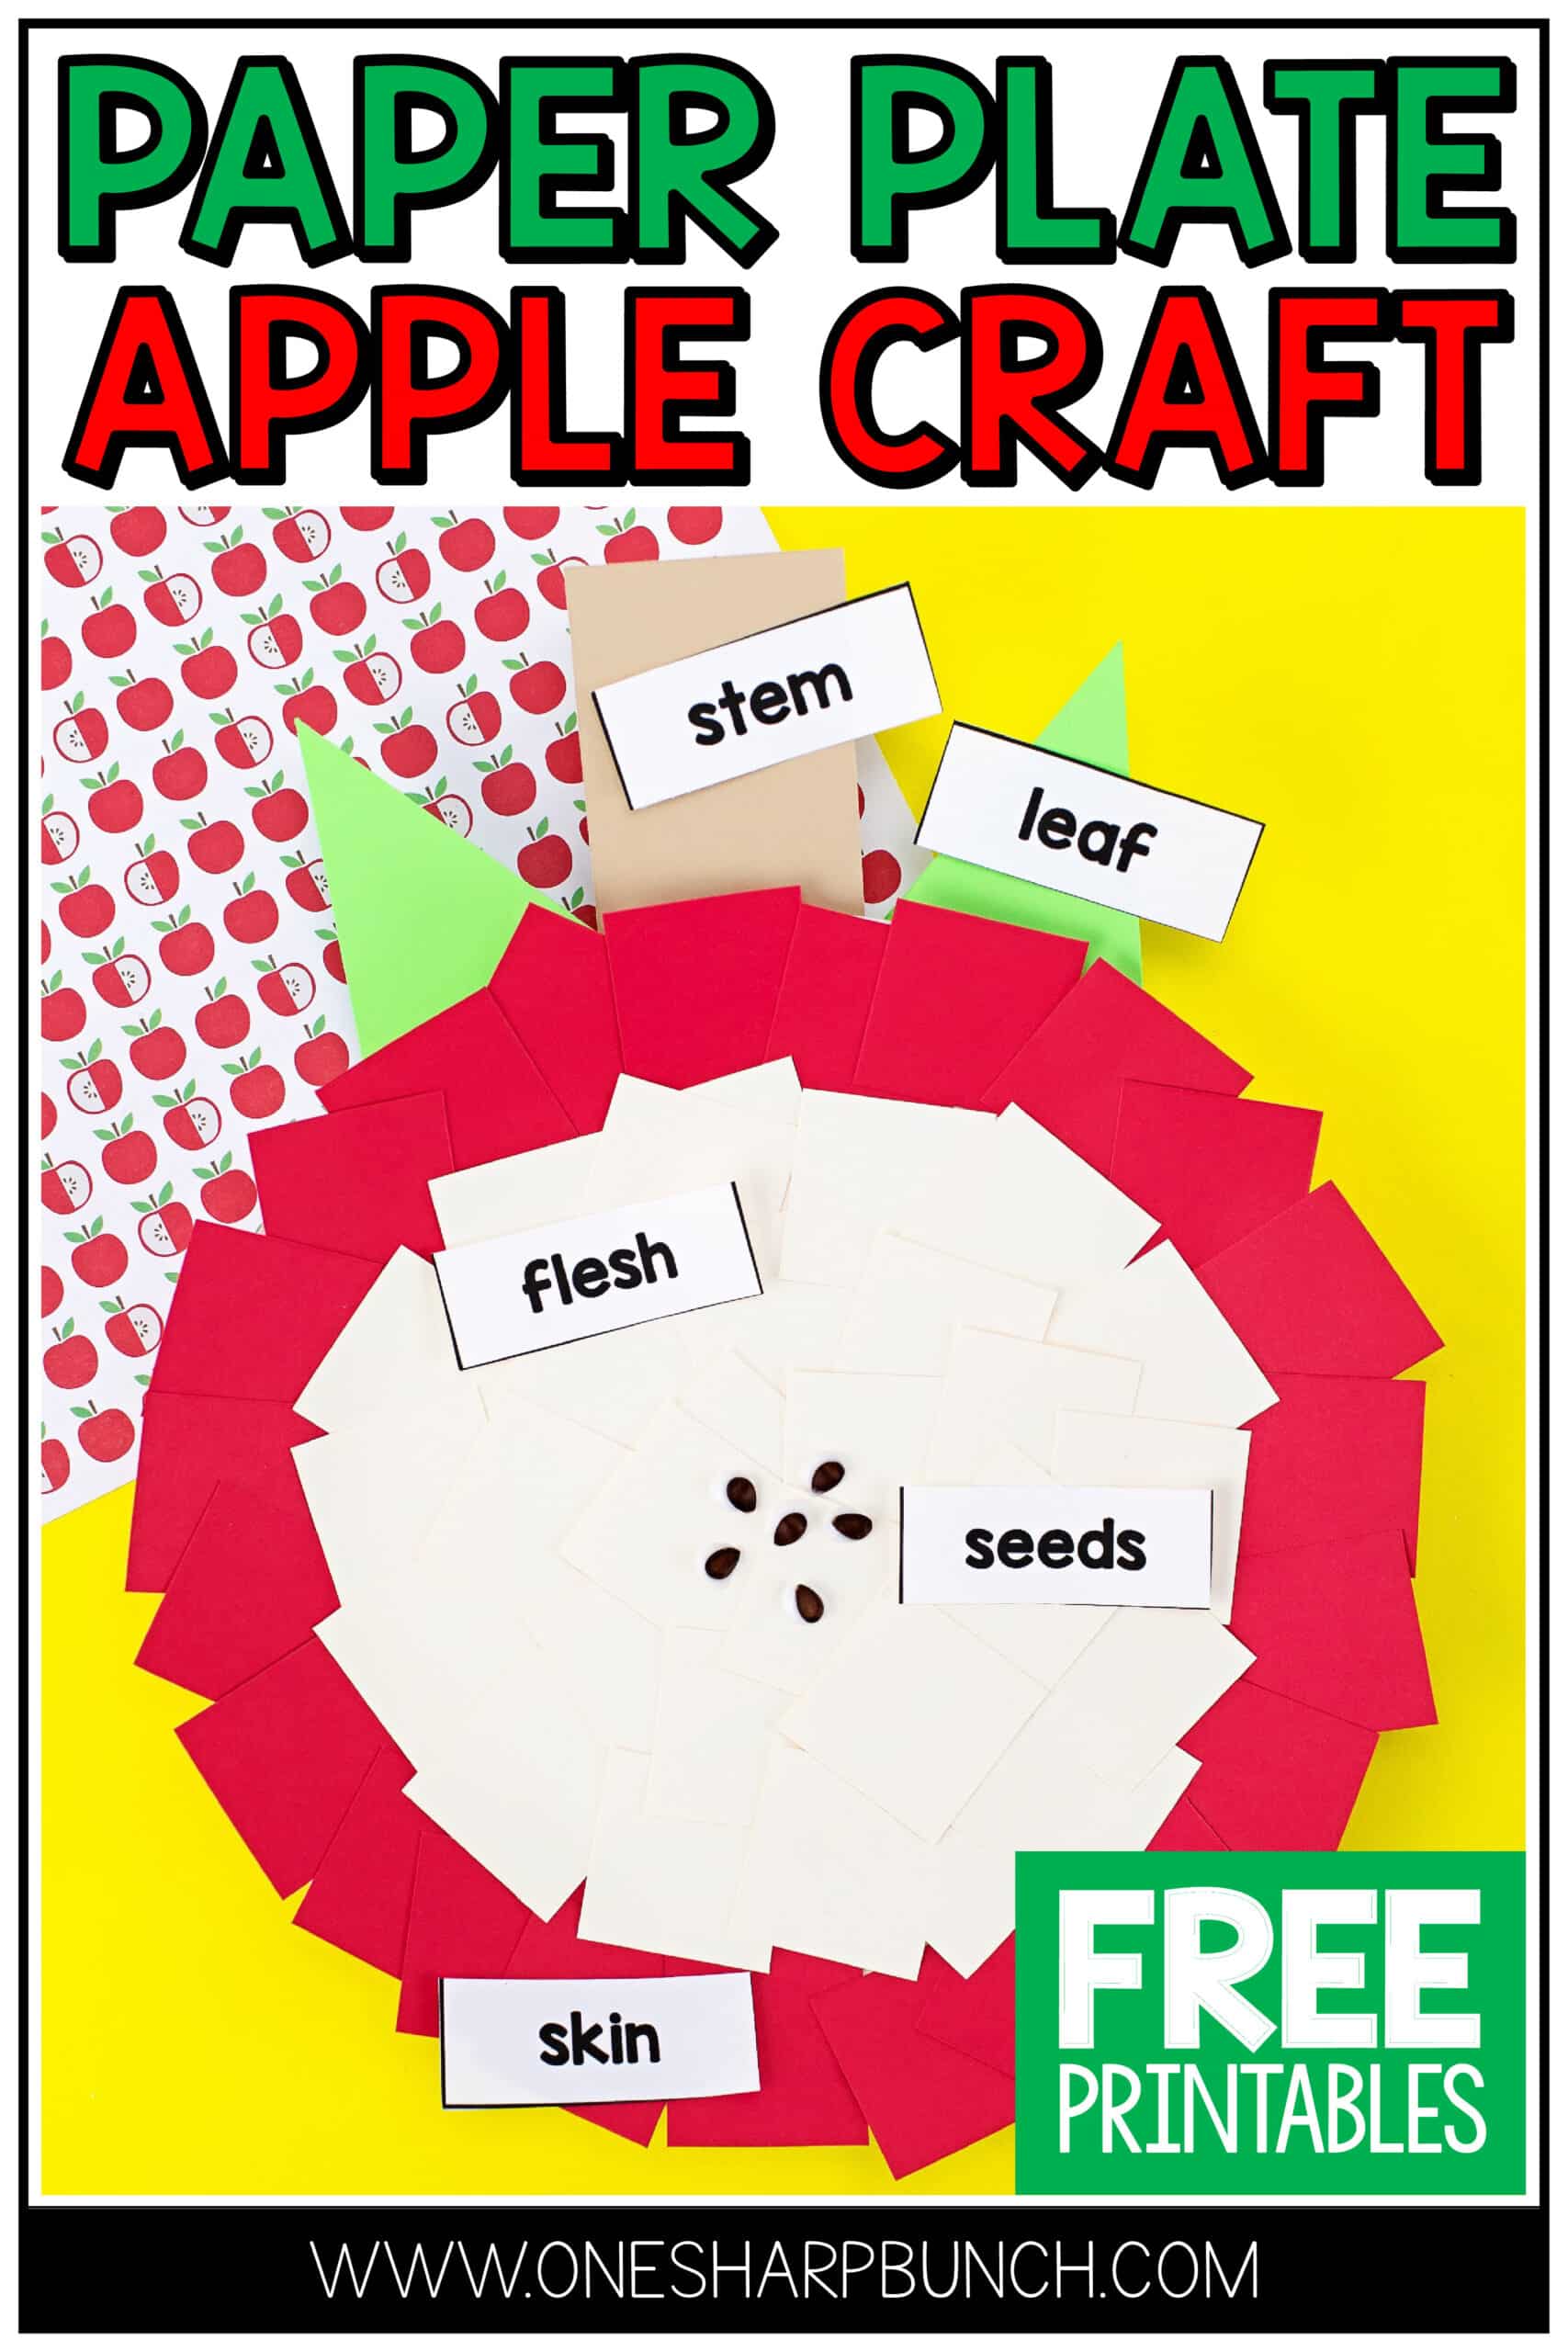
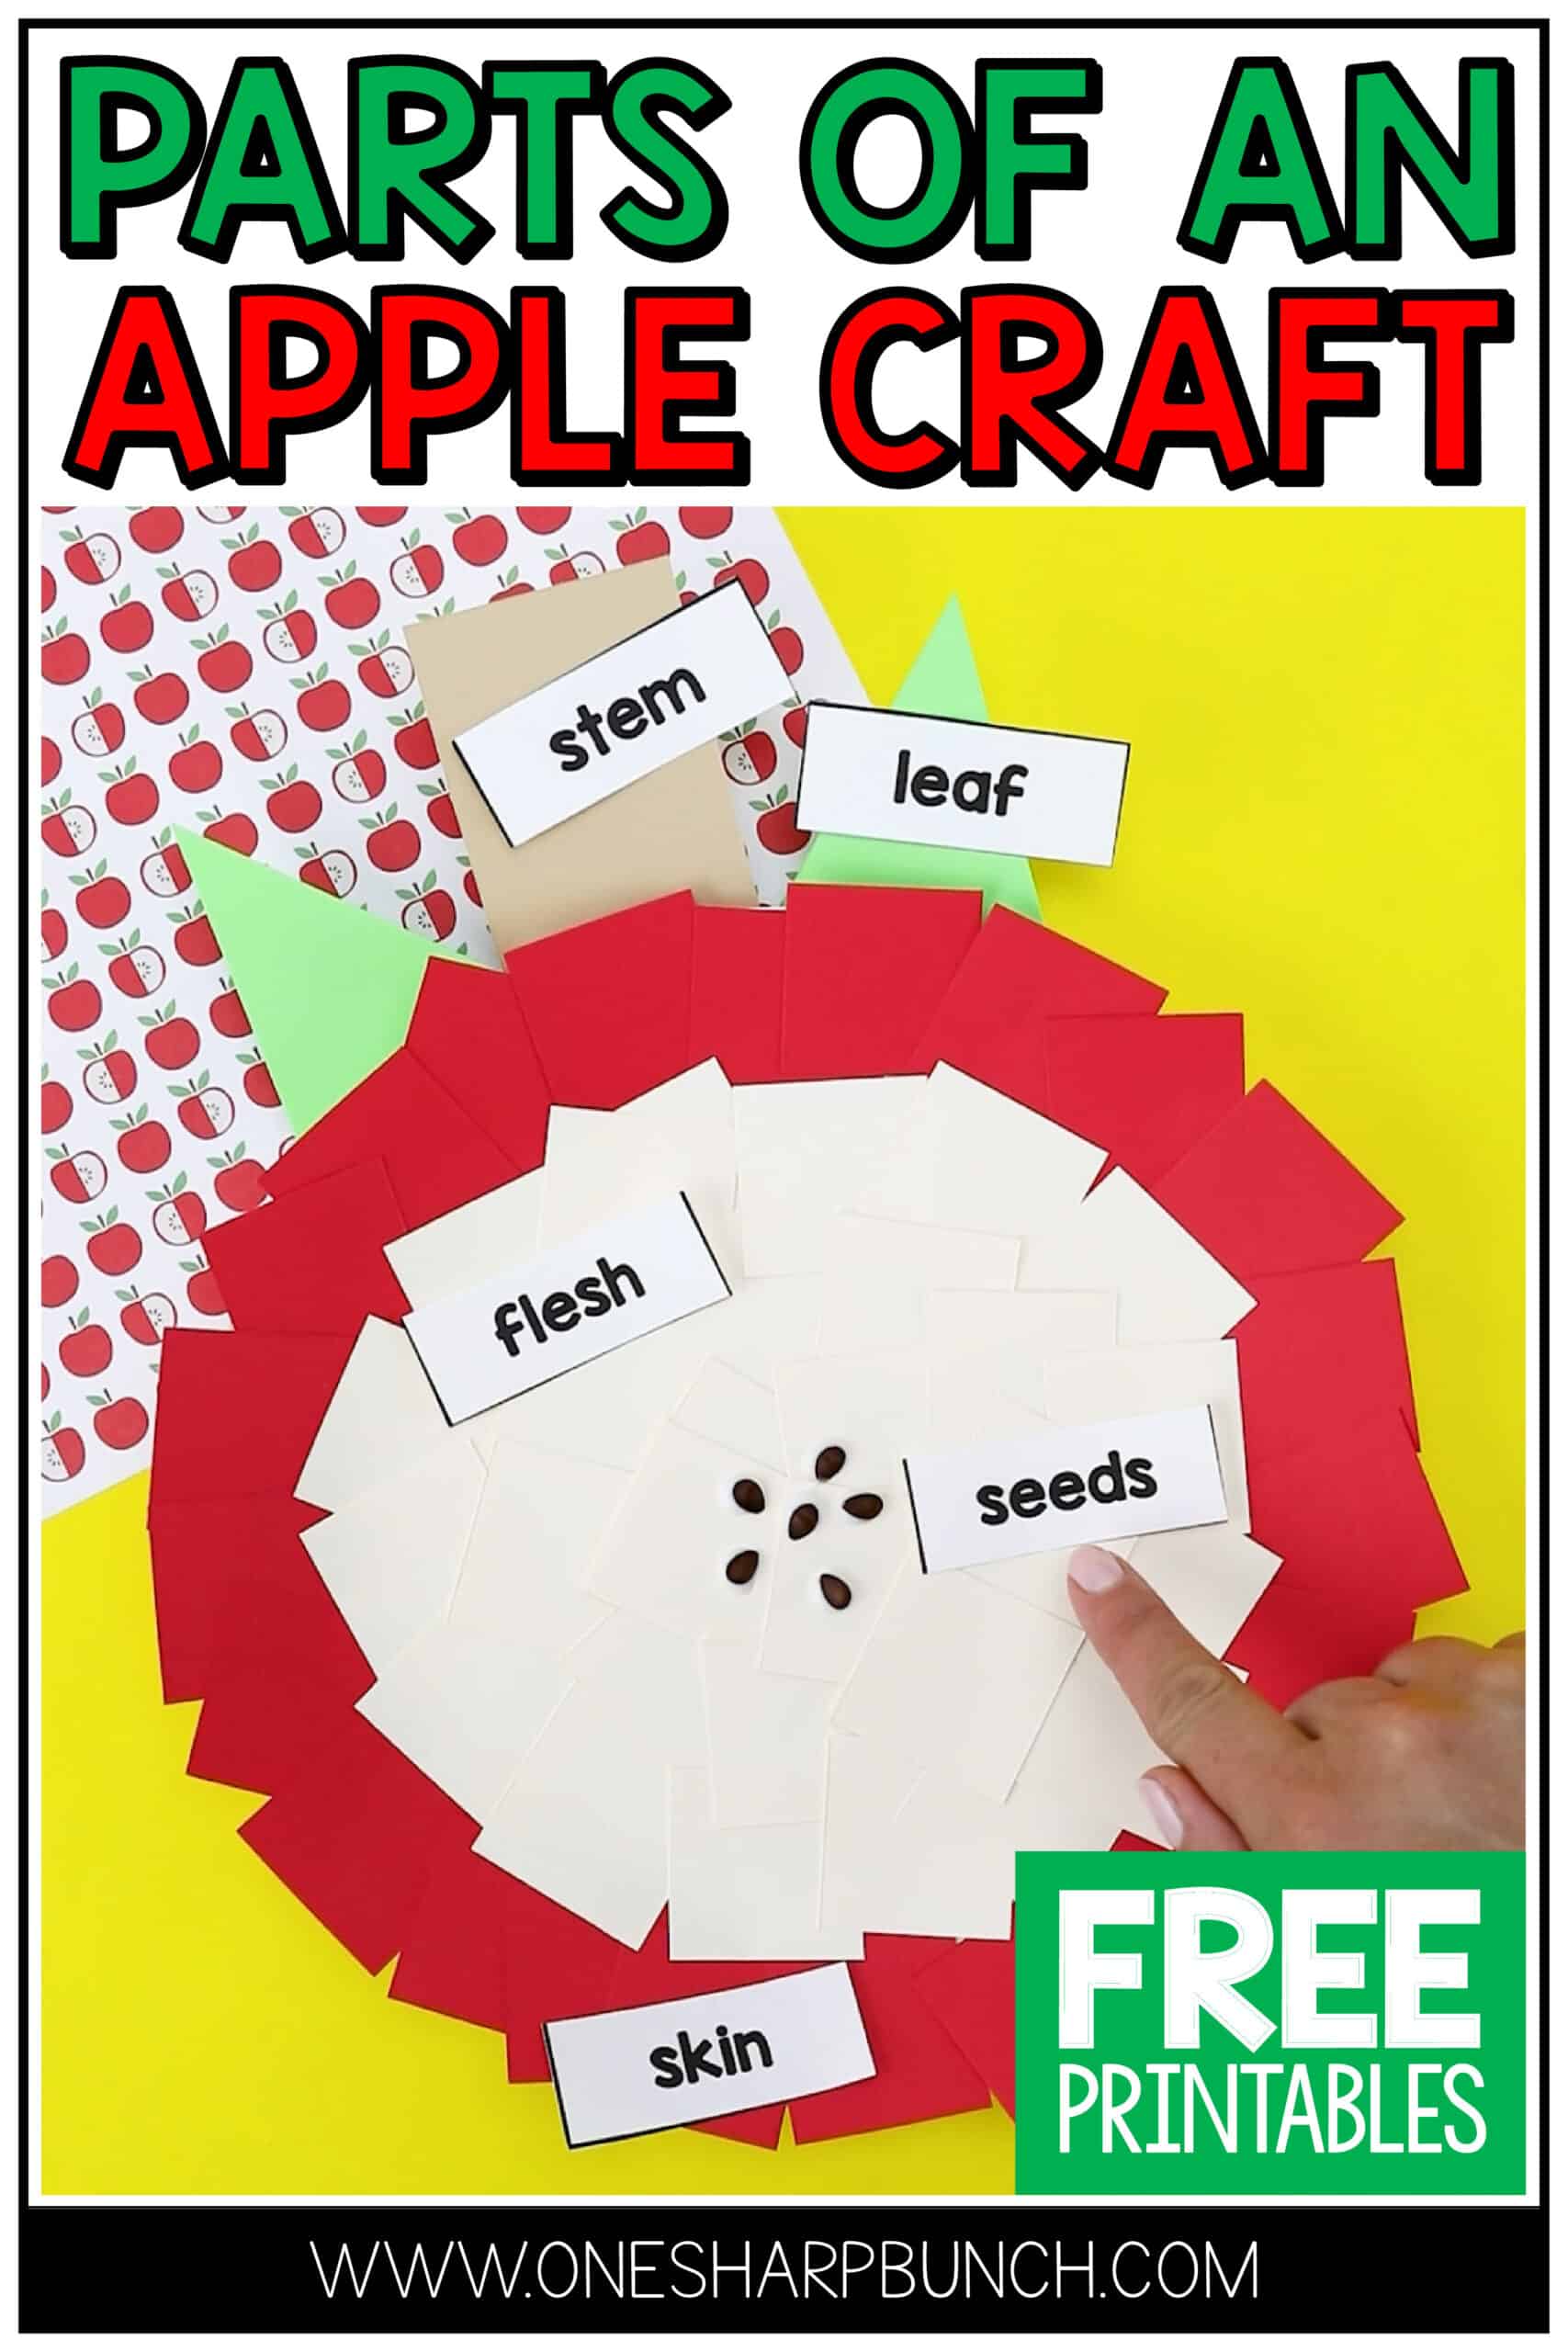
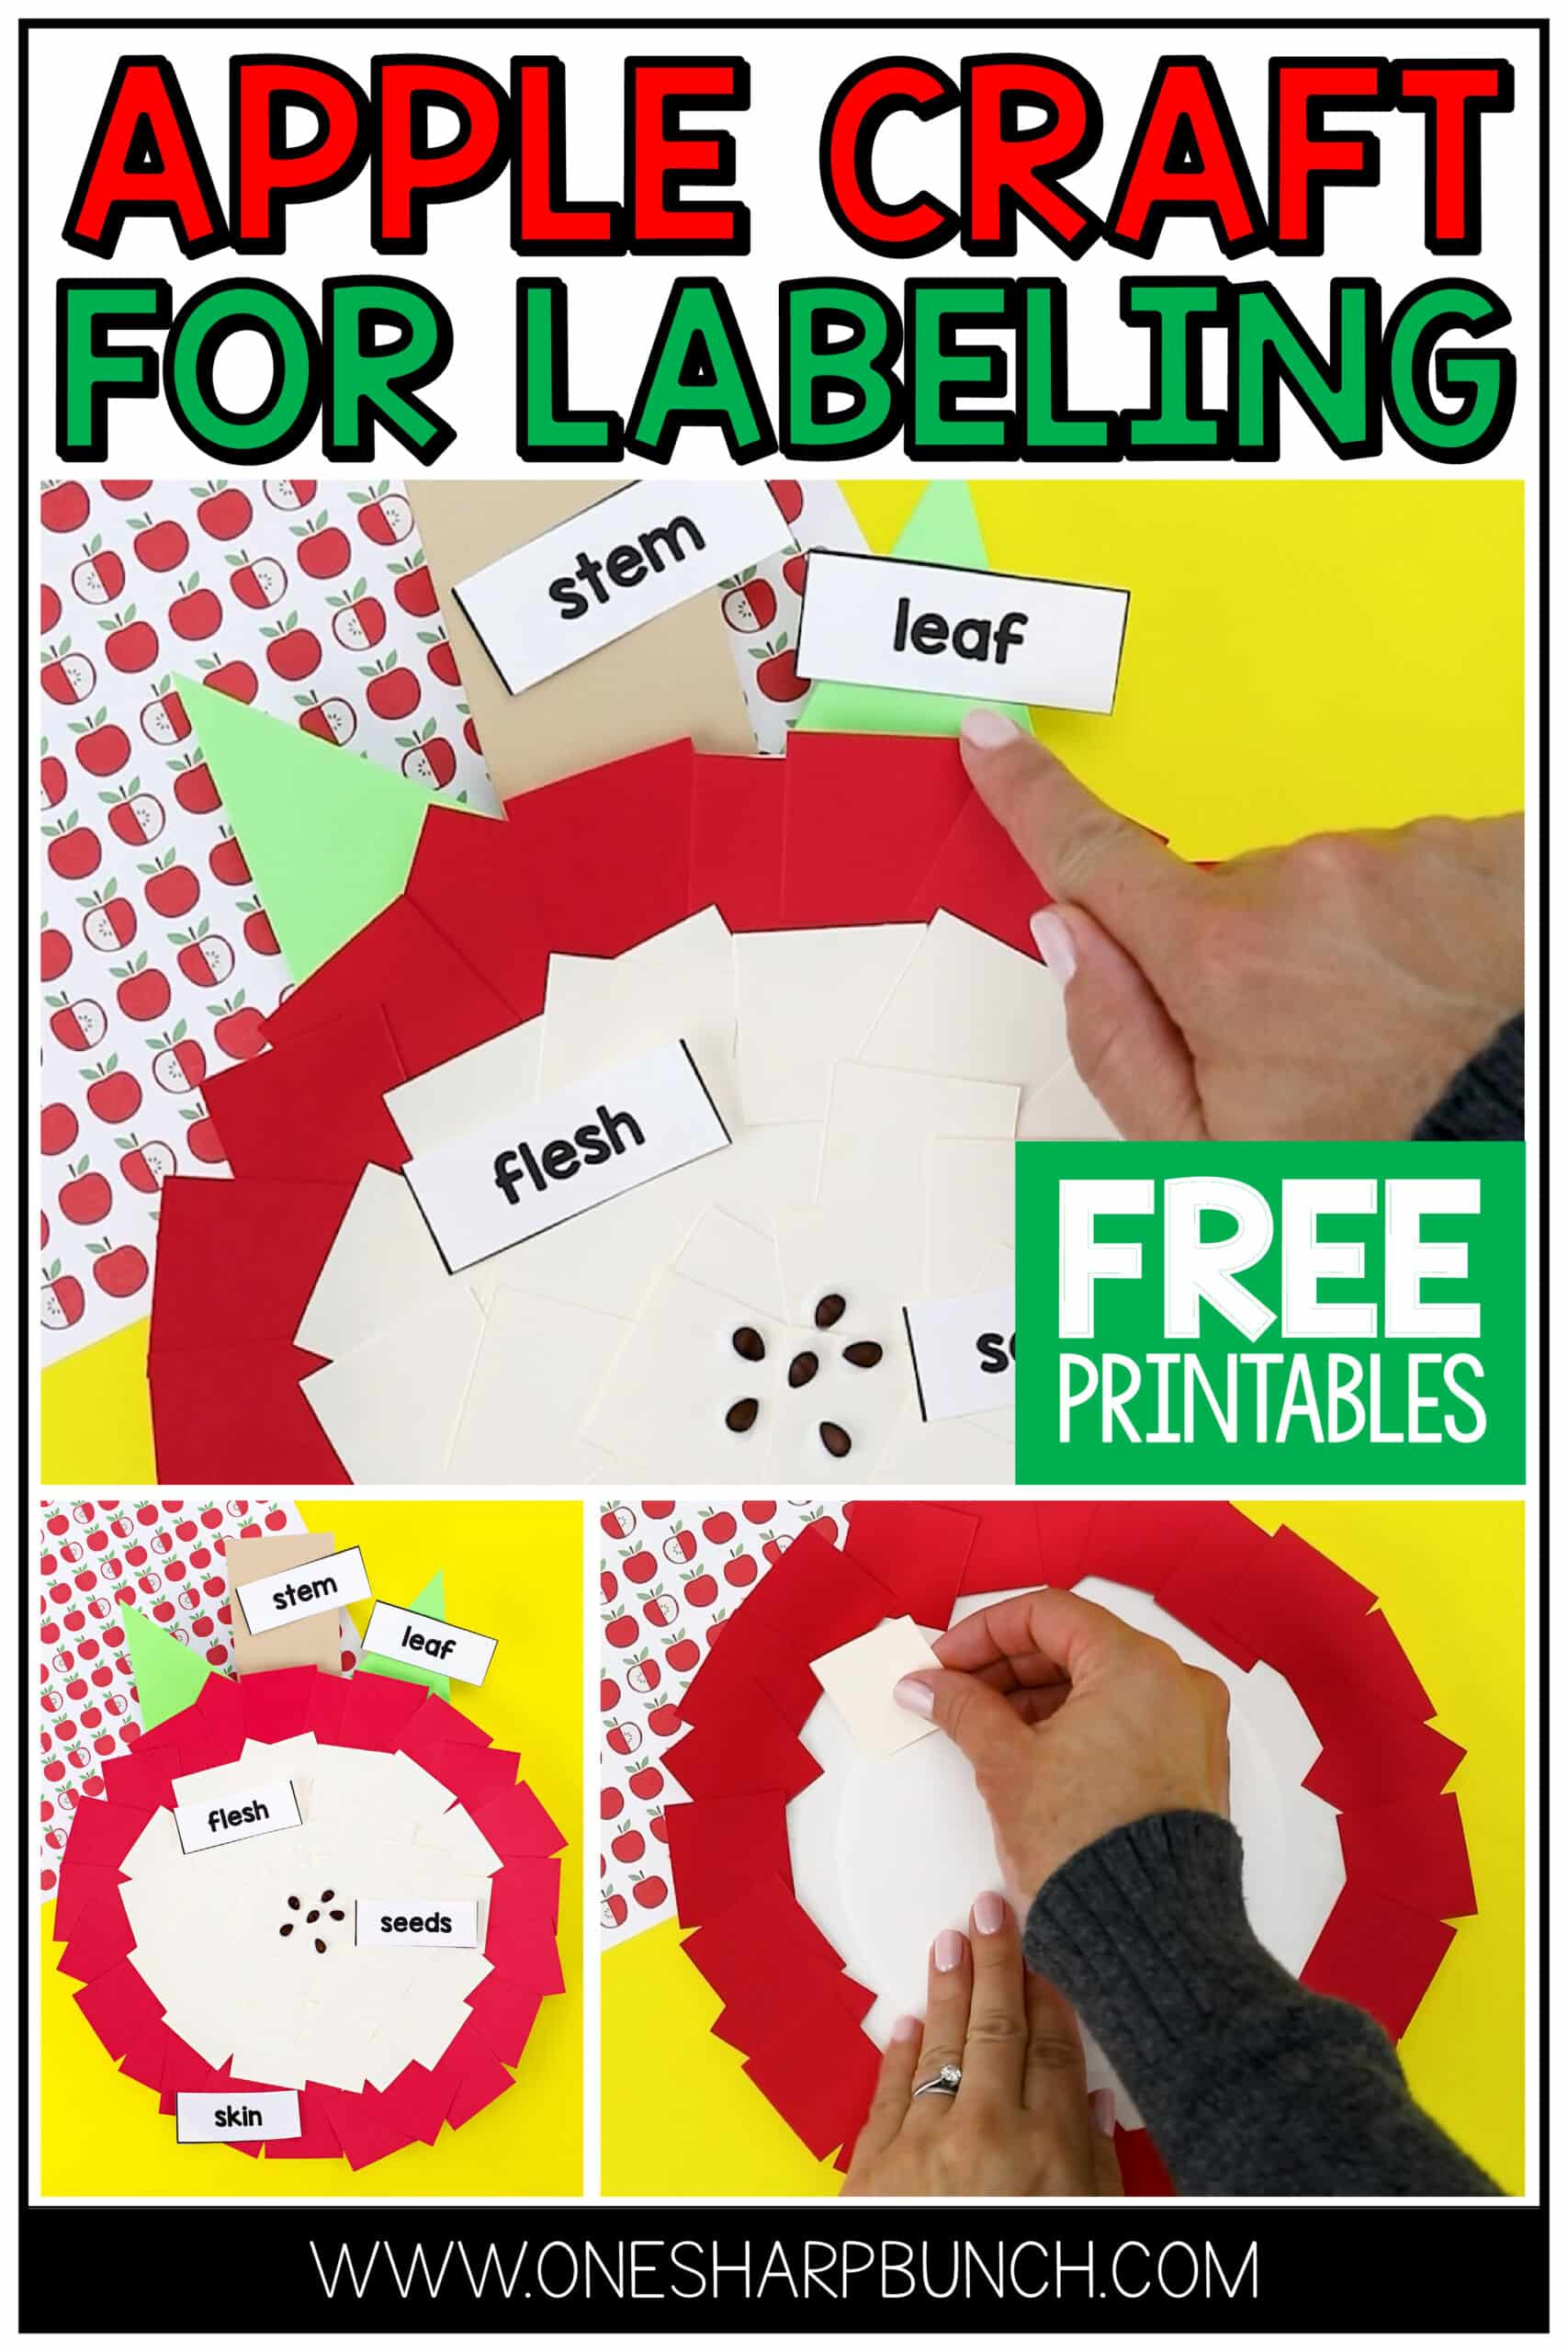
Paper Plate Apple Craft for Labeling
Share this Post
I live in the Midwest, which means apple orchards are EVERYWHERE! My love for apples and apple week is something I can’t resist sharing with you! I am so excited about this simple paper plate apple craft, as it’s super easy prep and allows your preschool, kindergarten, or first grade students to practice fine motor skills, as well as labeling the parts of an apple. Plus, it pairs well with your favorite apple books and apple investigation activities!
Don’t forget to download the FREE apple labeling printable at the bottom of this post!
This post contains affiliate links for your shopping convenience. Any purchases made through one of our links earns us a small commission, at no extra cost to you. As an Amazon Associate, I earn from qualifying purchases. All creative ideas and opinions expressed are purely our own. Read our full privacy policy and disclosure for more information.
Paper Plate Apple Craft Supplies
- 9 inch round paper plate
- Red construction paper
- Tan construction paper
- Brown construction paper
- Green construction paper
- Glue stick
Paper Plate Apple Craft Prep
Start by cutting 1.5 x 1.5-inch squares of tan construction paper for the flesh and red construction paper for the skin. Next, cut 2 x 4-inch rectangles of brown construction paper for the stem and 4 x 4 inch squares of green construction paper for the leaves.
For the seeds, you can use real apple seeds… or use a paper punch to punch out brown or black circles.
Once everything is prepped, I like to place a basket of each part at all of the tables. Each table will have a basket of the skin, flesh, leaves, stems and seeds, along with the FREE apple labeling printable found below.
I always use a paper cutter and find that the prep work takes less than 10 minutes.
Paper Plate Apple Craft Directions
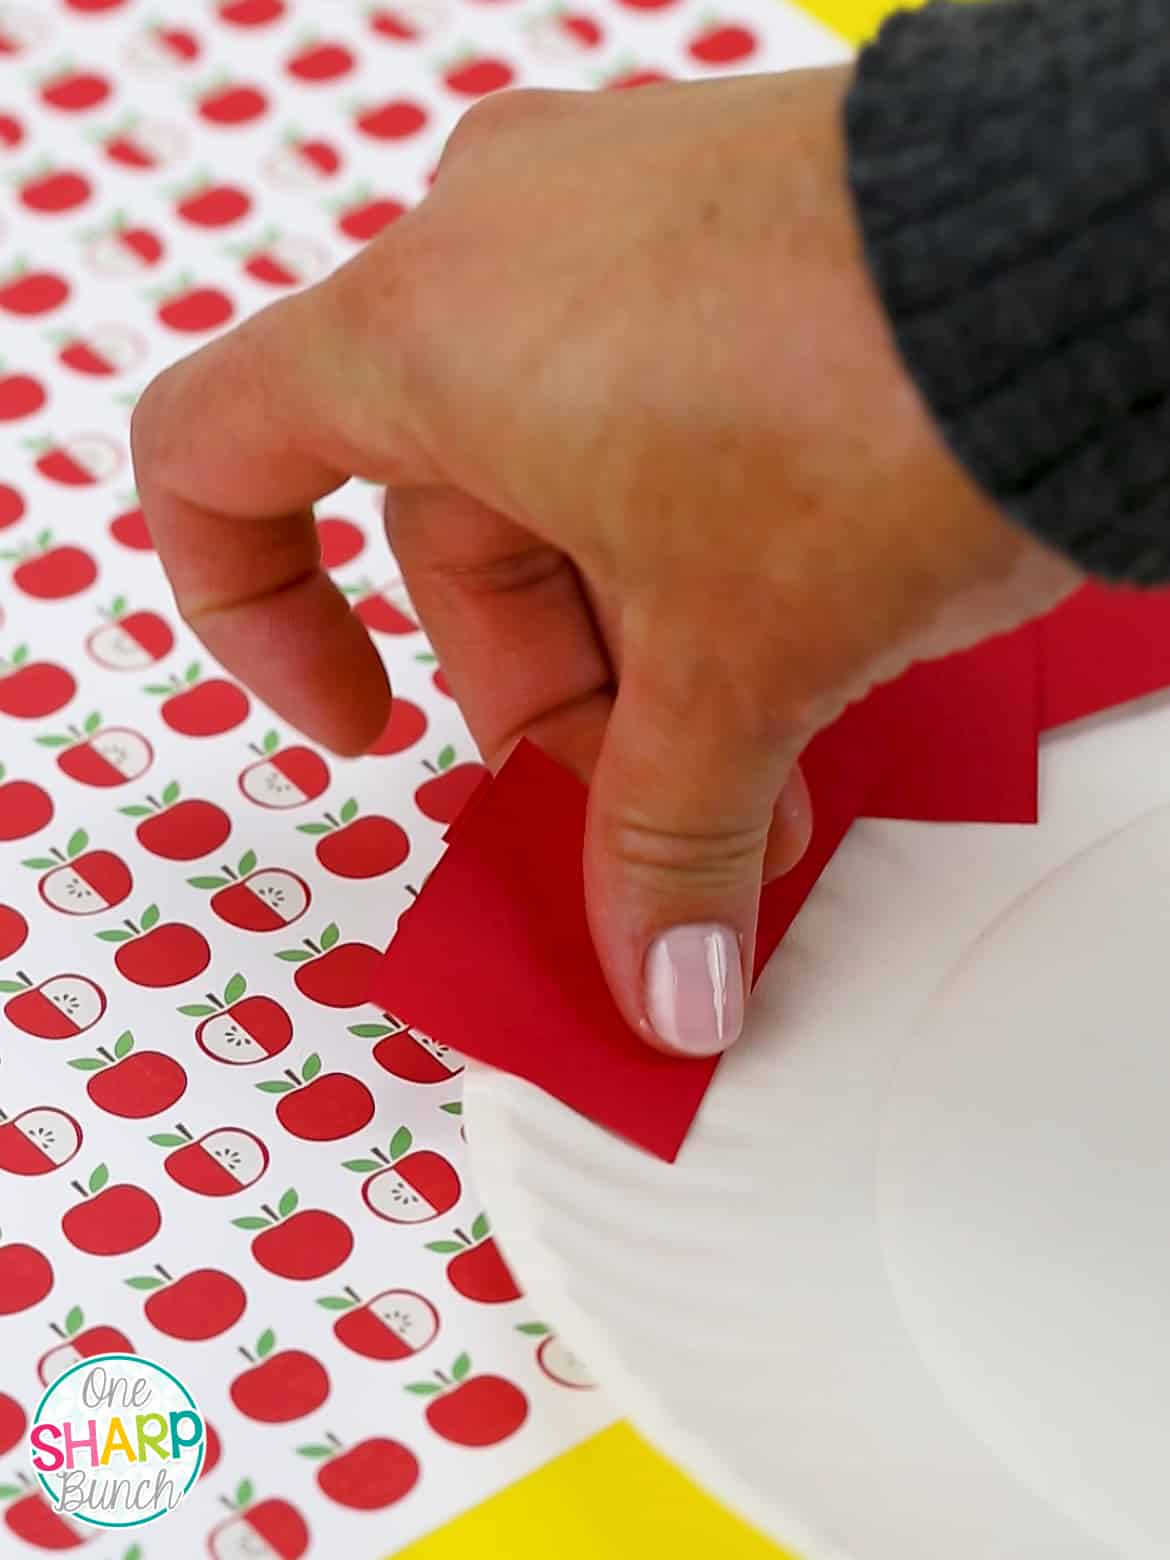
Each student will start with a 9 inch round paper plate. I like to begin by demonstrating how to overlap the red squares for the skin around the edge of the paper plate.
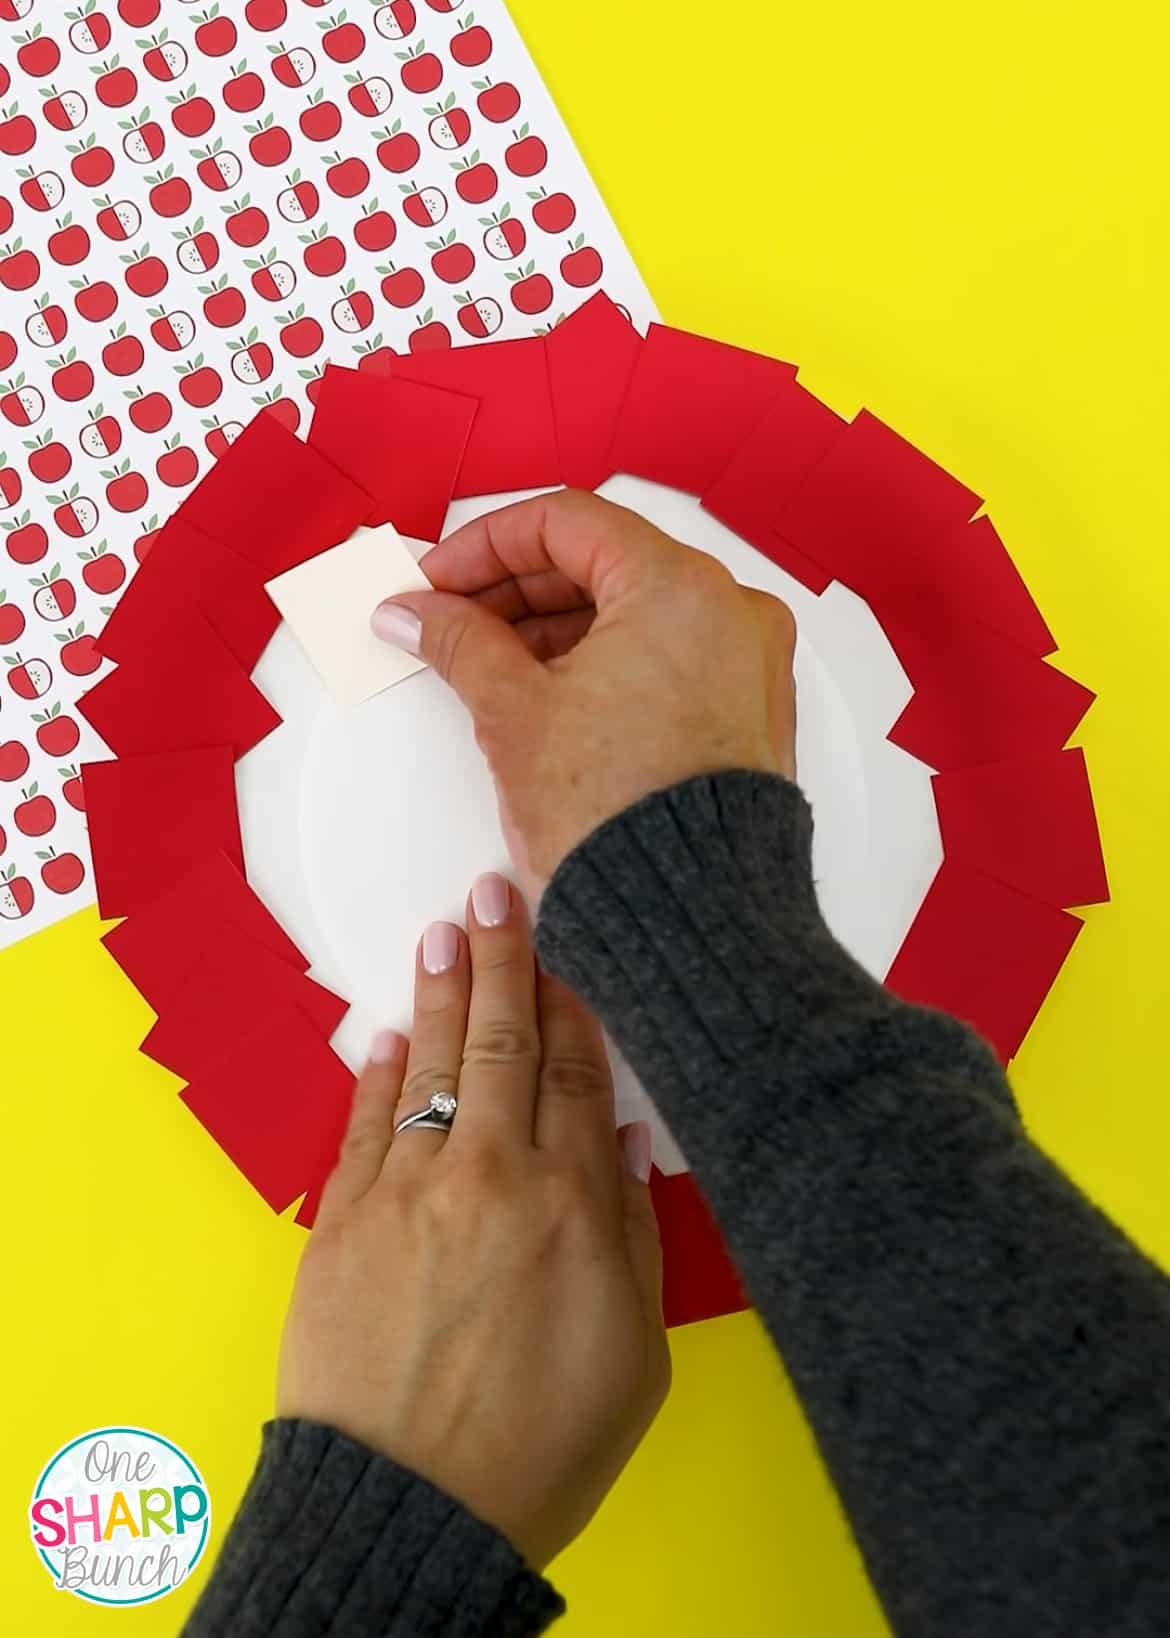
Next, I model how to overlap the tan construction paper for the flesh, filling the entire inside of the apple.
We then add the seeds, stem and leaves.
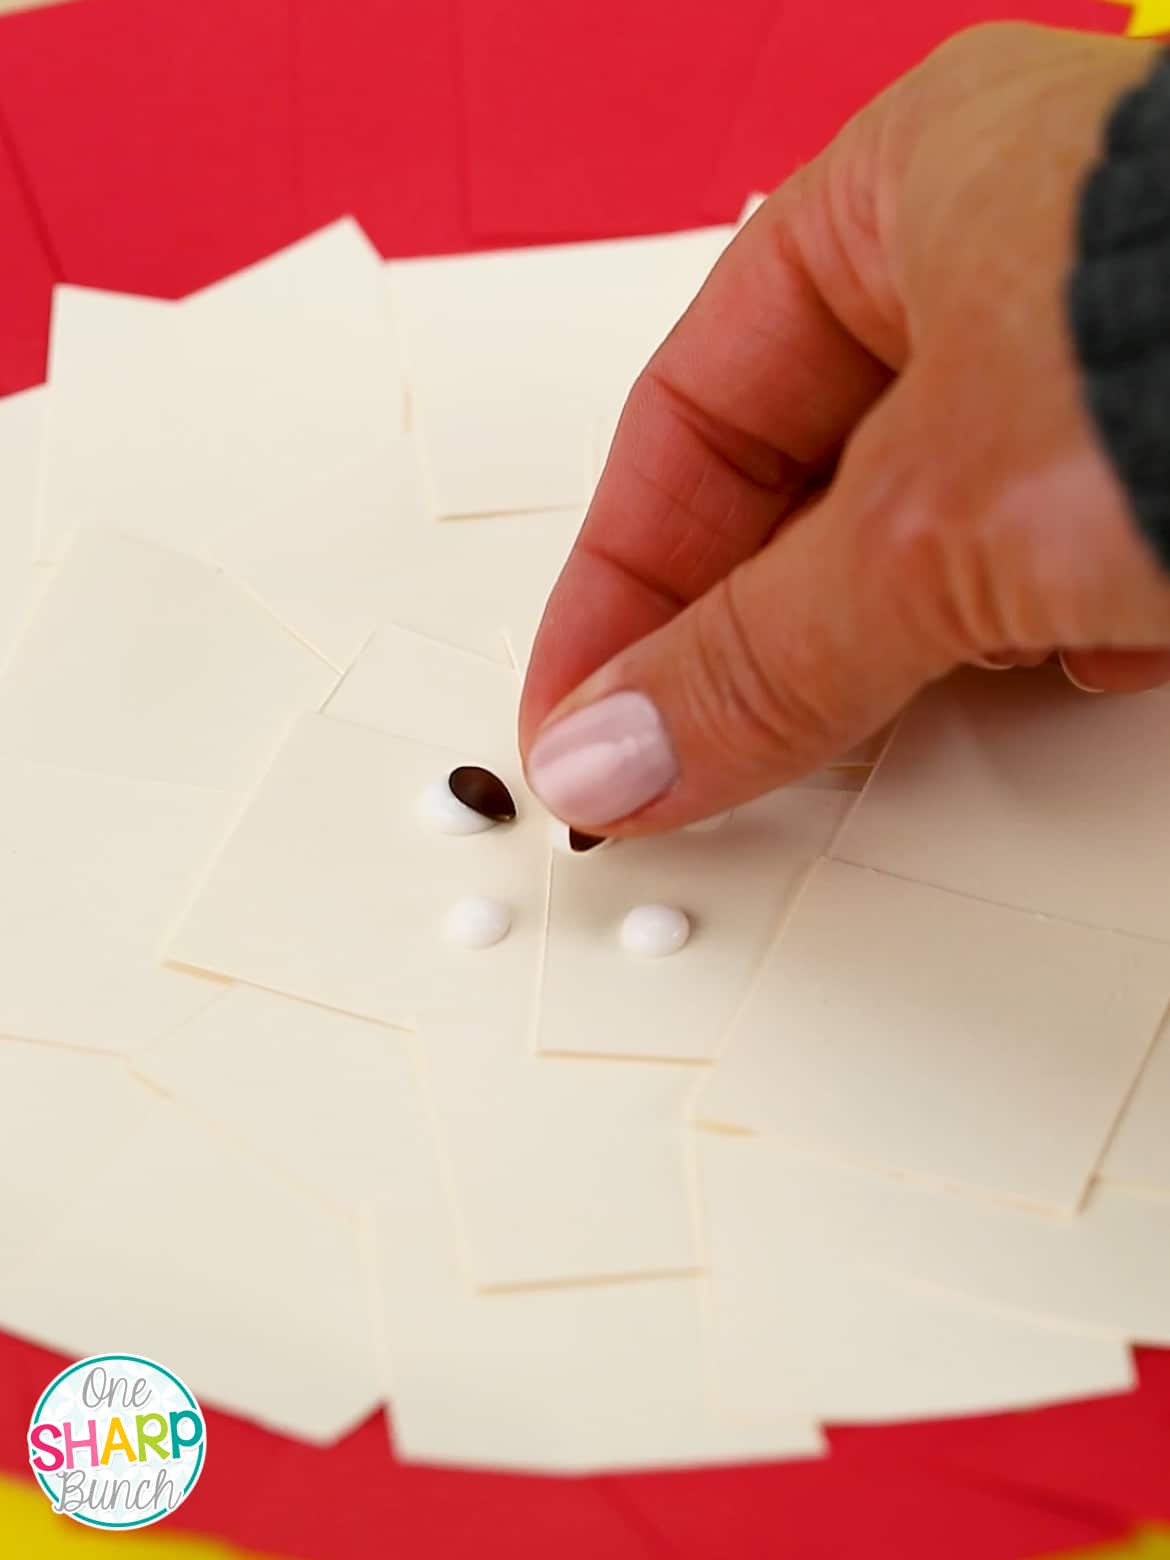
I like to use a glue stick for the paper, but have found liquid Elmer’s glue to be best if using real seeds.
Paper Plate Apple Craft Labels
Next, students cut their apple label pieces, which you can find below. As a whole class, we practice segmenting each word, and I model where each label goes on our apple.
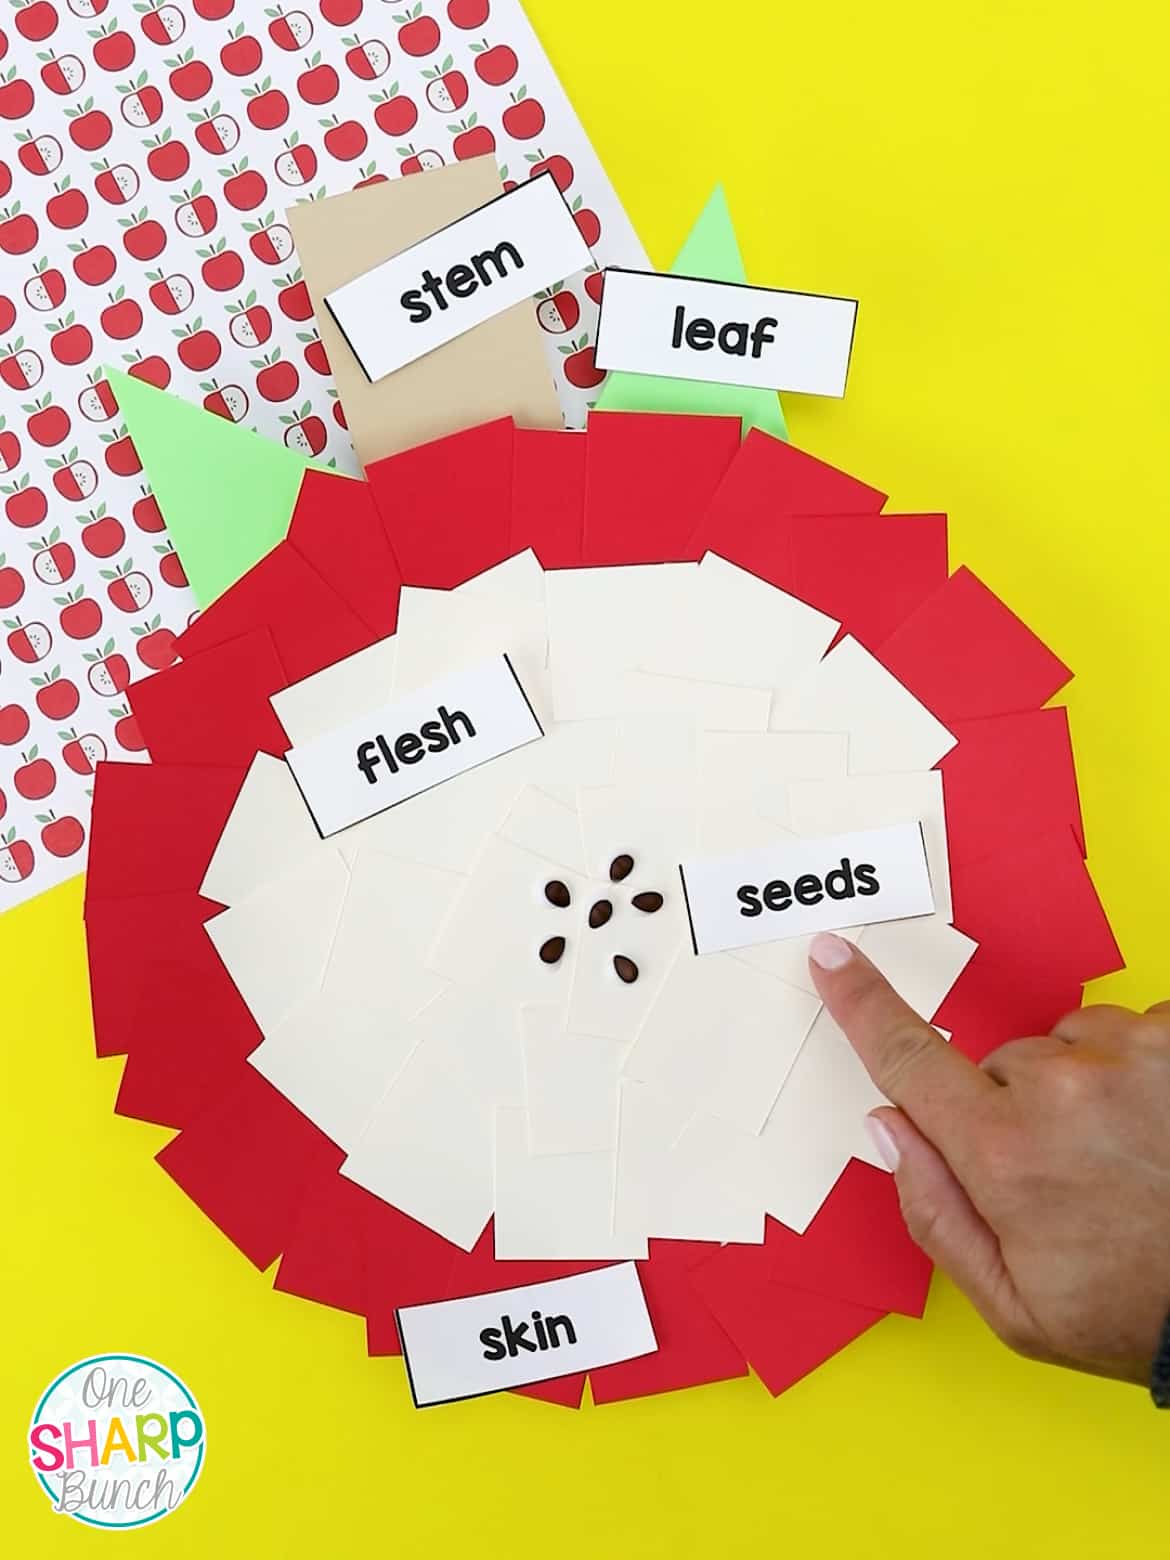
Students listen to the sounds in the word to label the parts of their own apple. They adhere each label using a glue stick.
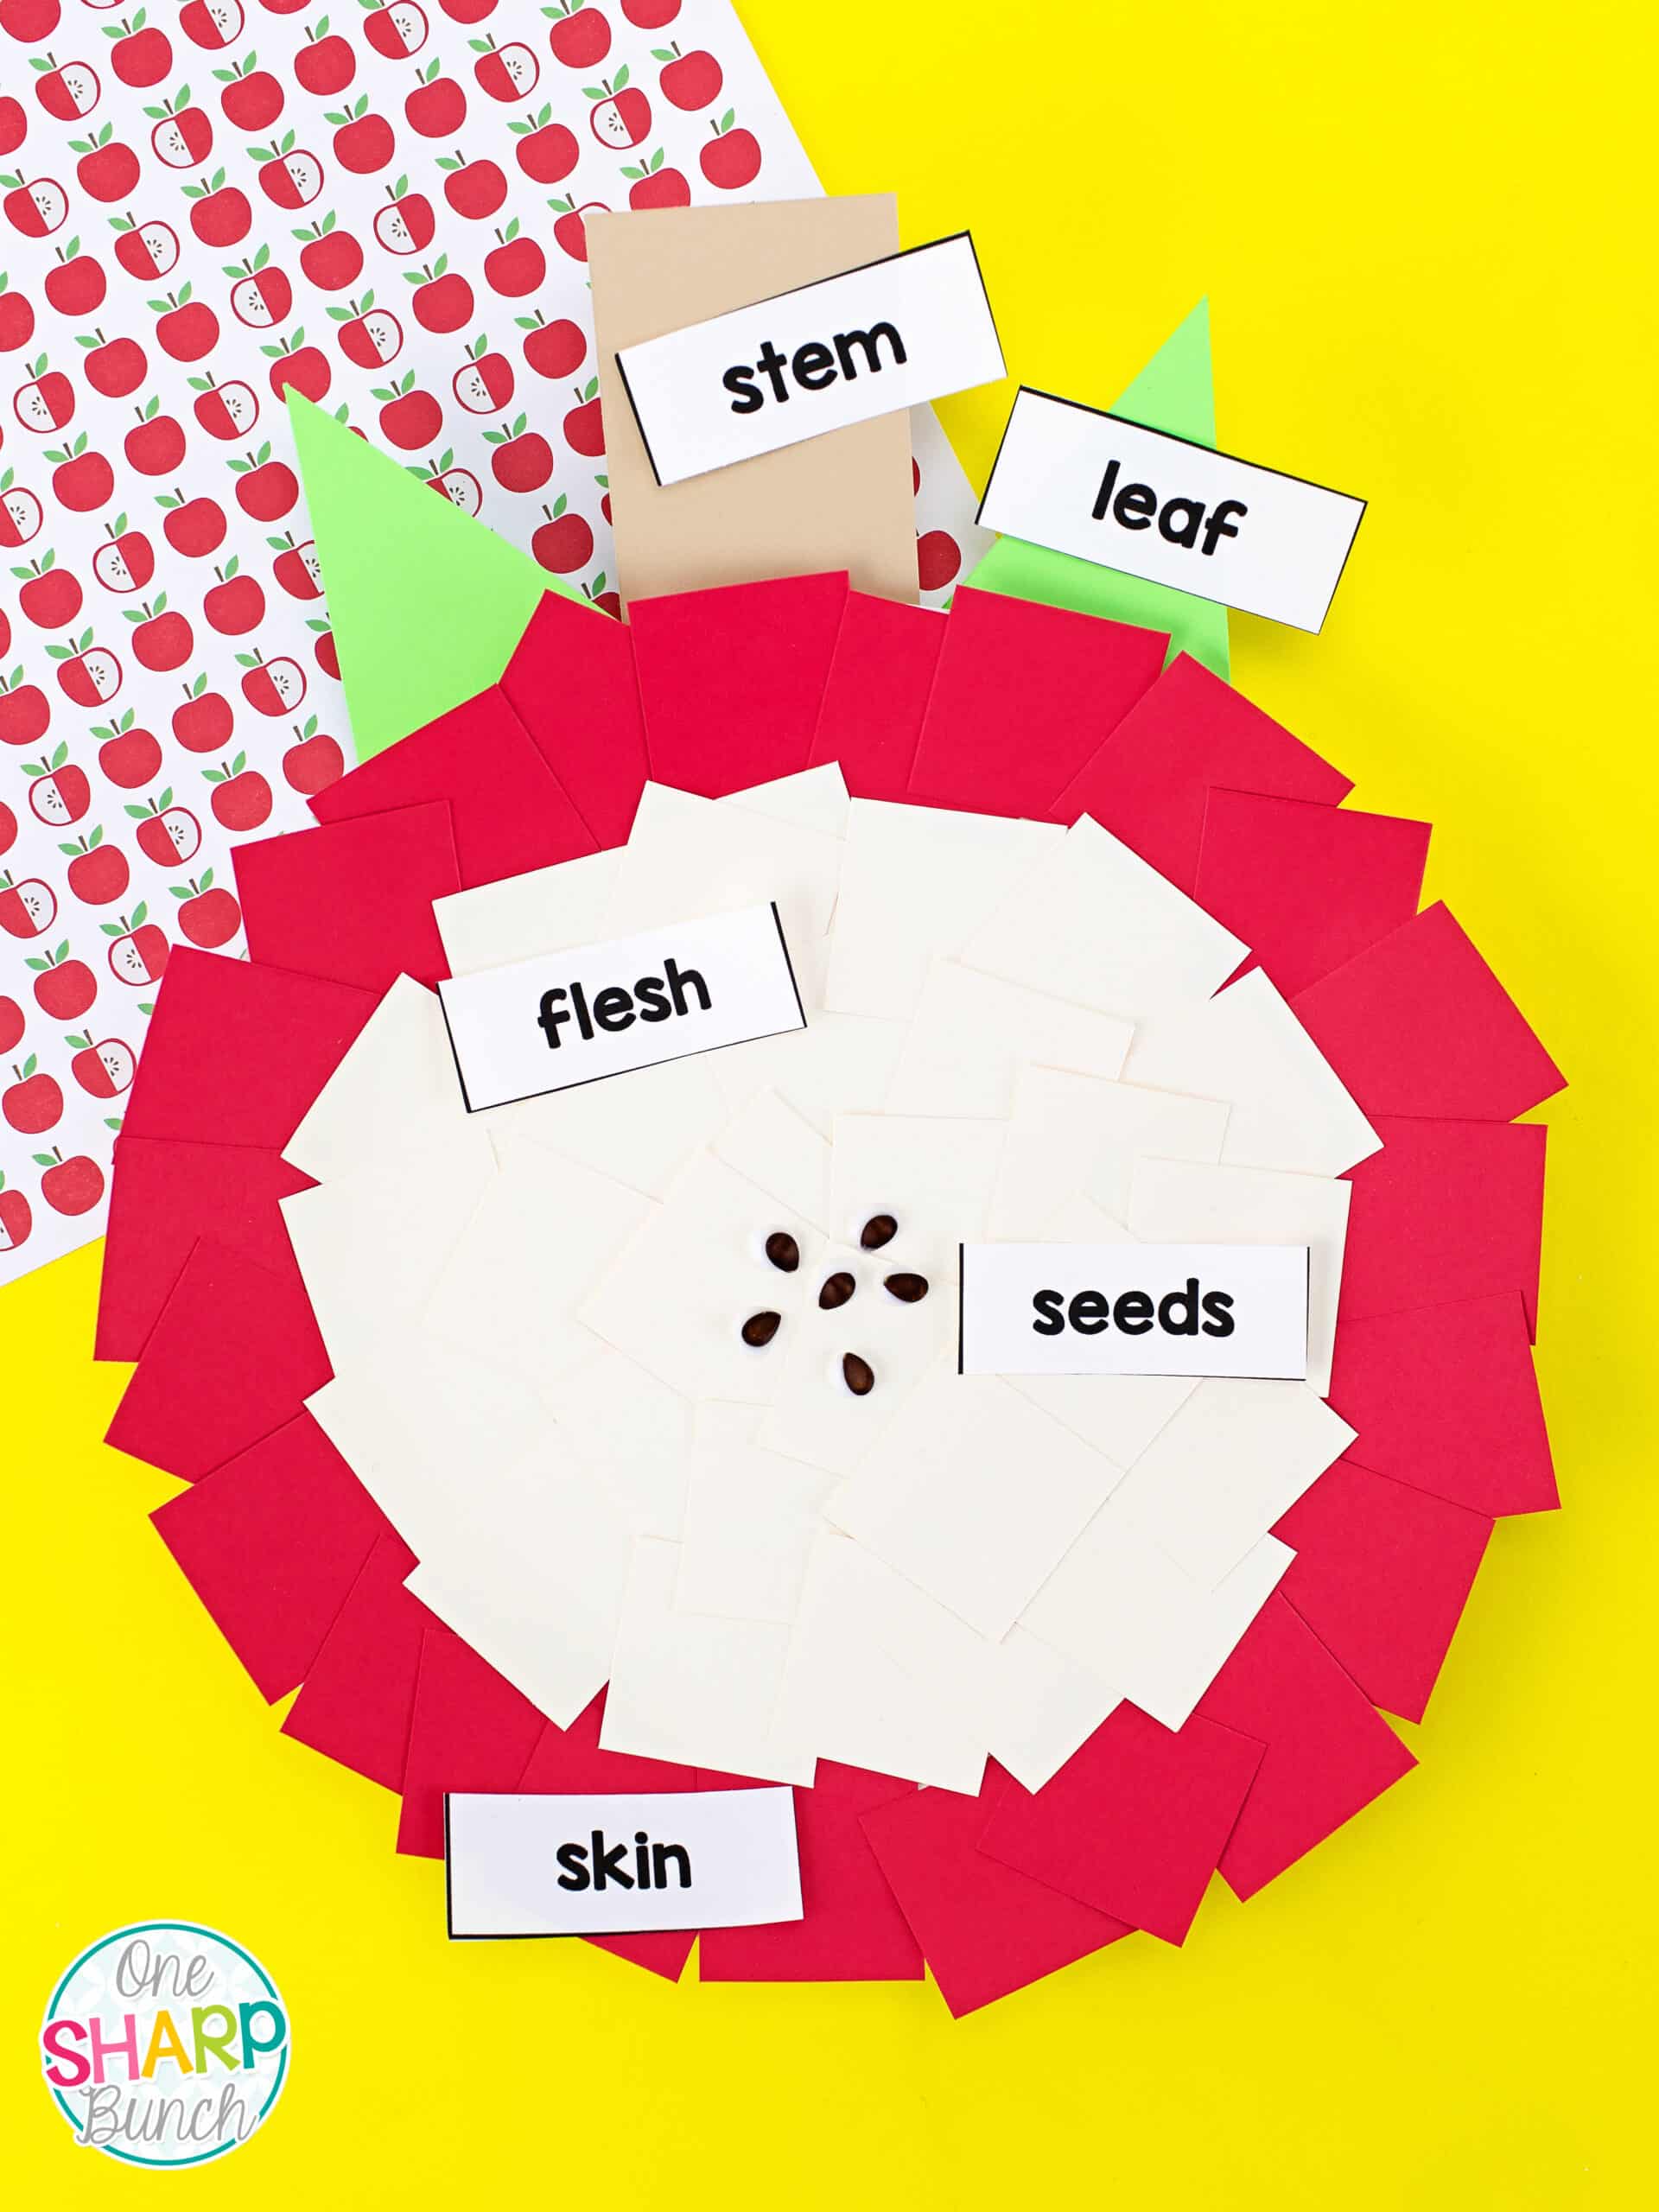
Don’t forget to grab your FREE apple labels below!
More Apple Craft Ideas
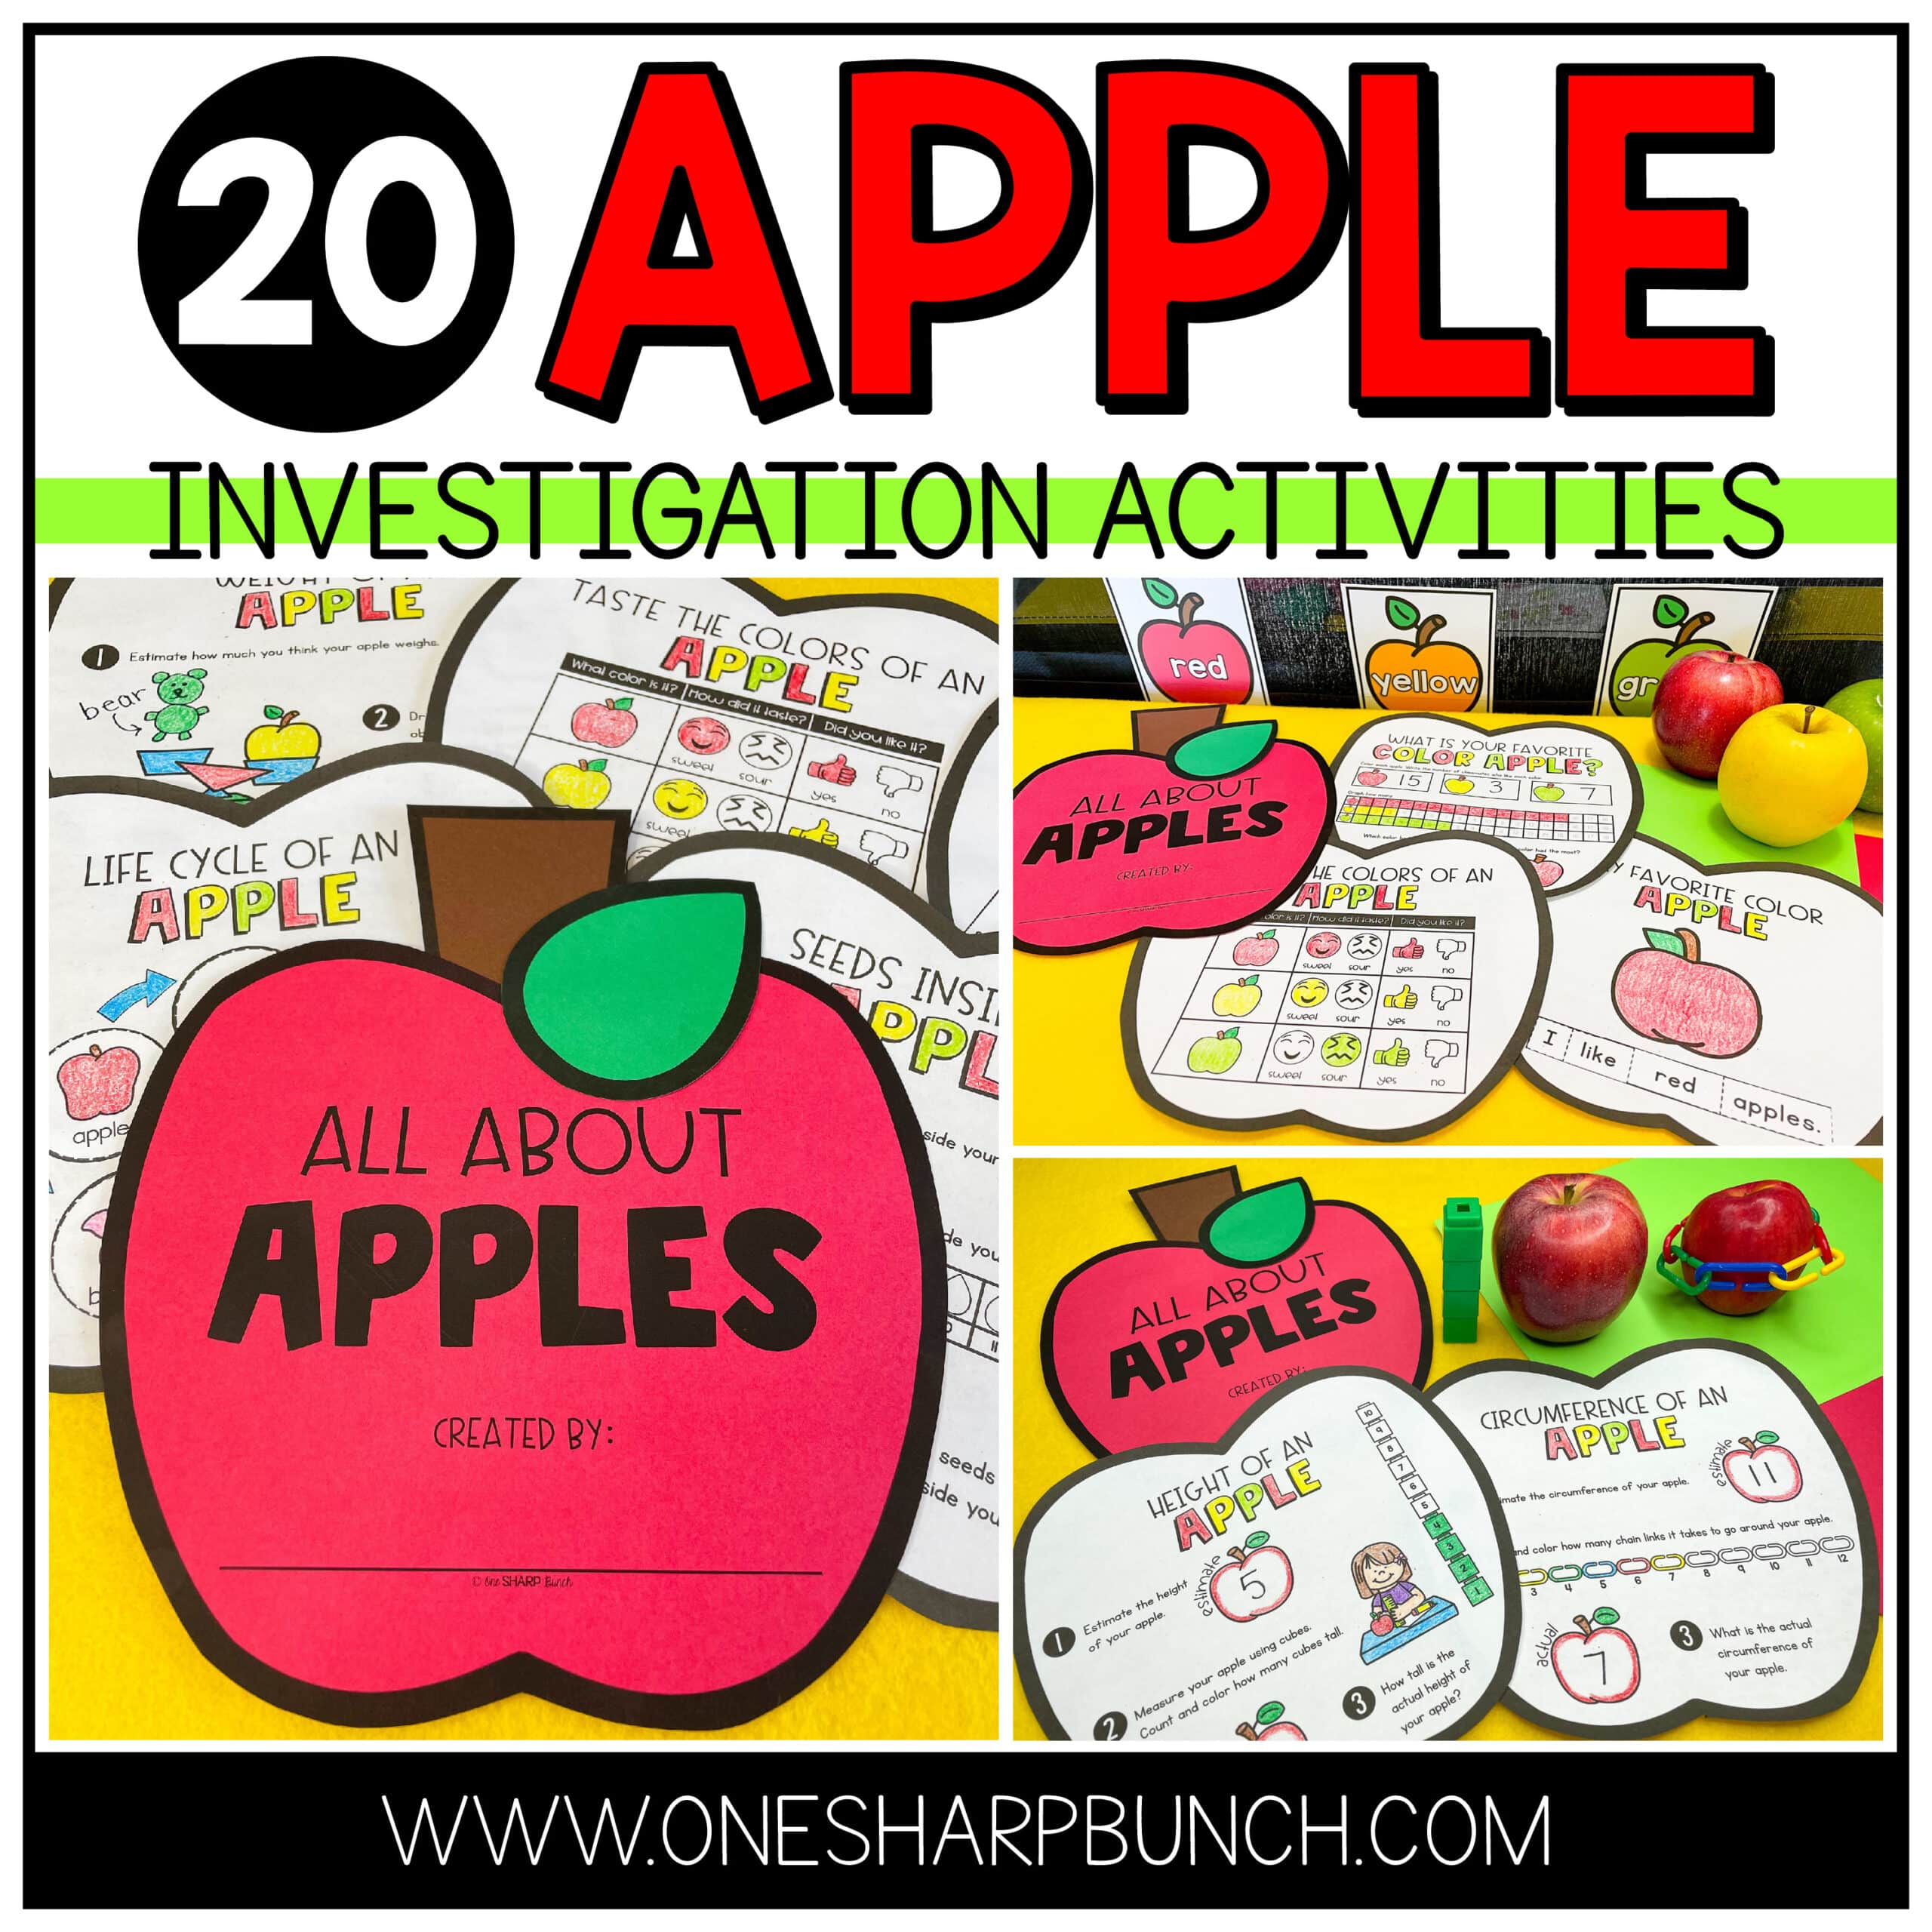
Discover 20 apple investigation activities for kids HERE!
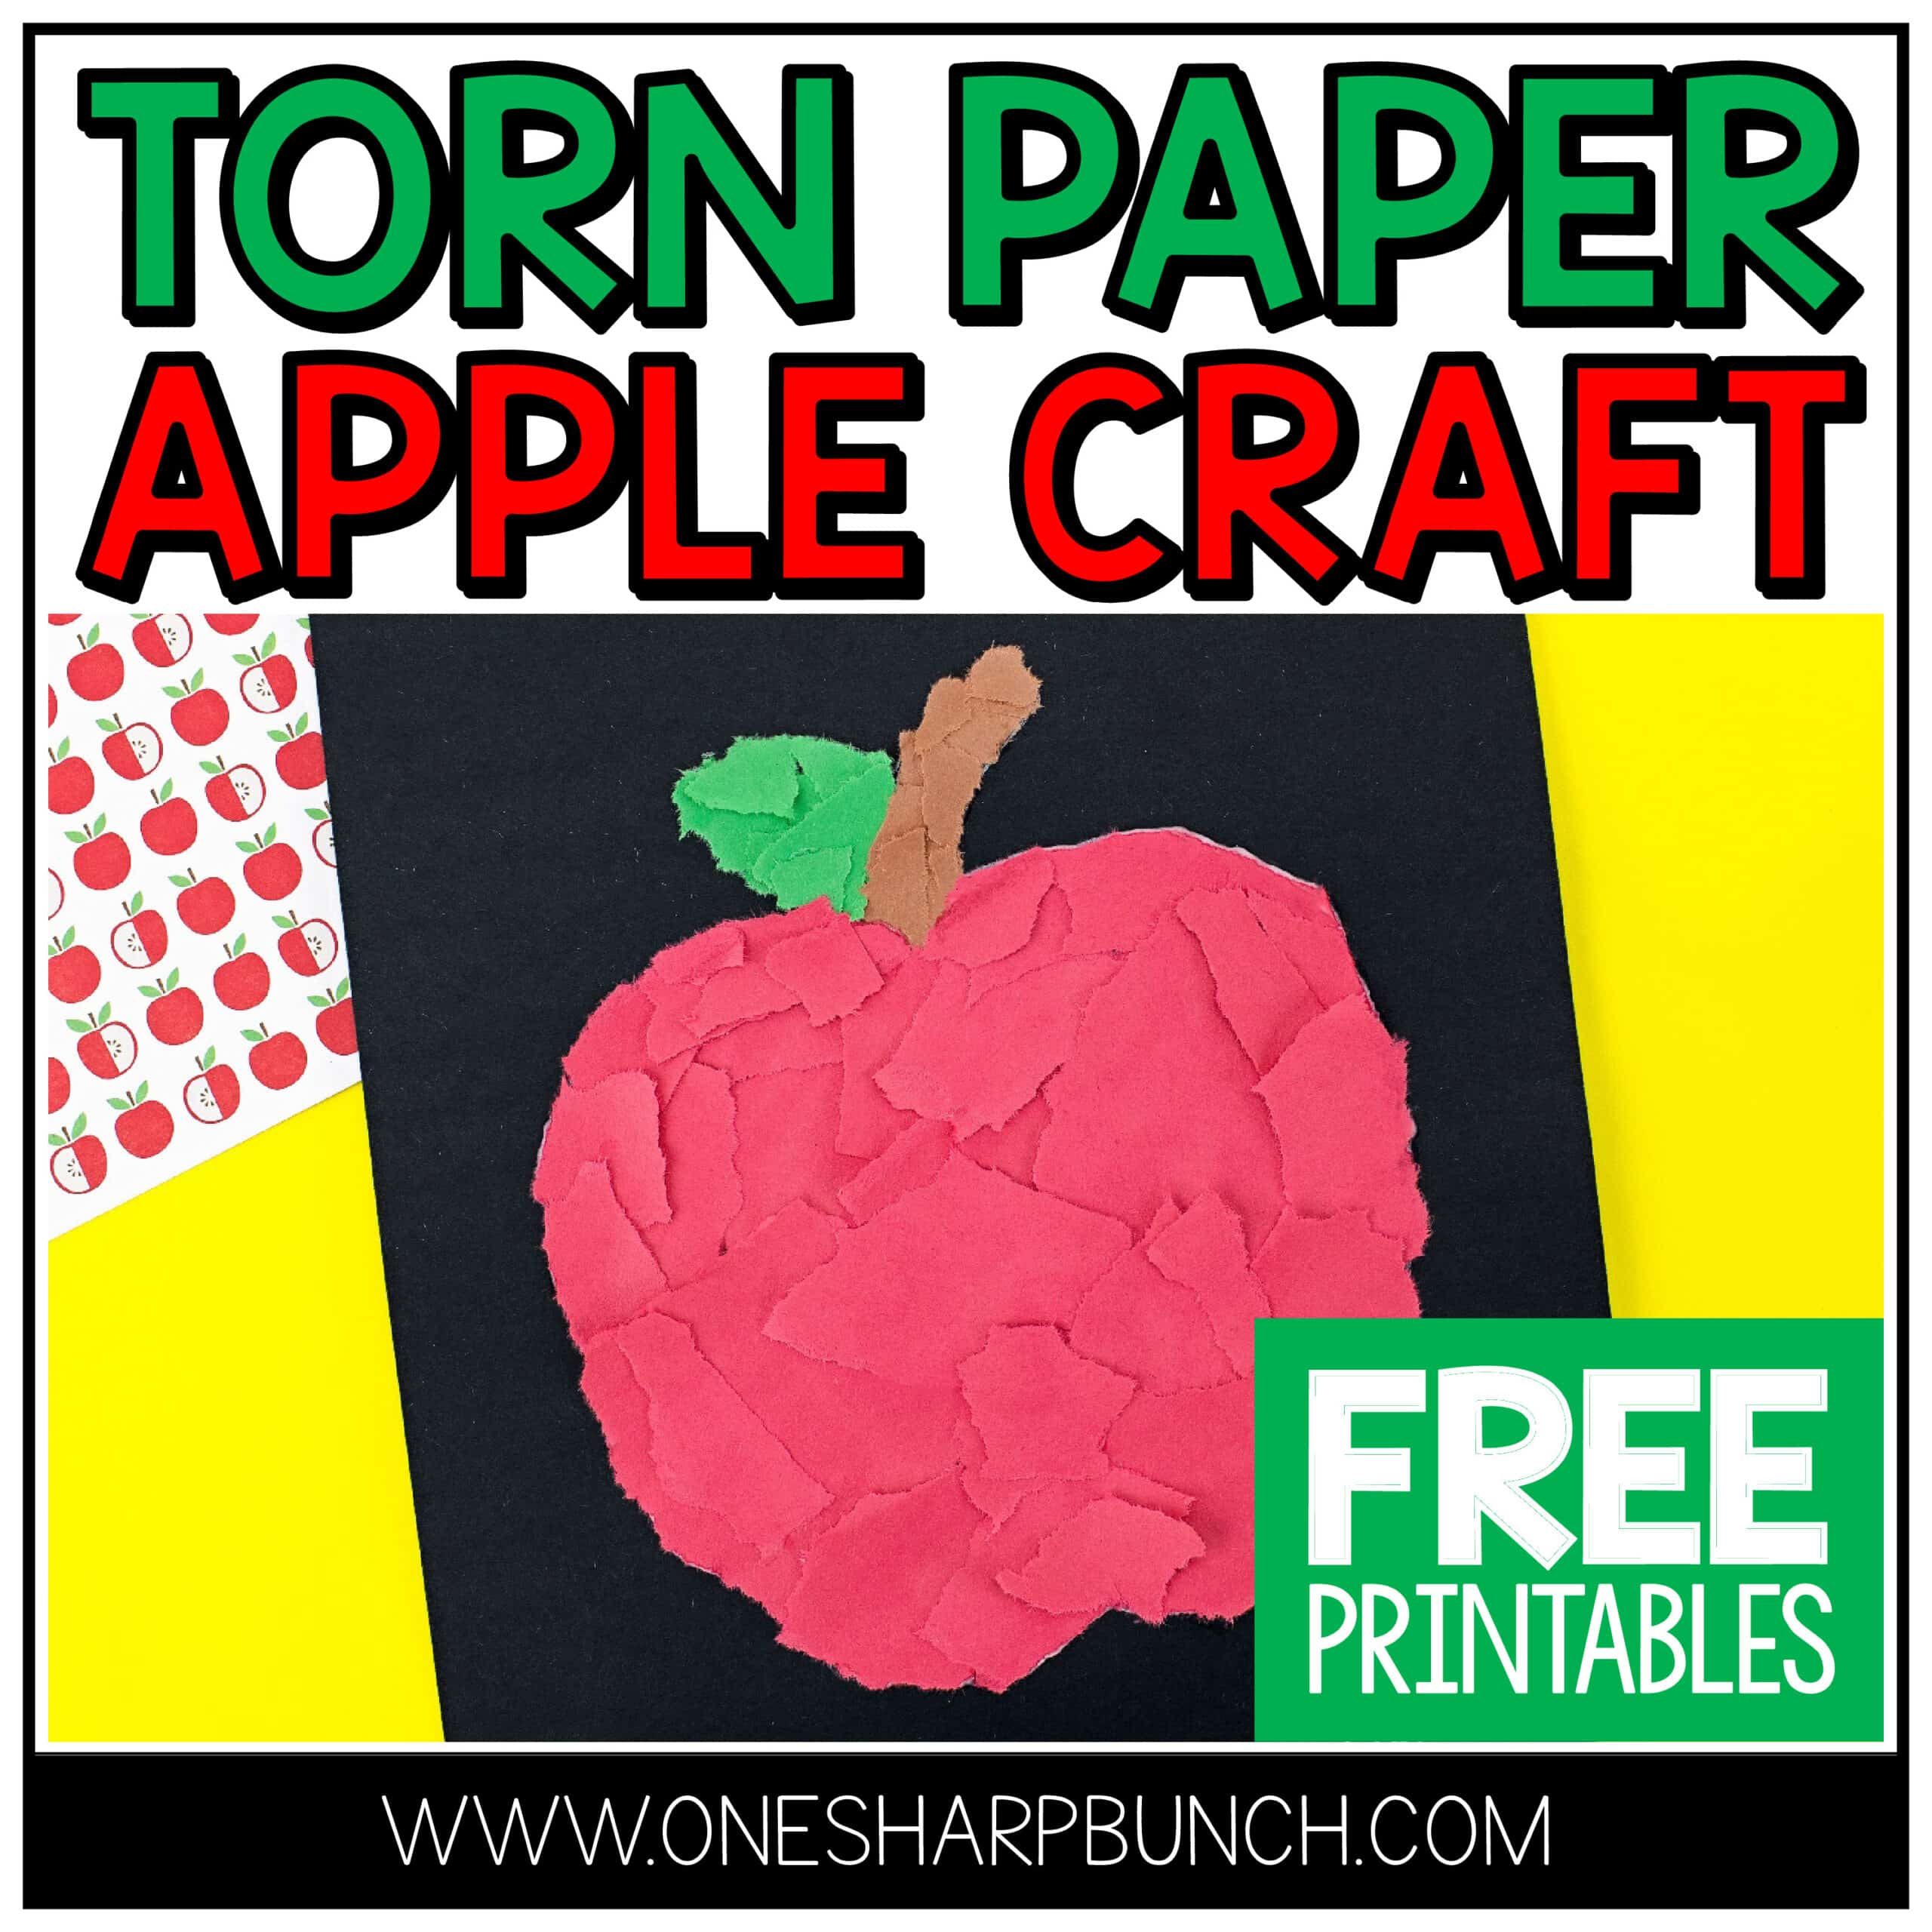
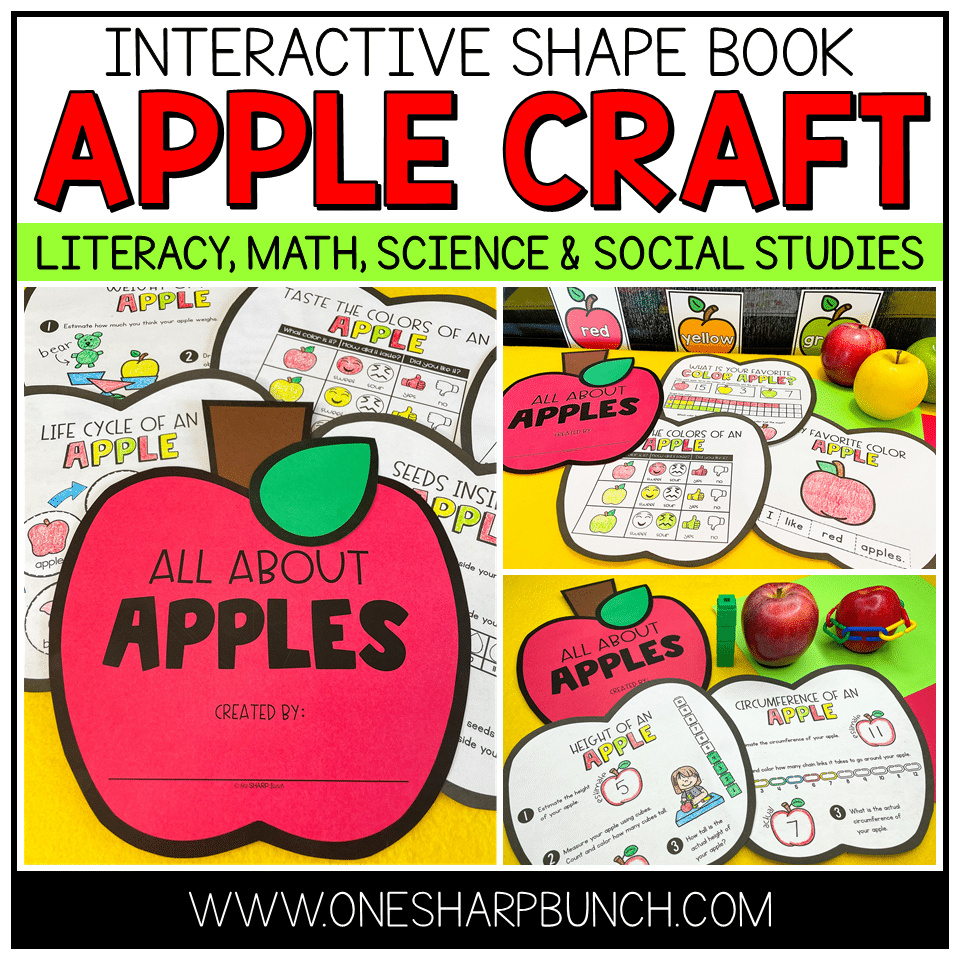
Looking for an additional apple craft that involves fine motor practice? Learn more about my torn paper apple craft!
DON’T FORGET IT… PIN IT!
Share this Post

Ashley Sharp
As a dedicated Kindergarten teacher for nearly 20 years, I believe the words “fun, play, and creativity” can sit right alongside the words “developmentally appropriate, engaging, and rigorous.” Learning is meant to be fun and messy!




Leave a Reply