Your cart is currently empty!

Science & Social Studies Freebie
Free Butterfly Life Cycle Activities
Explore how butterflies change and grow when you download these FREE butterfly life cycle activities for preschool, kindergarten, and first grade!
⎯ Crafts ⎯
Simple & Adorable DIY Tile Coasters Mother’s Day Crafts
Share this Post
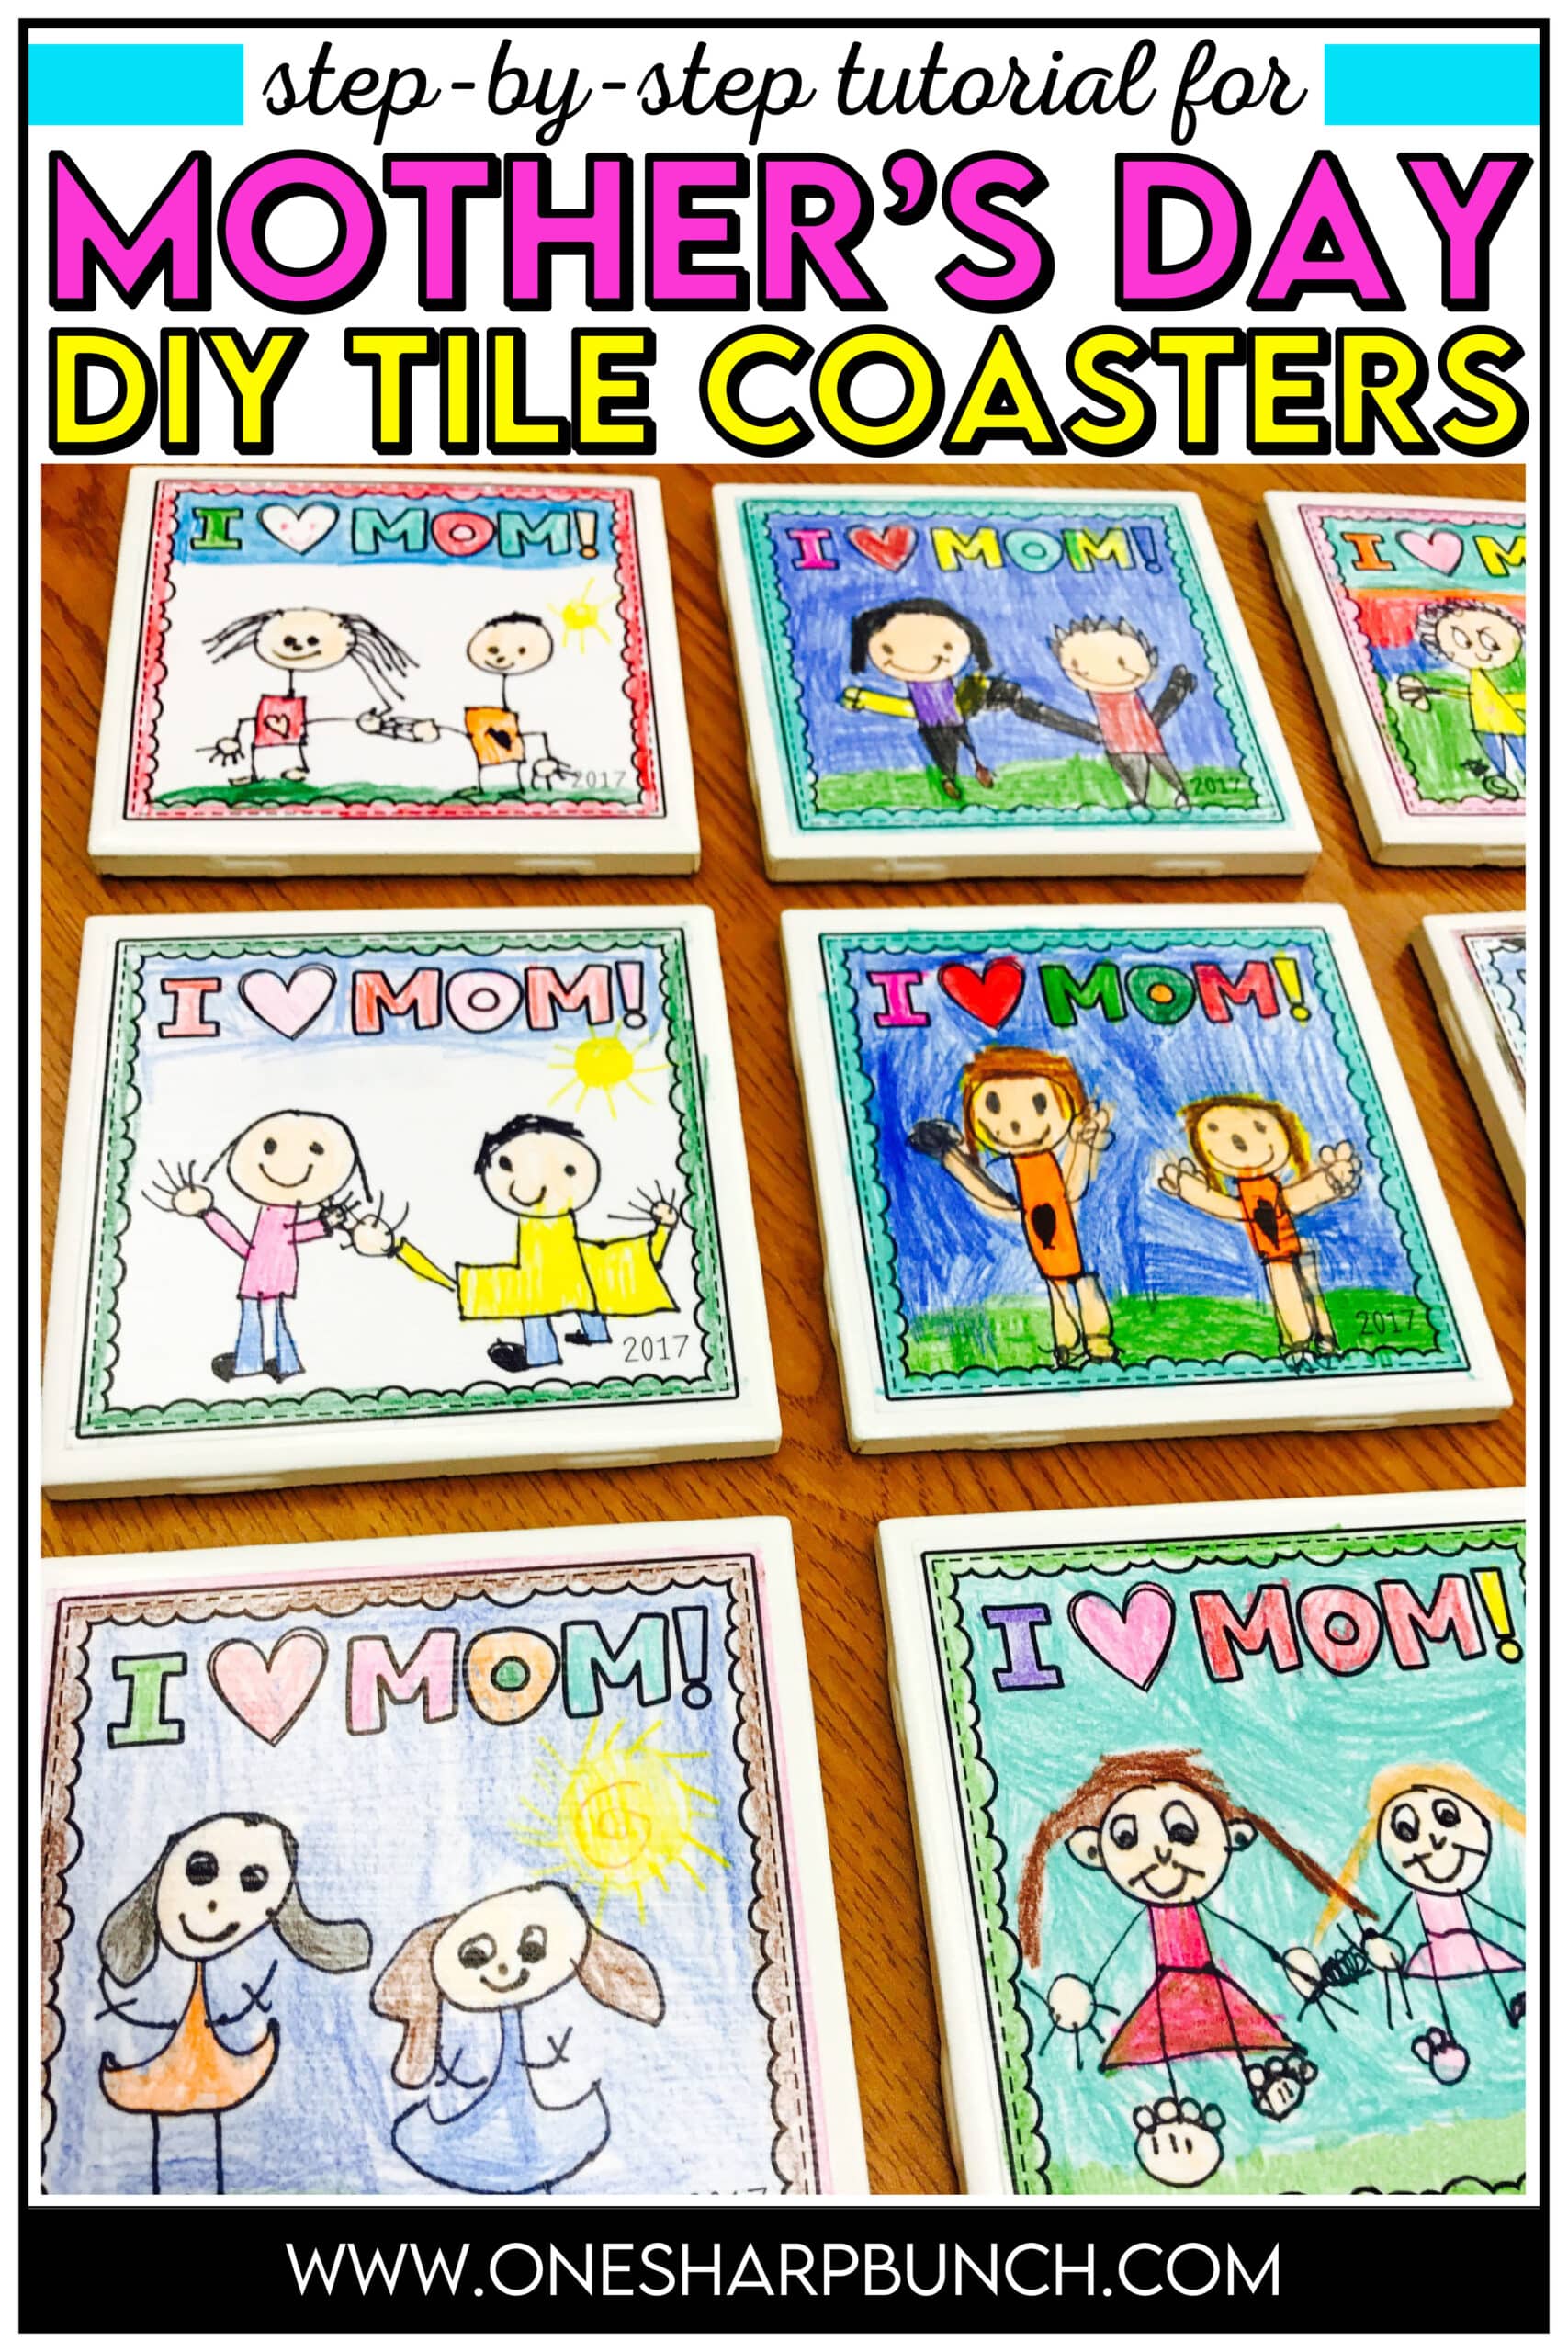
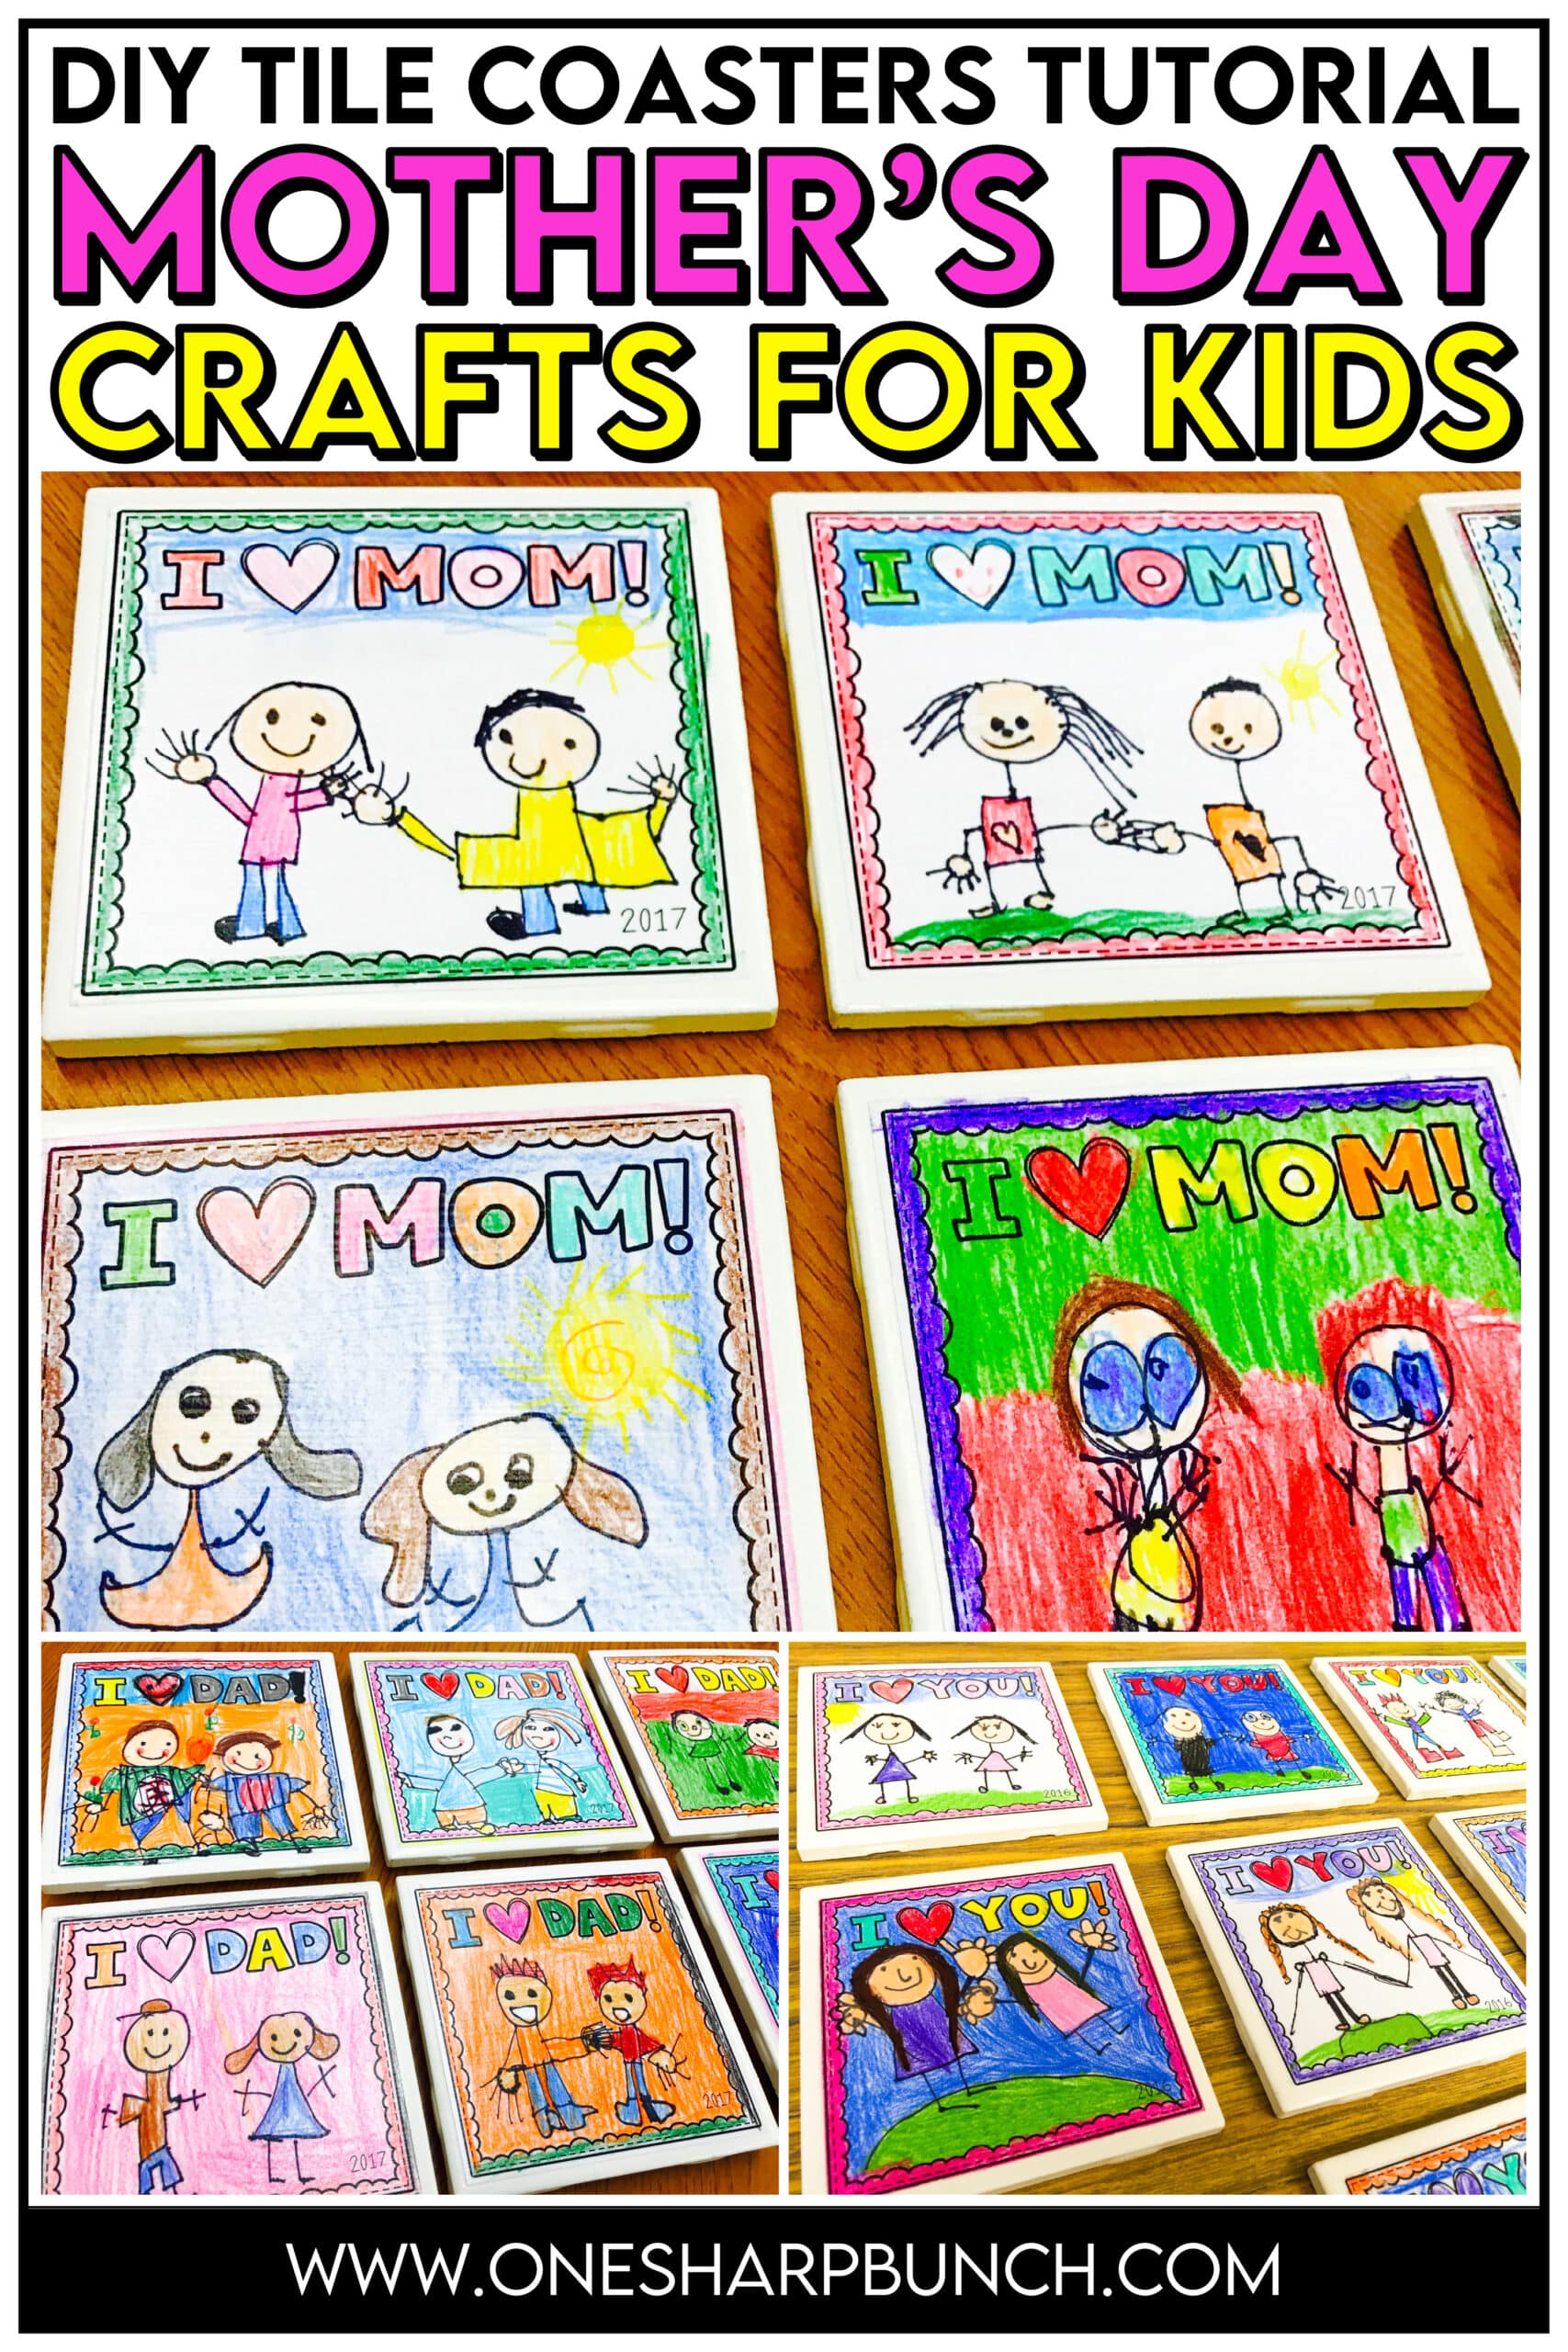
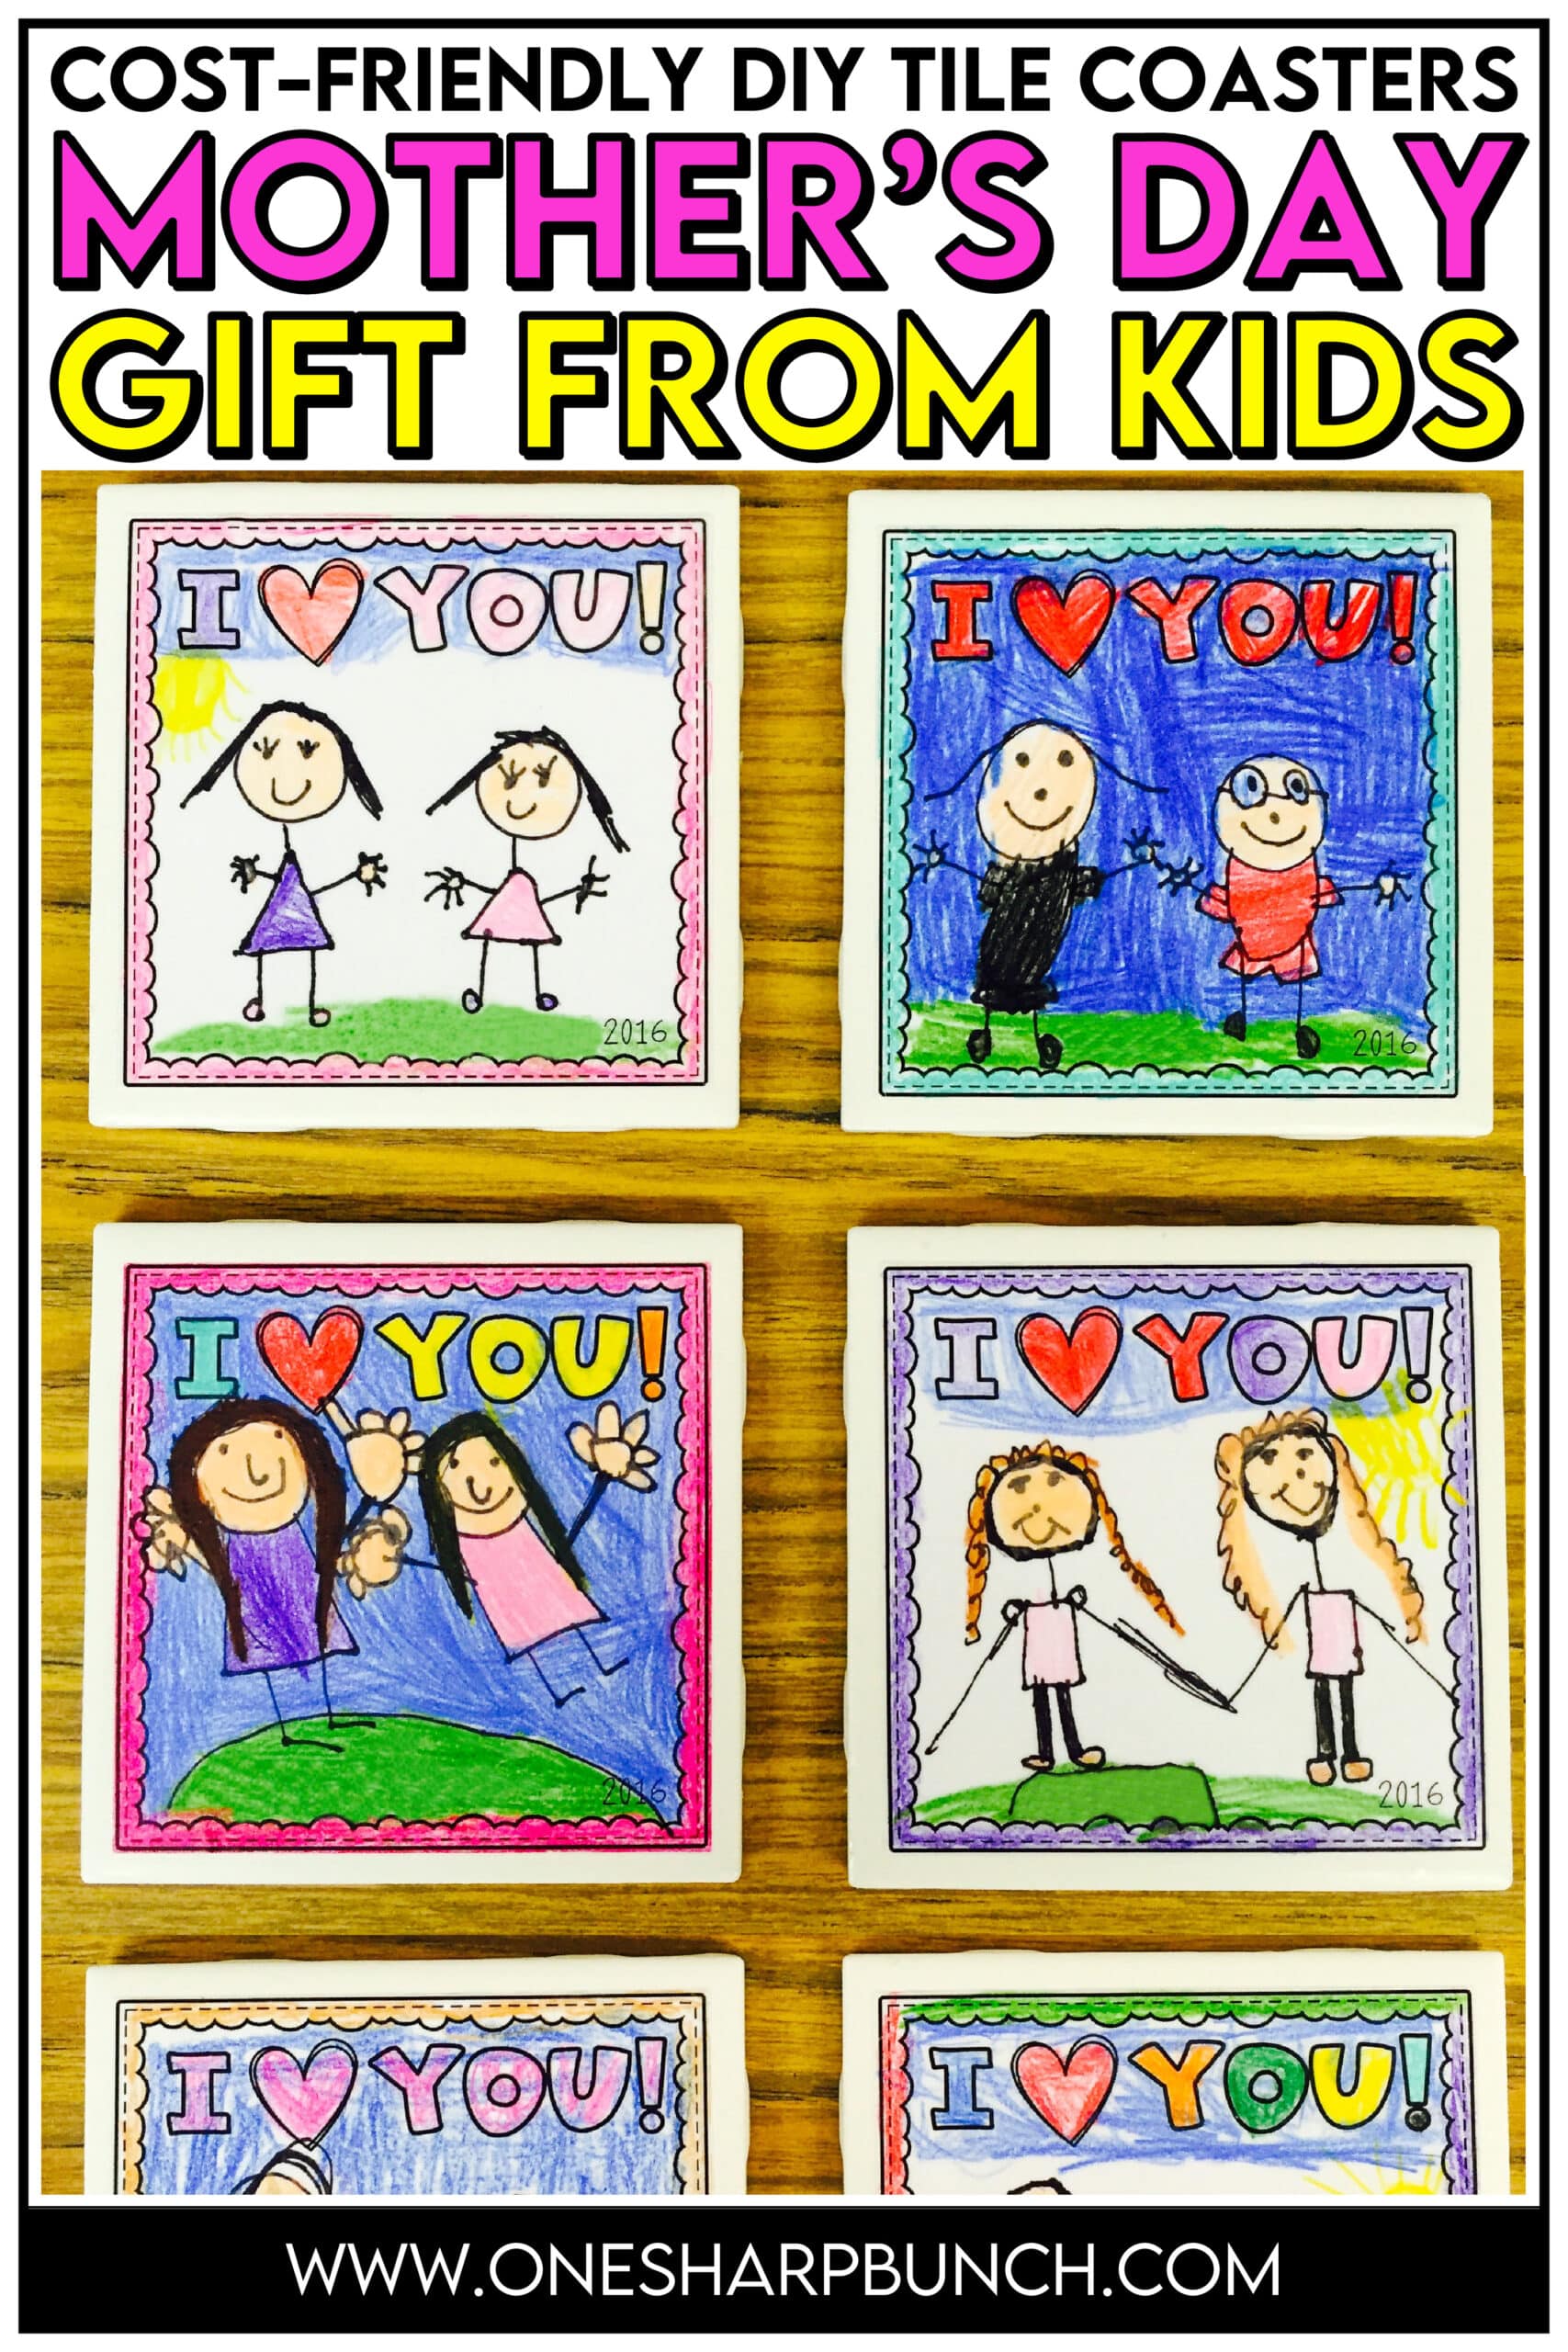
Are you looking for the perfect Mother’s Day crafts or Father’s Day crafts from kids that are simple enough for your little ones to make at school?! Well, look no further! These hand-drawn DIY tile coasters are easy to create, and they actually turn out super adorable (no Pinterest fail here)! Your students’ loved ones are sure to cherish them forever!
This post contains affiliate links for your shopping convenience. Any purchases made through one of our links earns us a small commission, at no extra cost to you. As an Amazon Associate, I earn from qualifying purchases. All creative ideas and opinions expressed are purely our own. Read our full privacy policy and disclosure for more information.
Supplies for DIY Tile Coasters Mother’s Day Crafts
First, you’ll need to gather your supplies for the DIY tile coasters. You can find my favorites here!
For these Mother’s Day crafts, we used Daltile 4.25 x 4.25 ceramic tiles from Home Depot, but any white ceramic tiles will do. Ours came in a case of 100 that we split between four classrooms. You may also want to compare prices at Menards and Lowes to see who has the least expensive option.
You’ll also need a few ultra fine black Sharpie markers, as well as some colored pencils and Mod Podge.
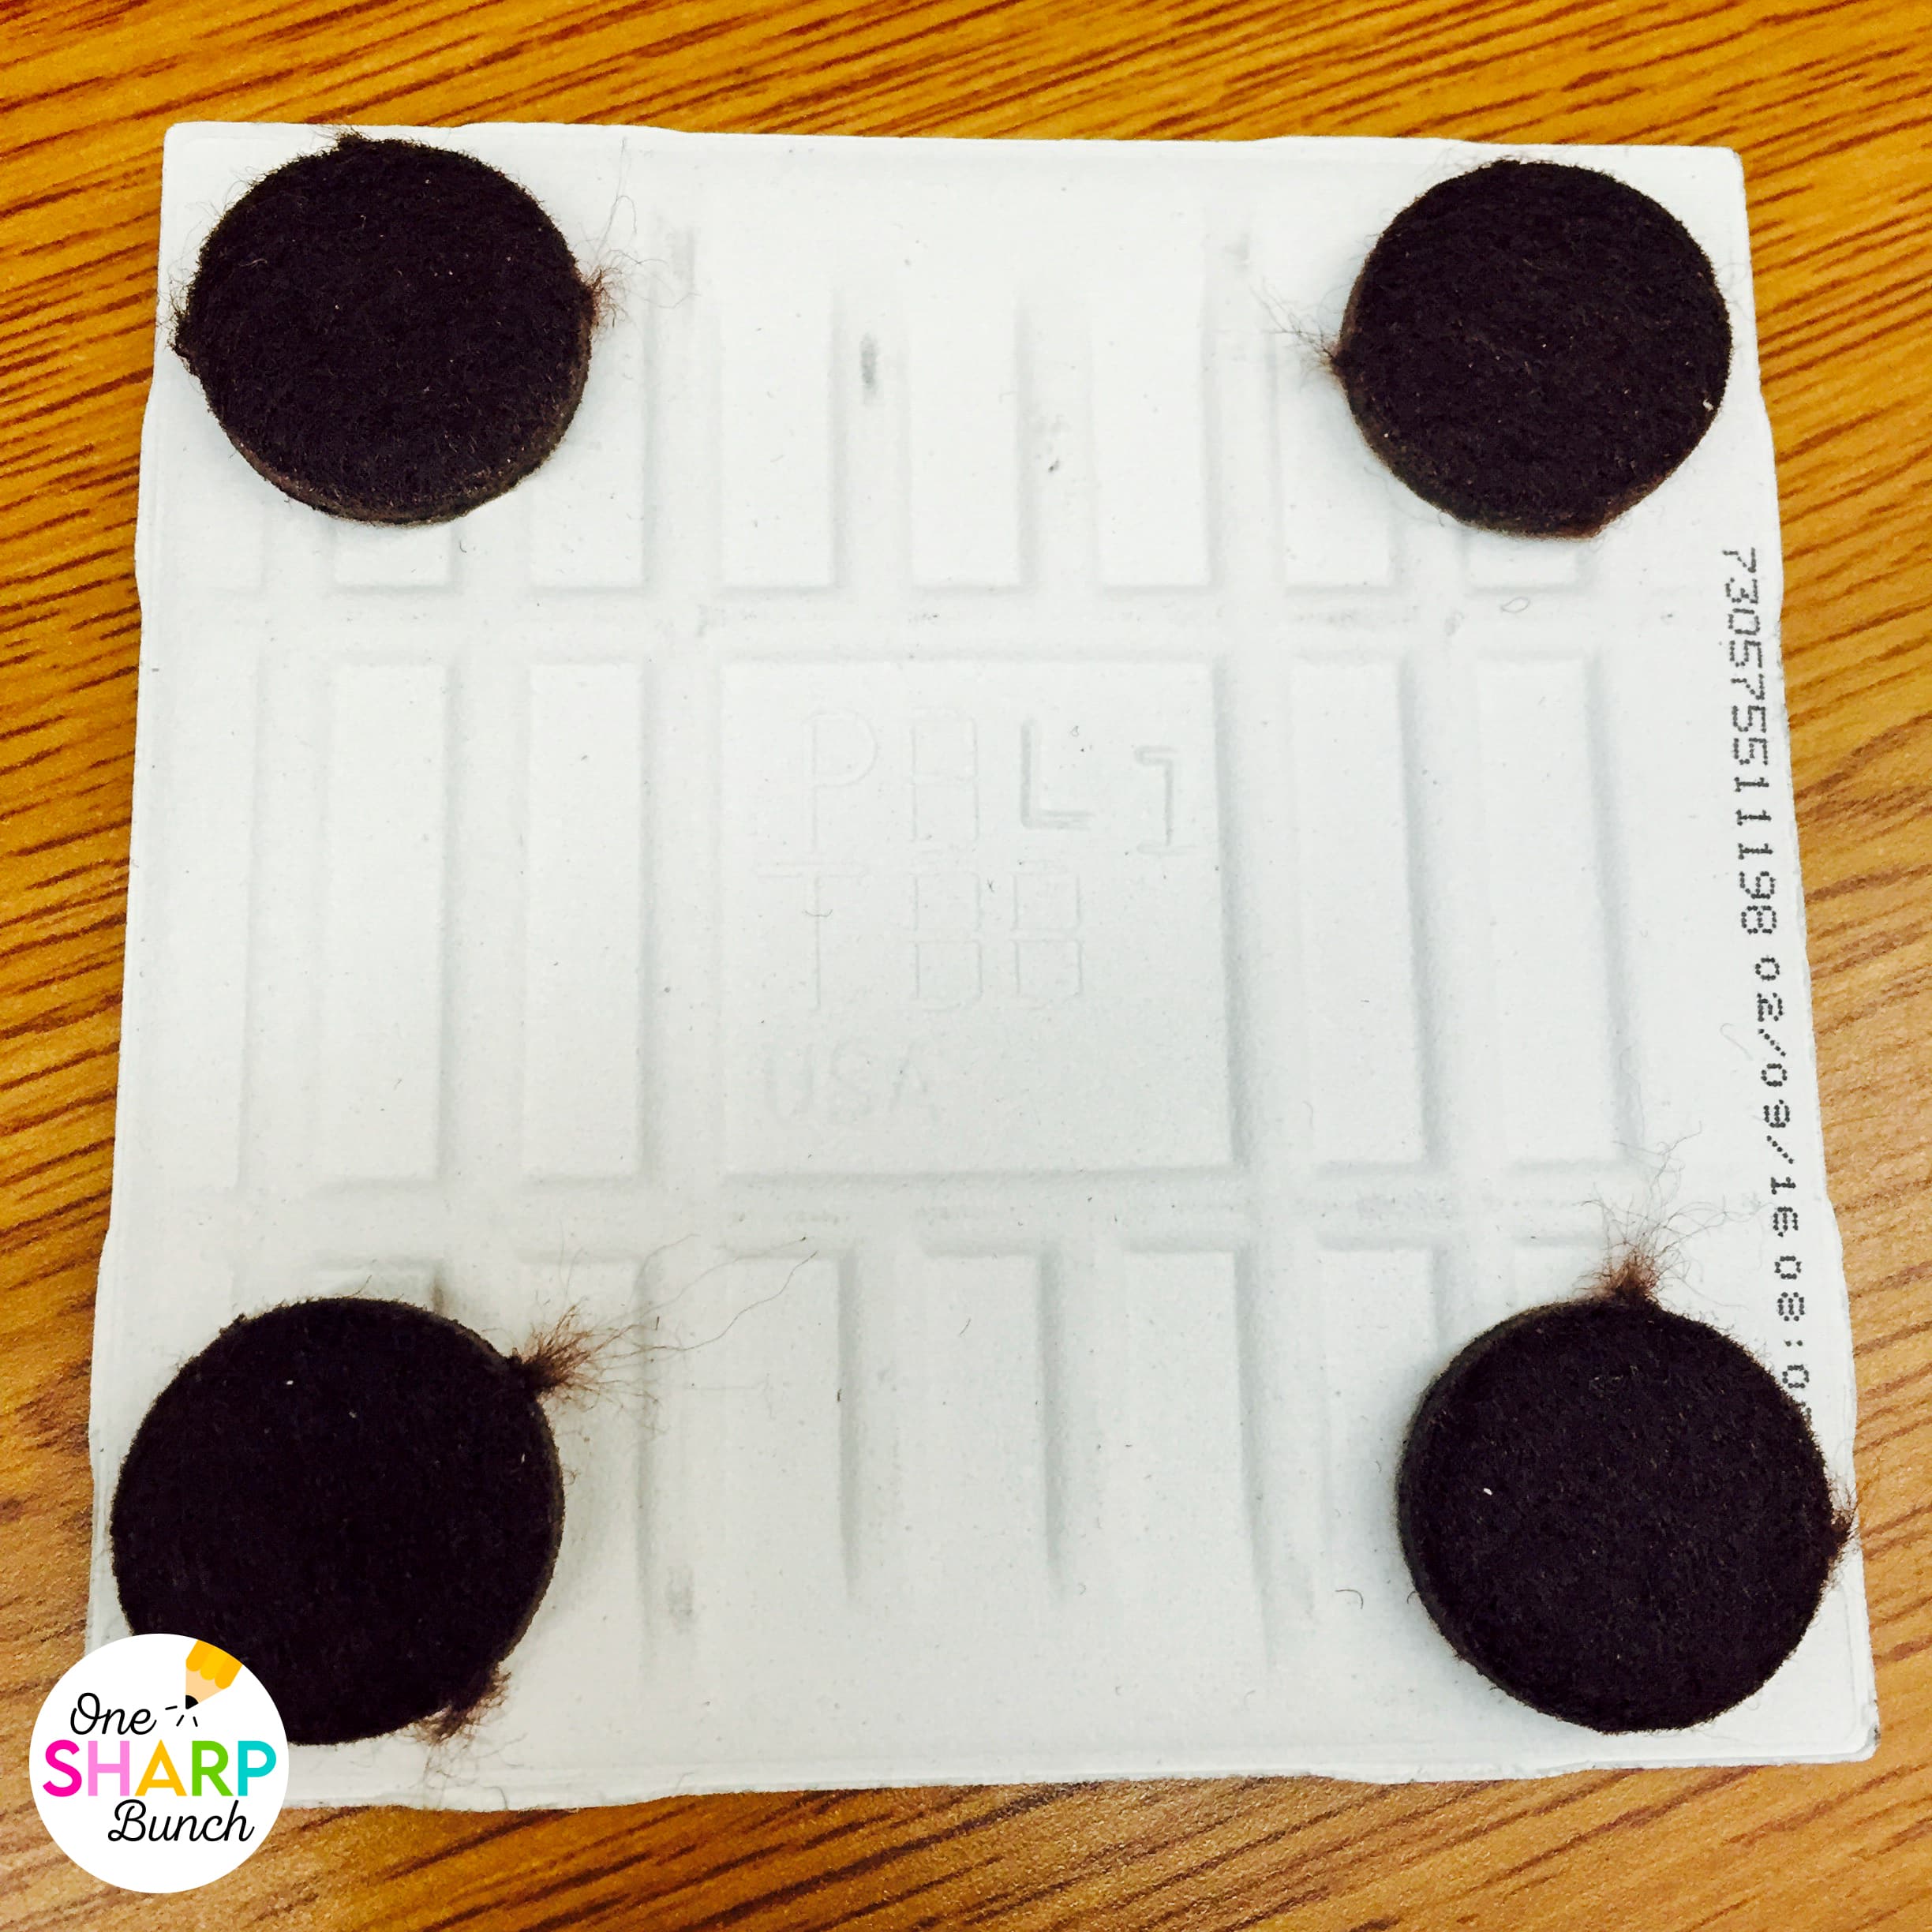
I chose to add felt pads to the bottom of our DIY tile coasters, but you could always skip this step.
The total estimated cost per student was roughly 40 cents with the felt pads, and just under 20 cents without the felt pads… so the total for my entire class set of Mother’s Day crafts was less than $10!
Directions for DIY Tile Coasters
STEP 1
There are three templates included, so that your students can make a tile coaster for a parent, guardian or any loved one. Choose from:
- I (heart) YOU!
- I (heart) MOM!
- I (heart) DAD!
Simply print the chosen template for the Mother’s Day crafts on regular copy paper, and use a paper cutter to trim around each square.
STEP 2
My students, first, drew a picture of themselves and their mother/guardian using the ultra fine black Sharpie marker.
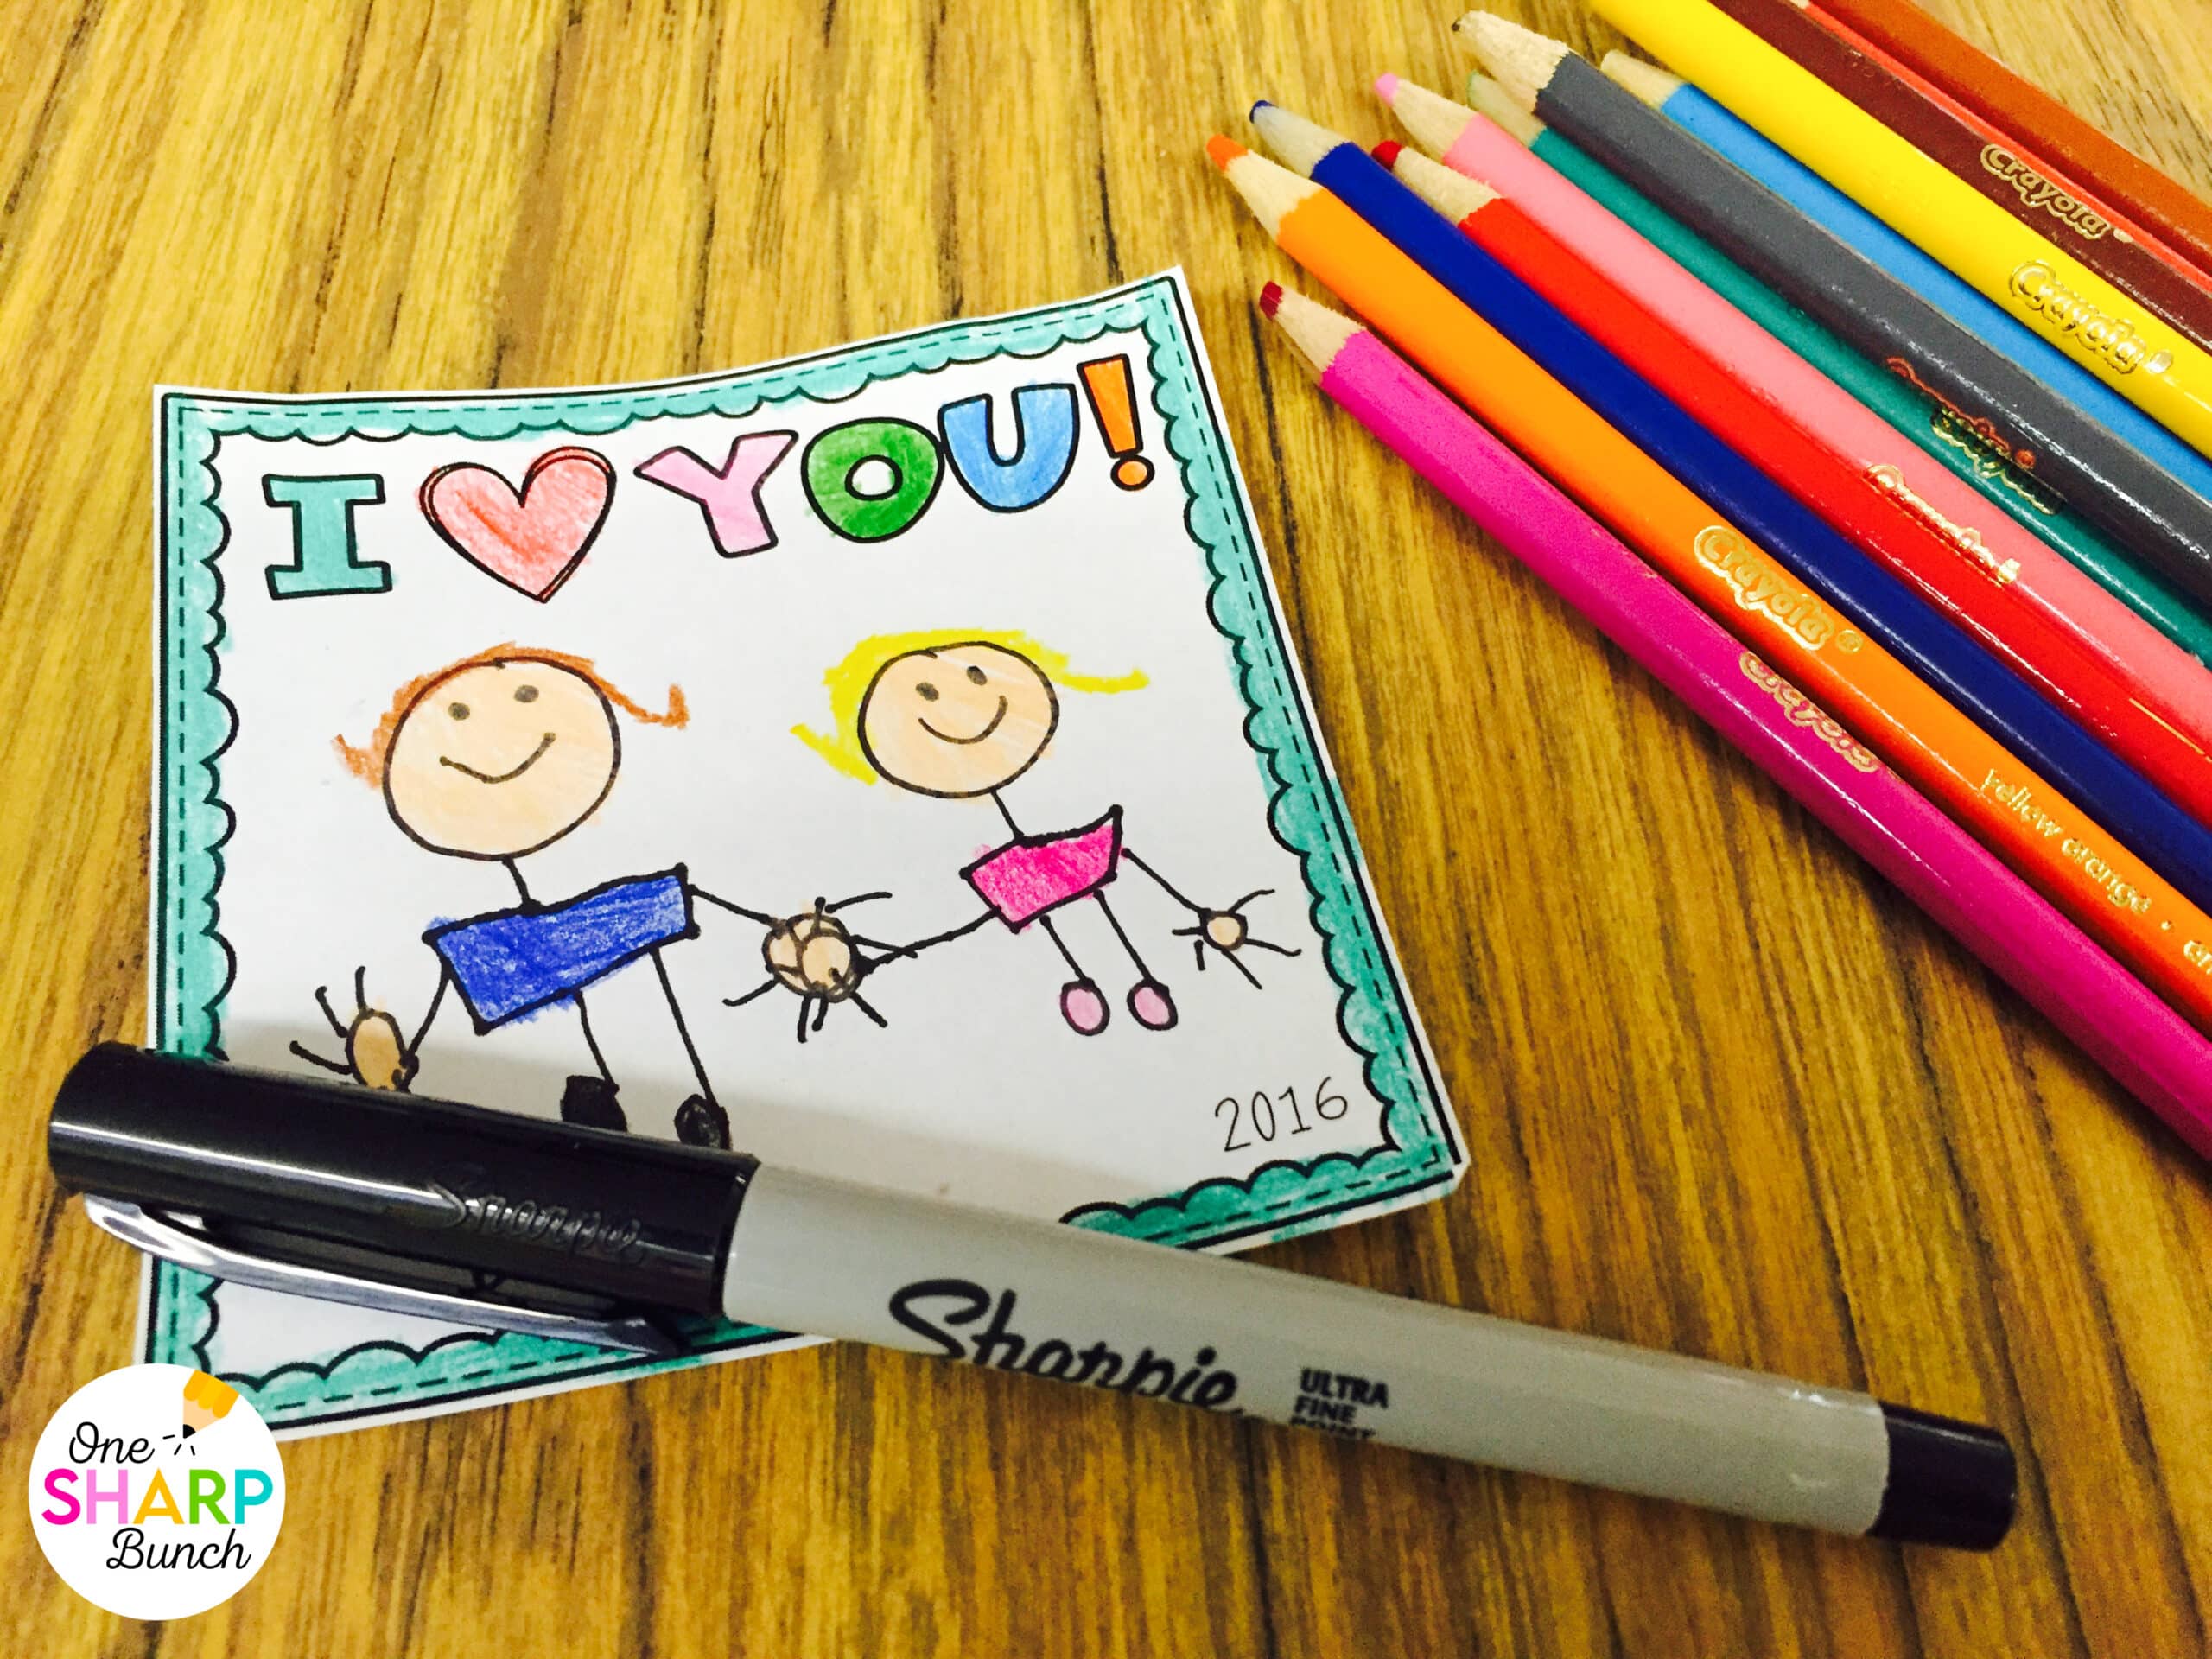
Then, they colored in the picture, words, and border using colored pencils. I instructed them to take their time and do their best work because these were going to be a special gift.
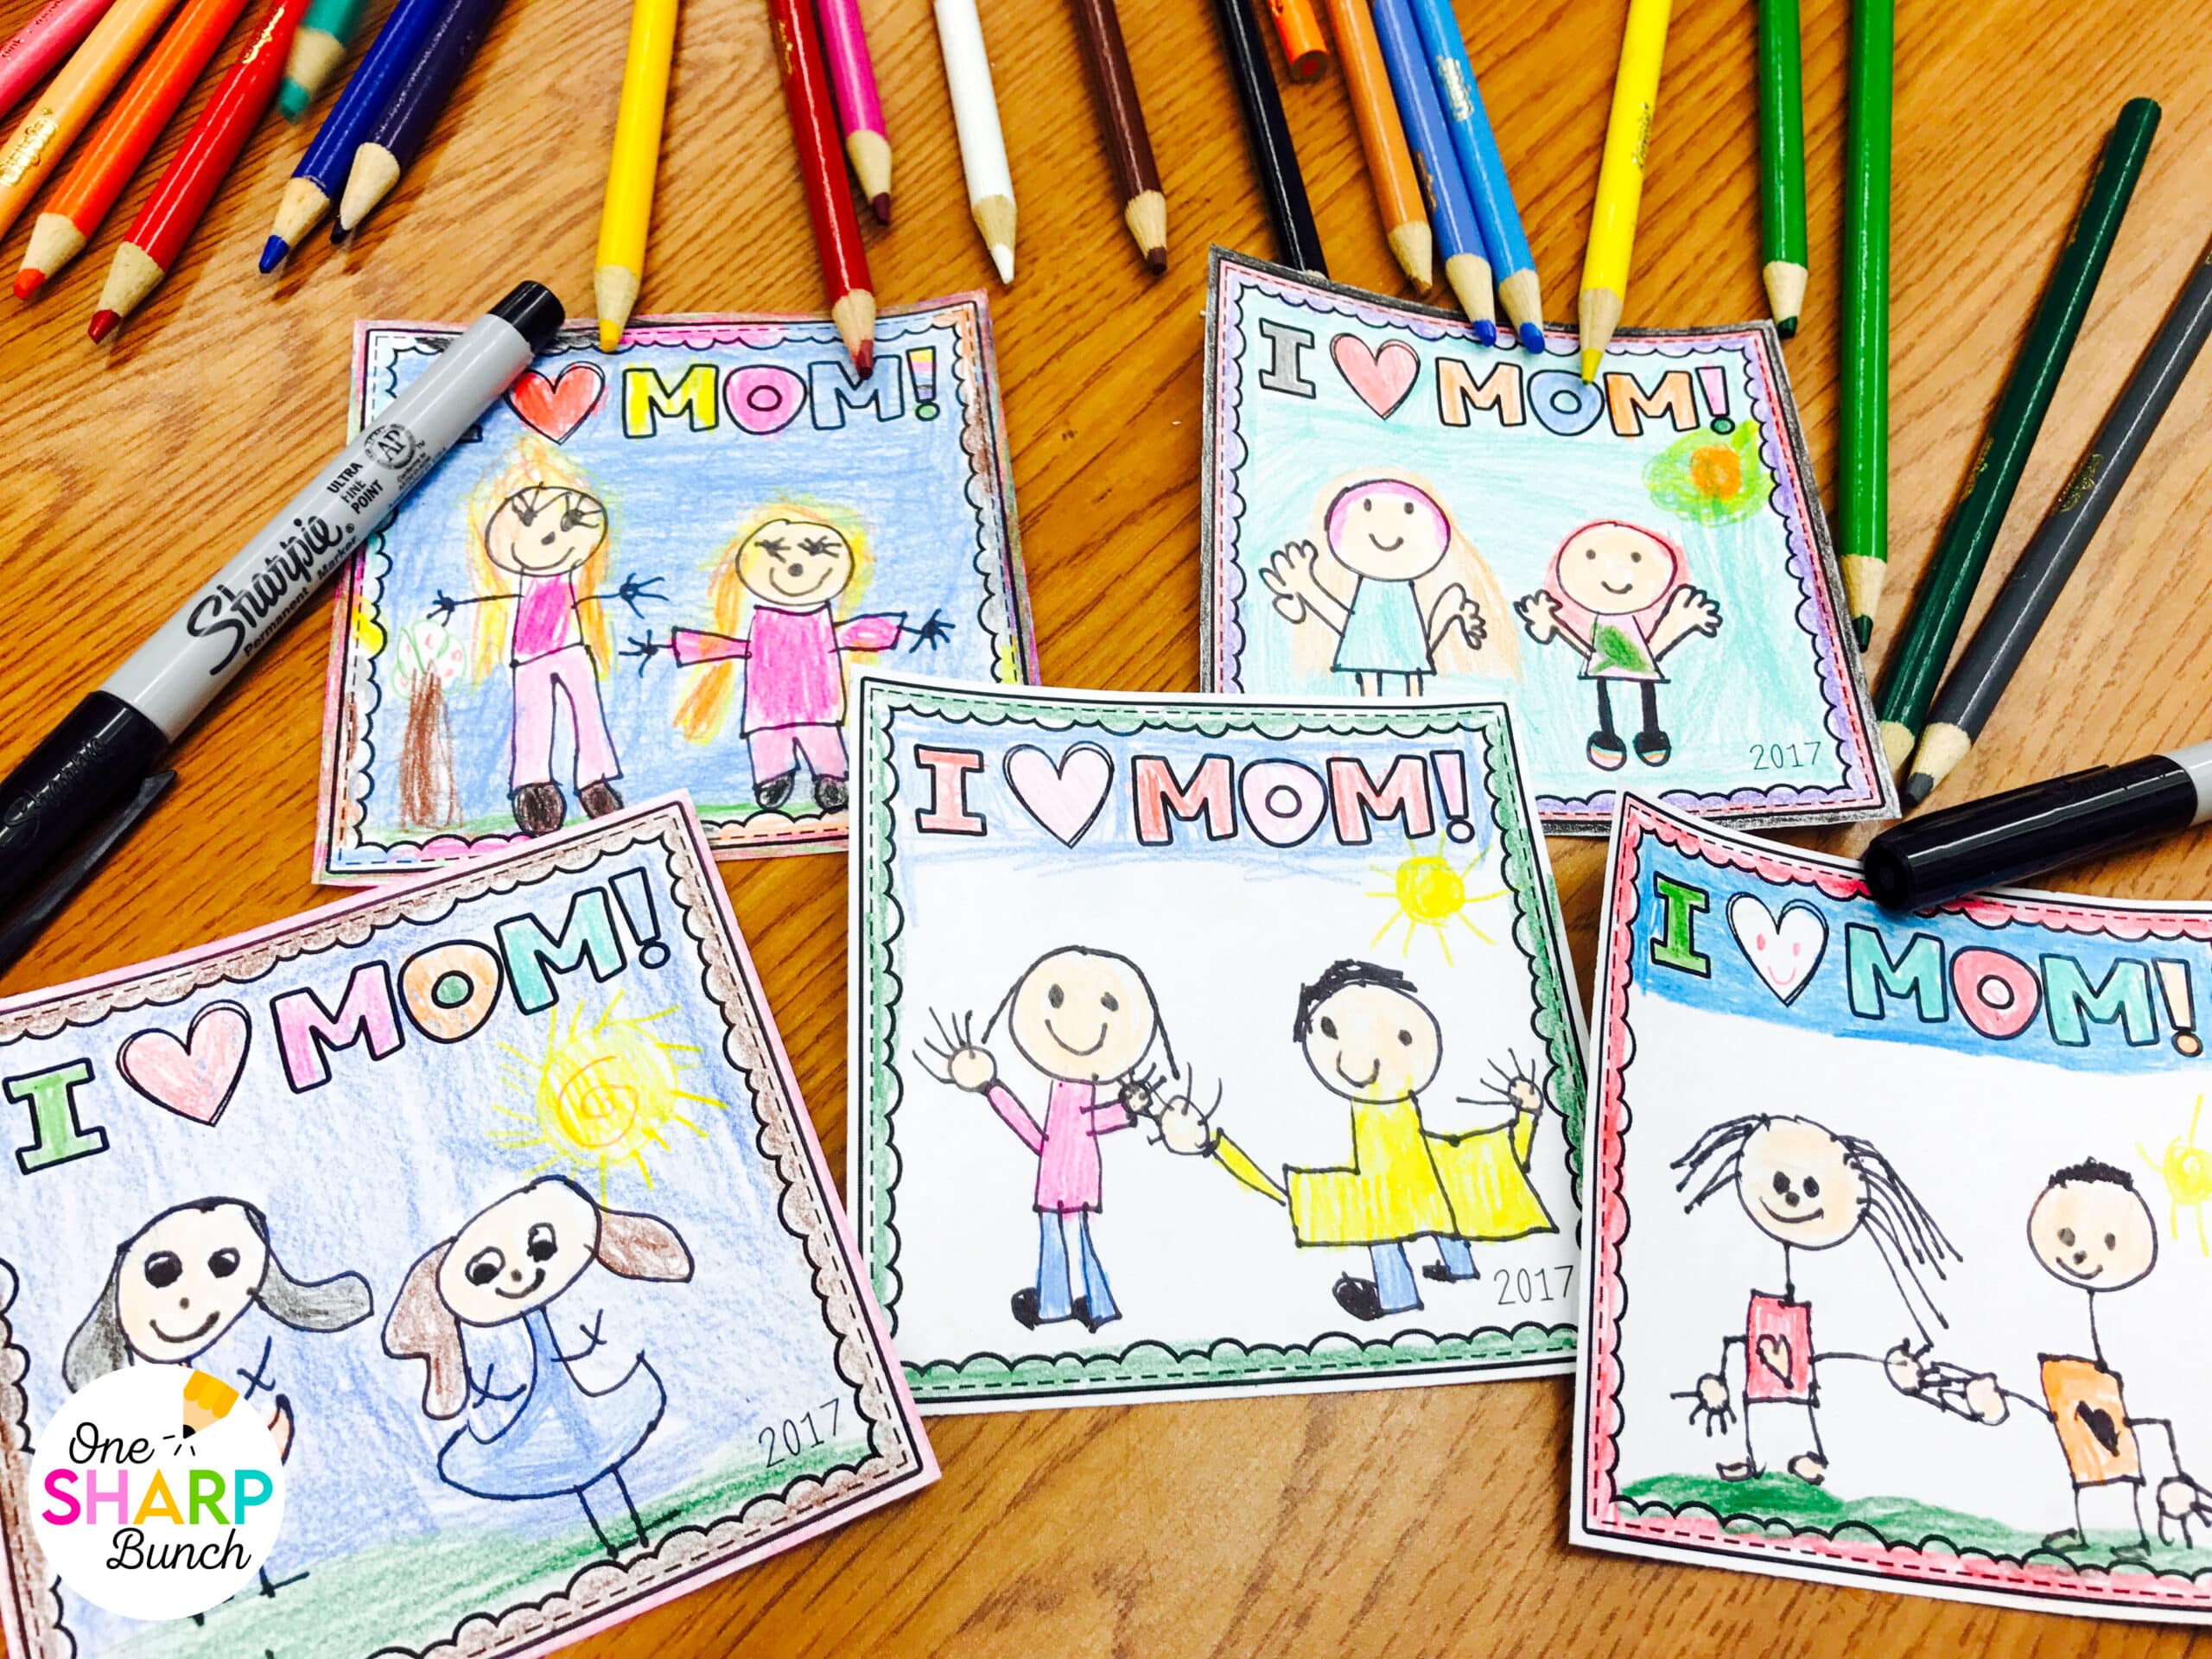
Kid drawing is seriously my favorite!
STEP 3
Once the kiddos were finished with their template creations for the Mother’s Day crafts, I used Mod Podge to adhere them to the ceramic tiles. First, I coated the tile with a layer of Mod Podge.
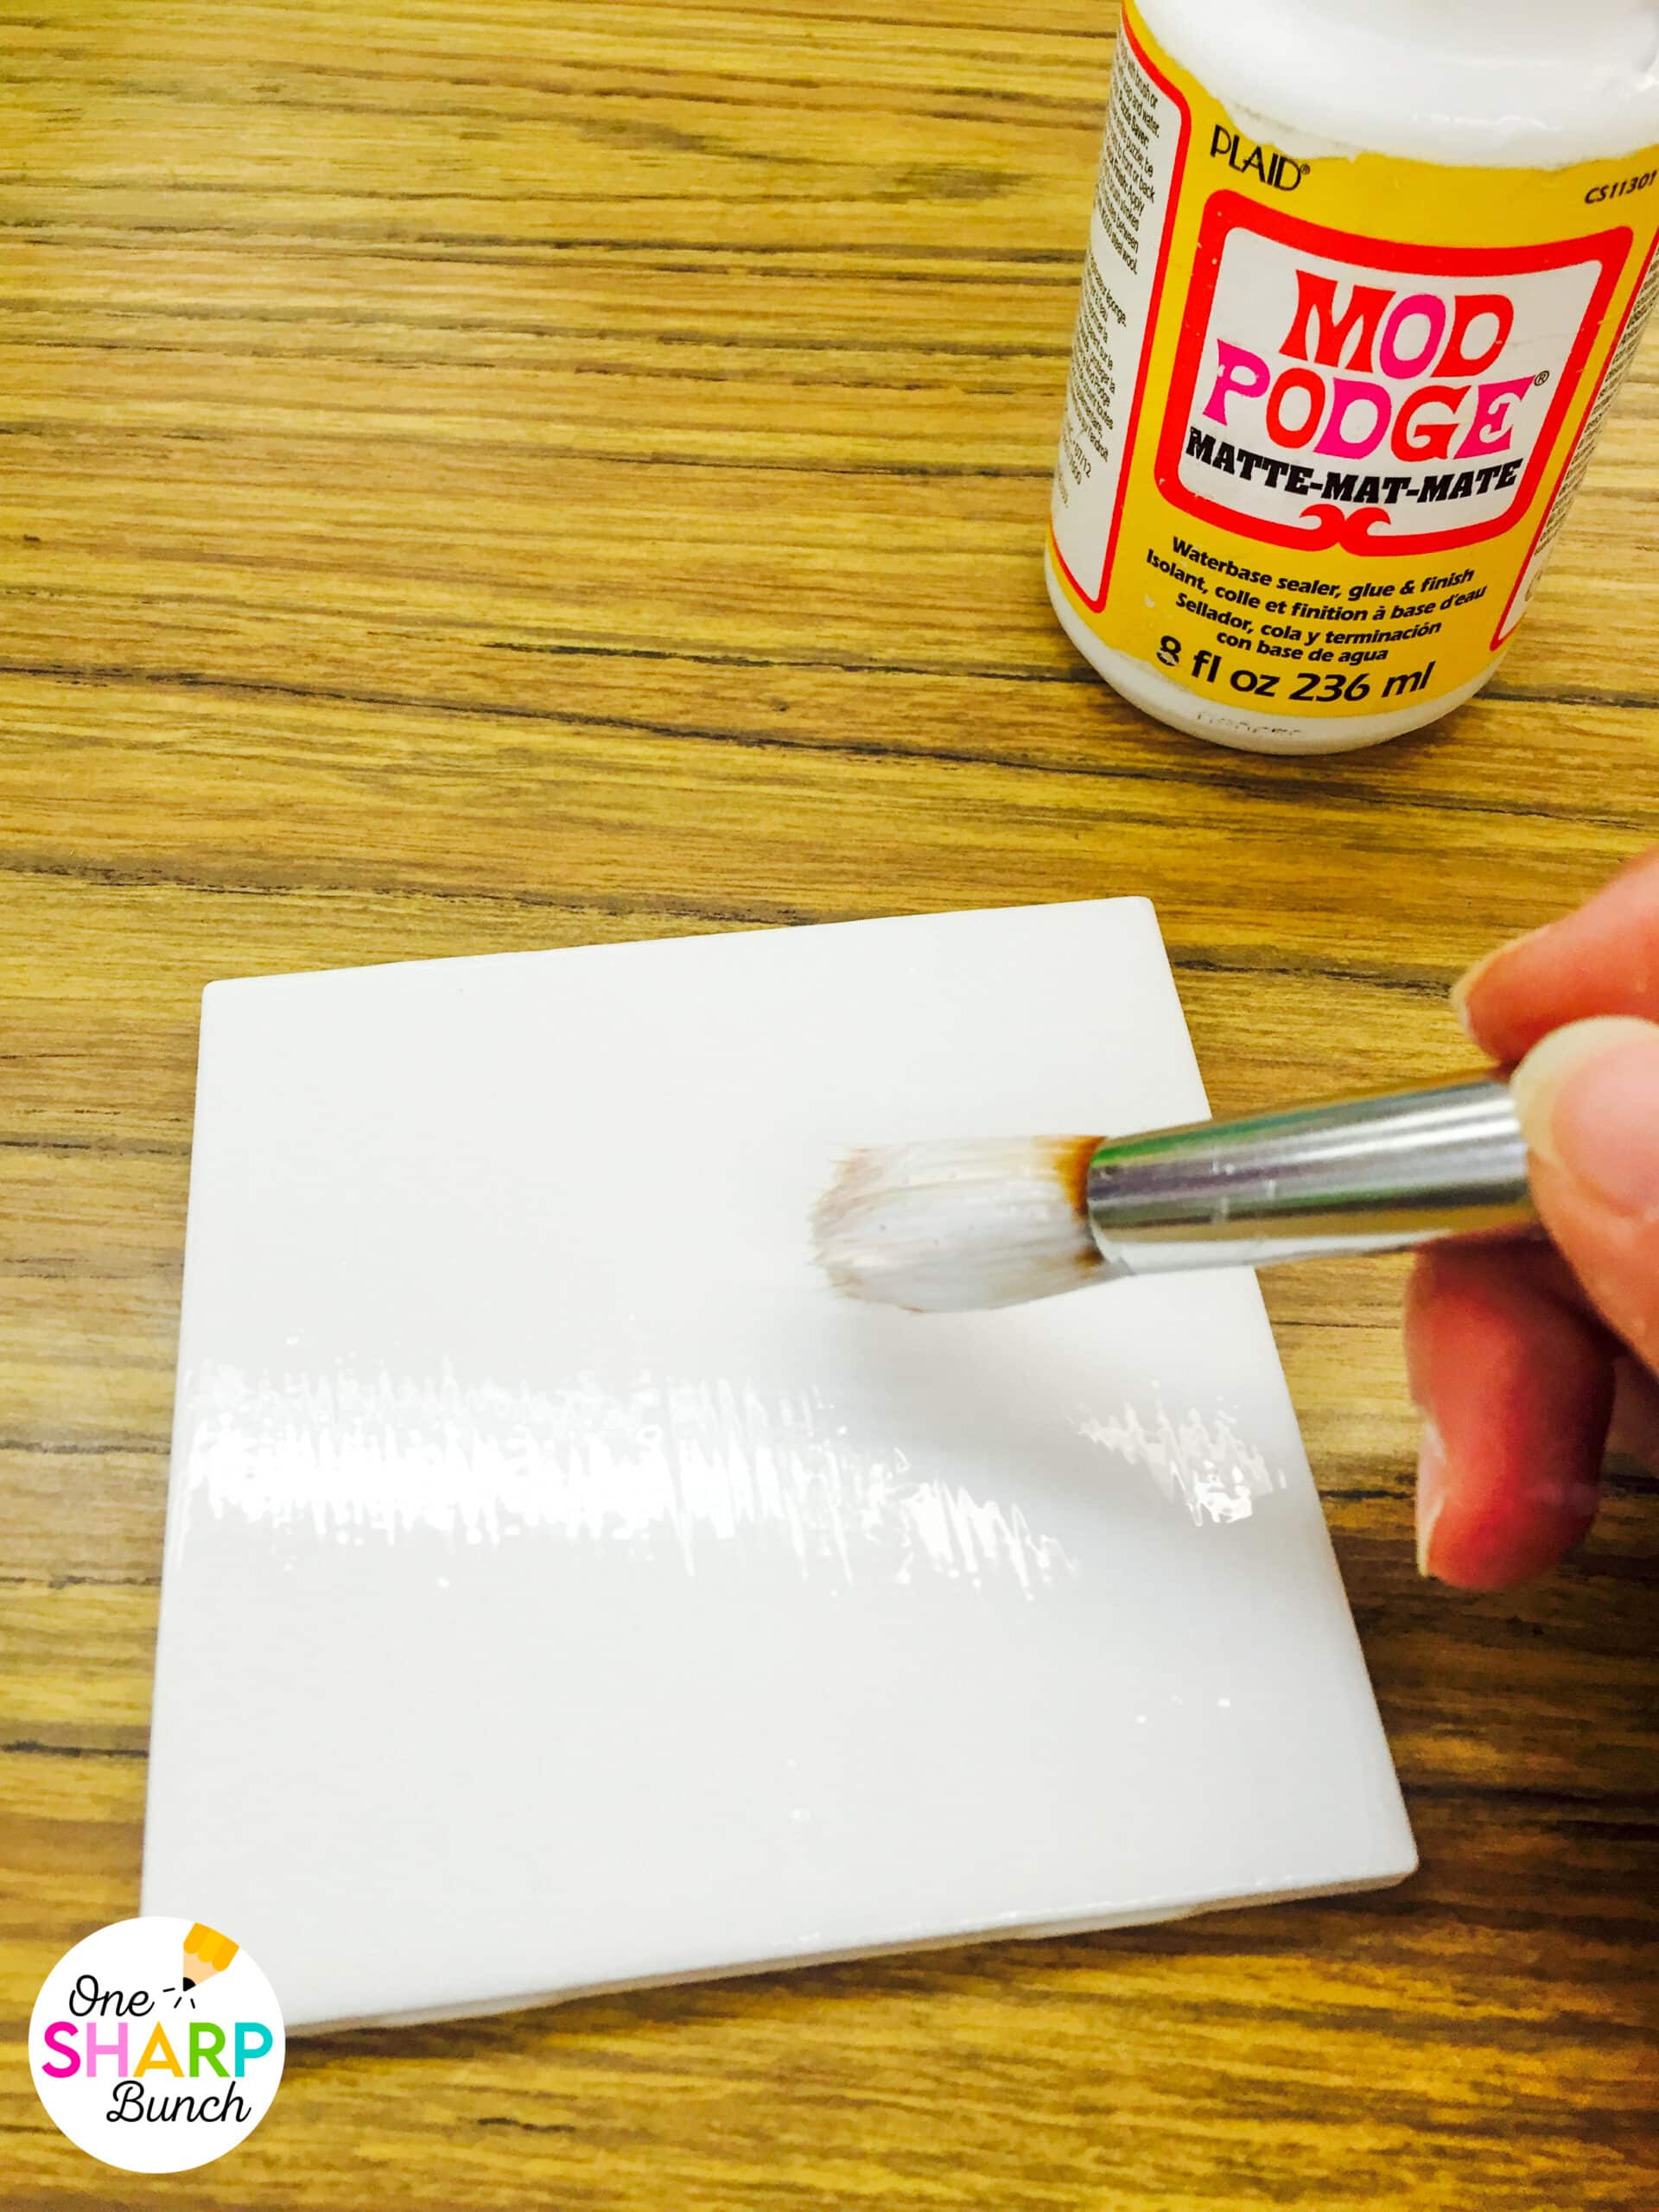
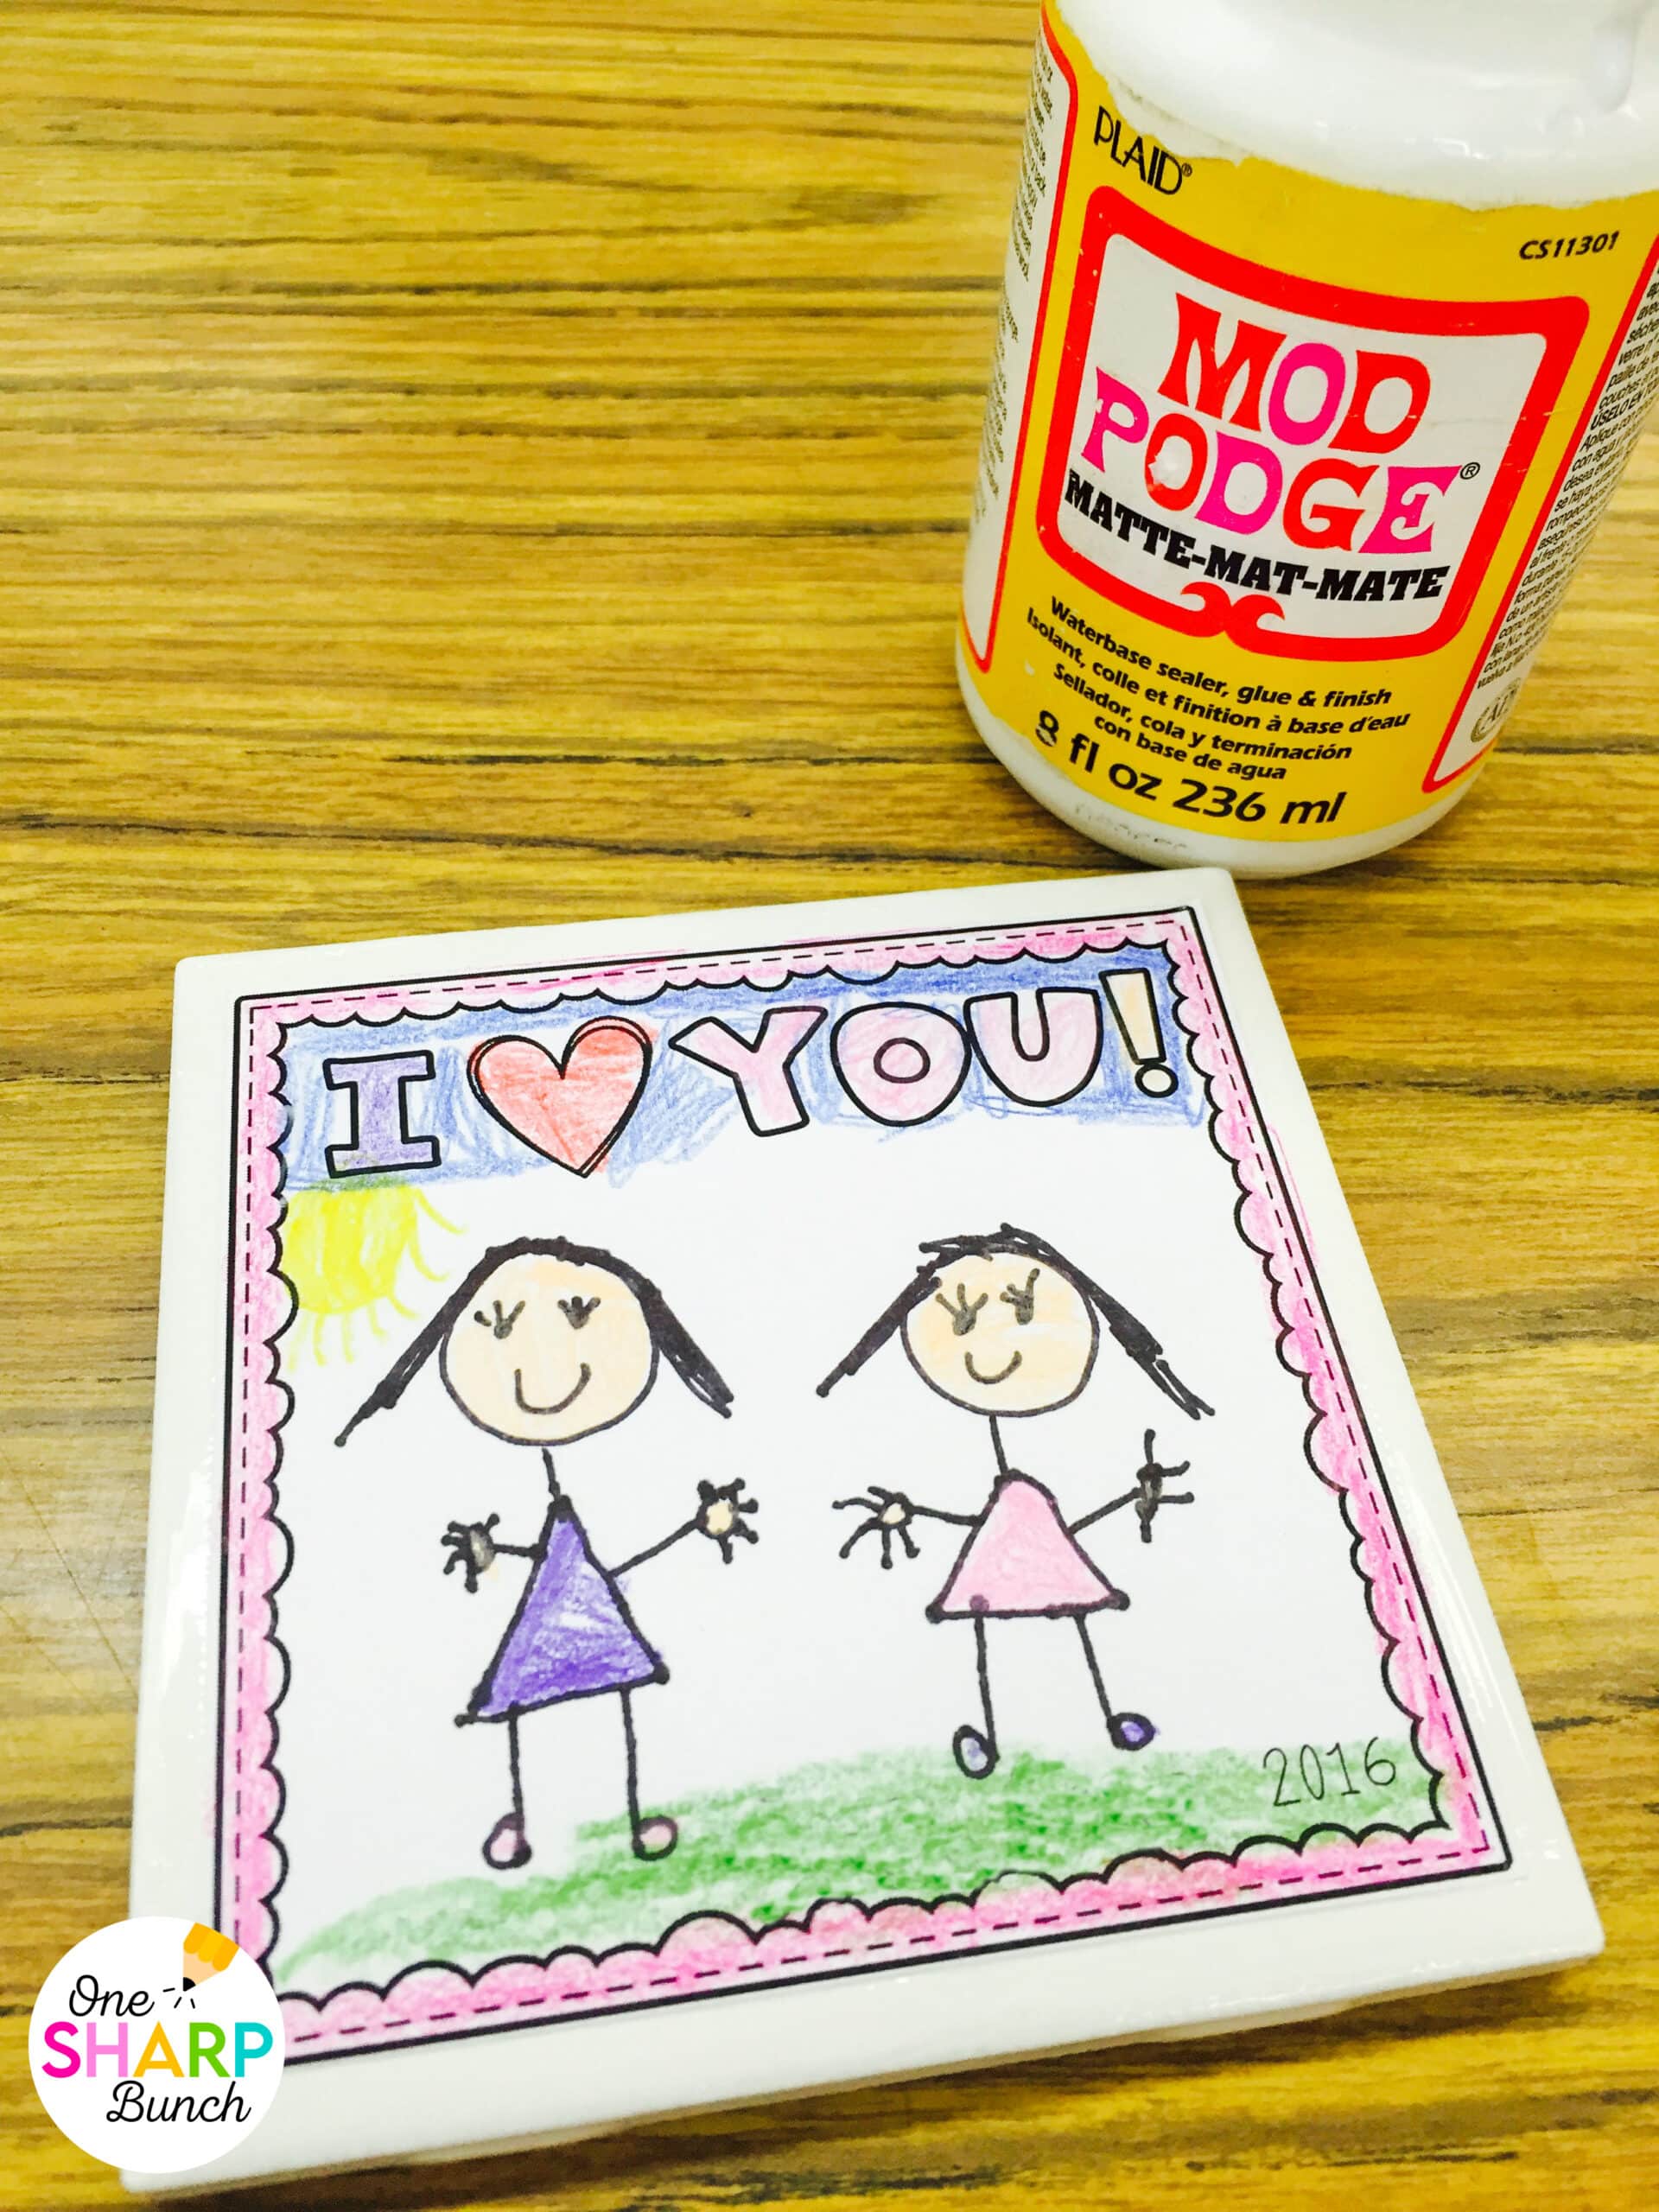
Then, I centered the square template for the Mother’s Day crafts on the tile. I started by aligning the top two corners, and then rubbed down across the paper. This helps prevent the paper from bubbling on the DIY tile coasters.
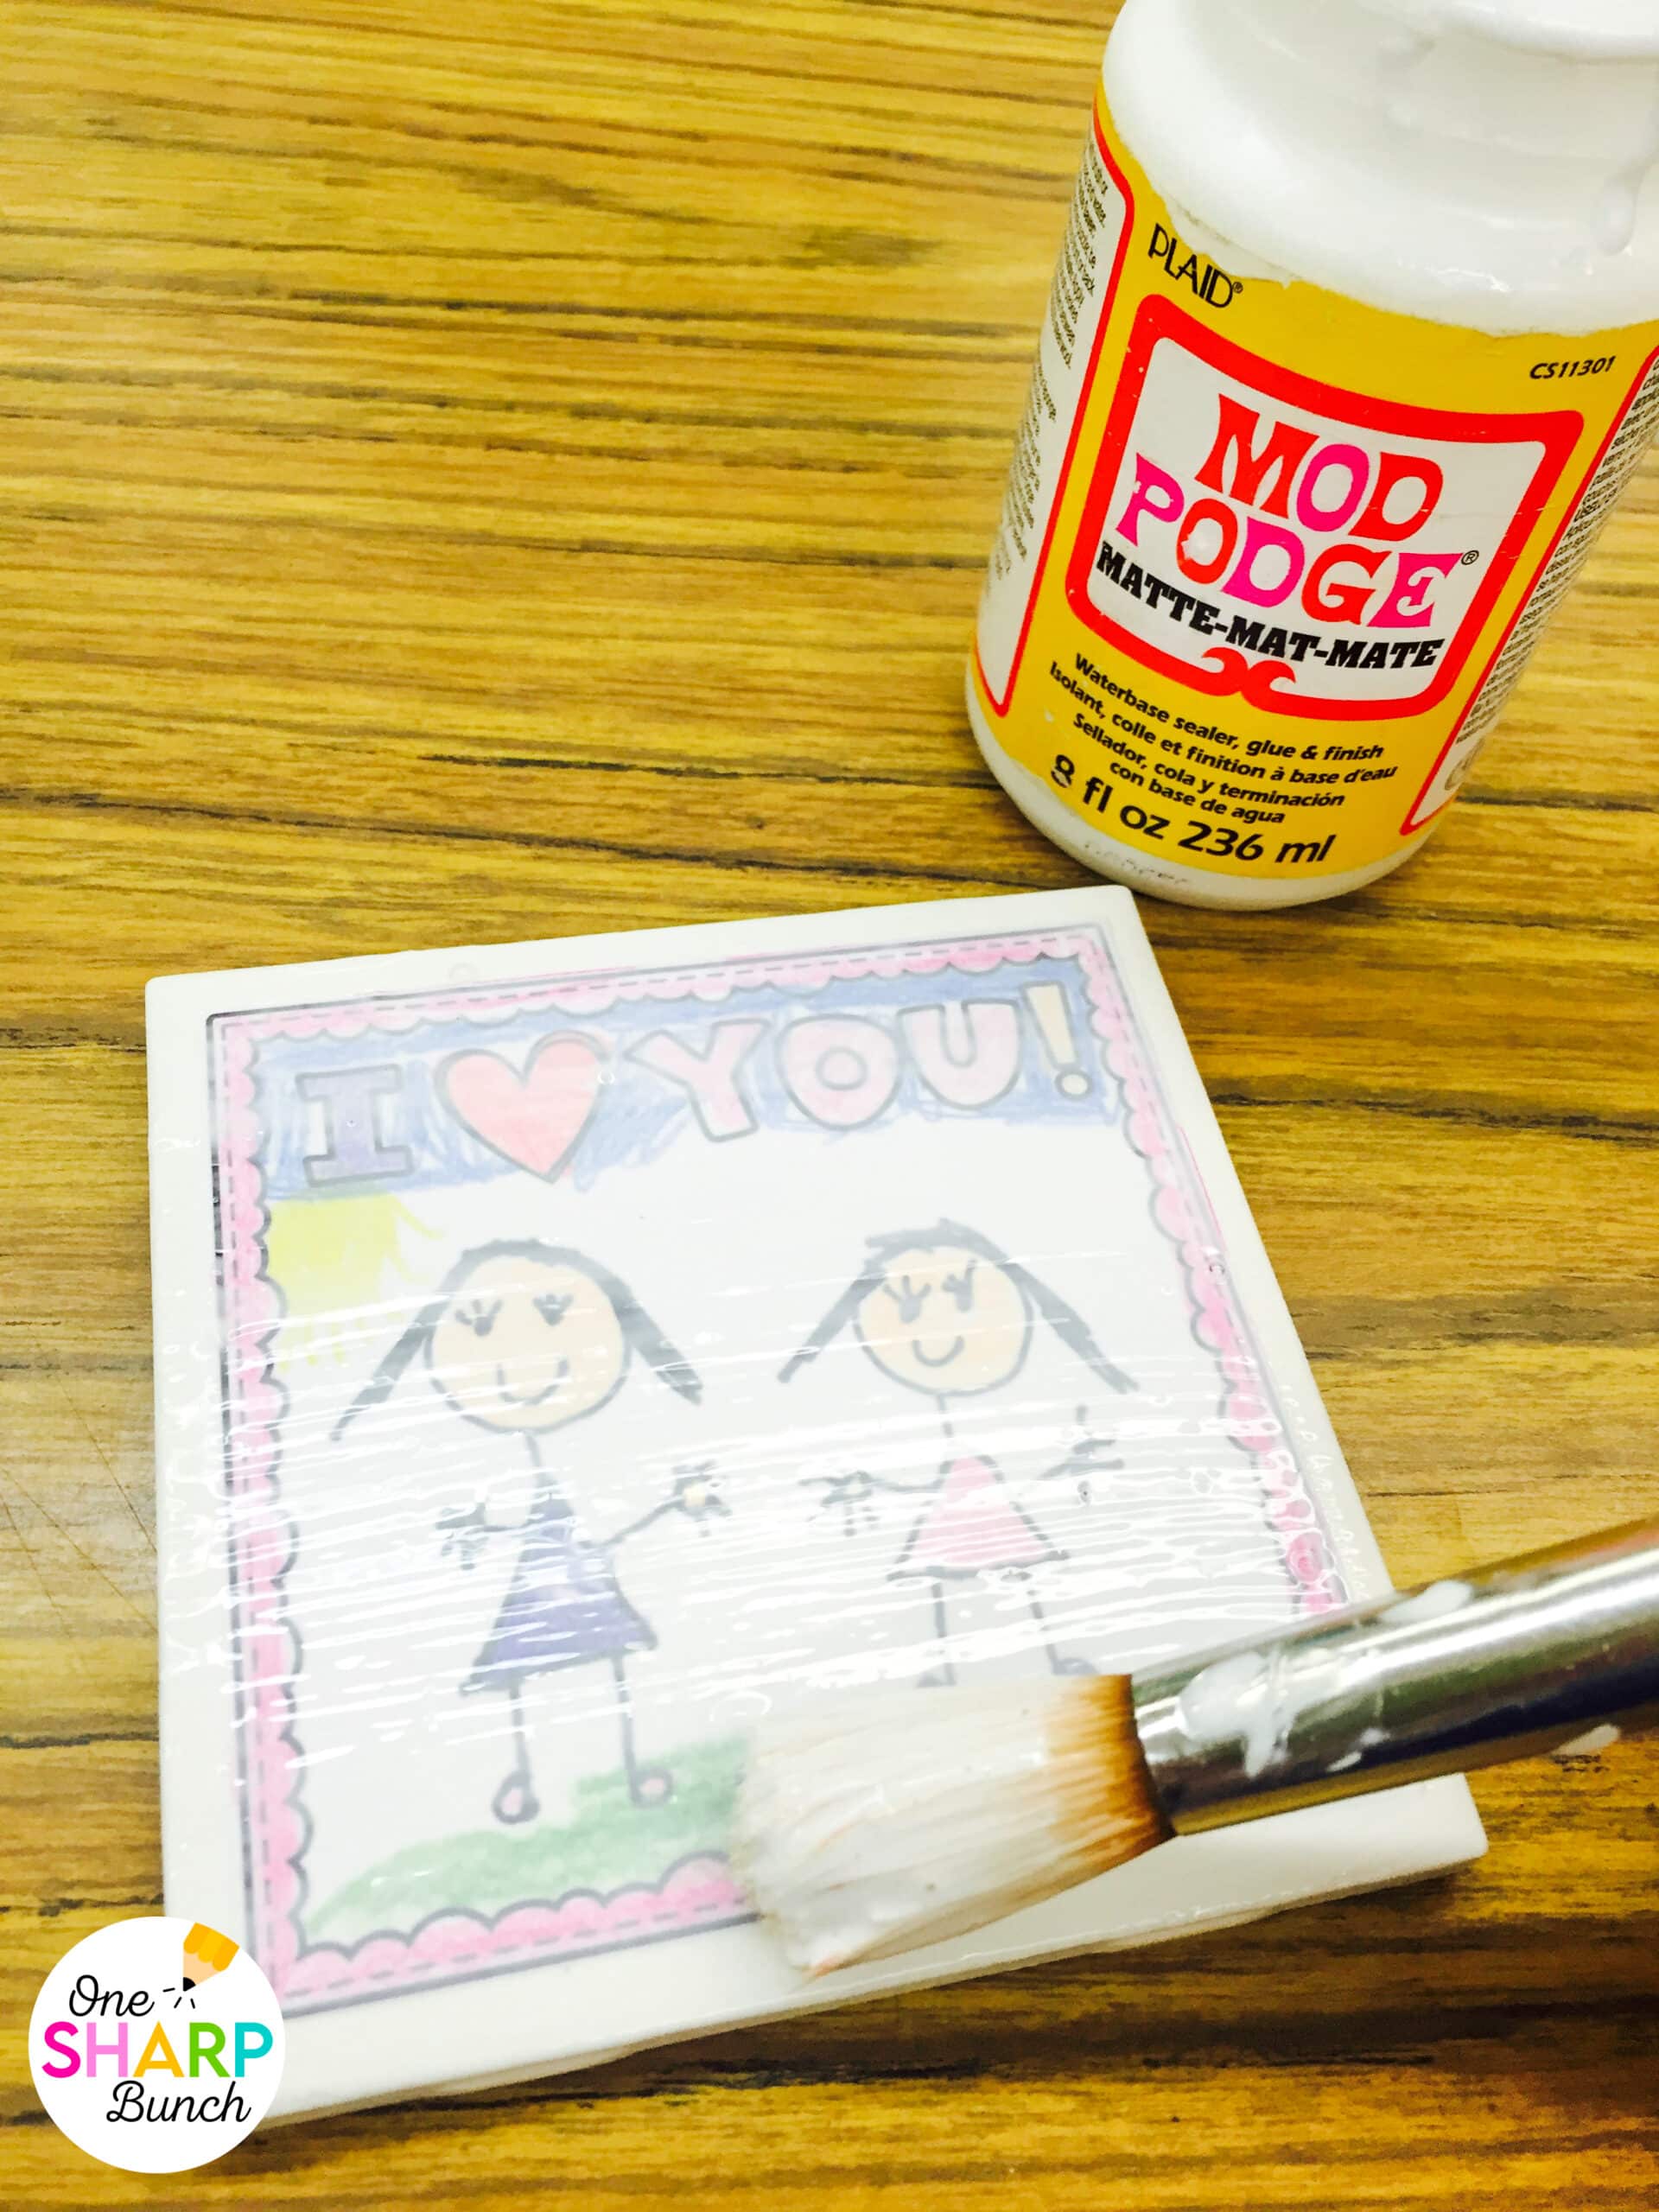
Last, I waited just a bit for the Mod Podge to dry before covering the Mother’s Day crafts with another thin layer of Mod Podge. Applying too much Mod Podge across the top tended to cause air bubbles.
STEP 4
After the Mod Podge had dried, I sprayed the top of the DIY tile coasters with a sealer. You could totally skip this step if you know that there won’t be anything wet touching the Mother’s Day crafts.
STEP 5
Before sending the DIY tile coasters home, I added some felt pads to the bottom. This step isn’t completely necessary, but it will help prevent the bottom of the tile from scratching any surfaces.
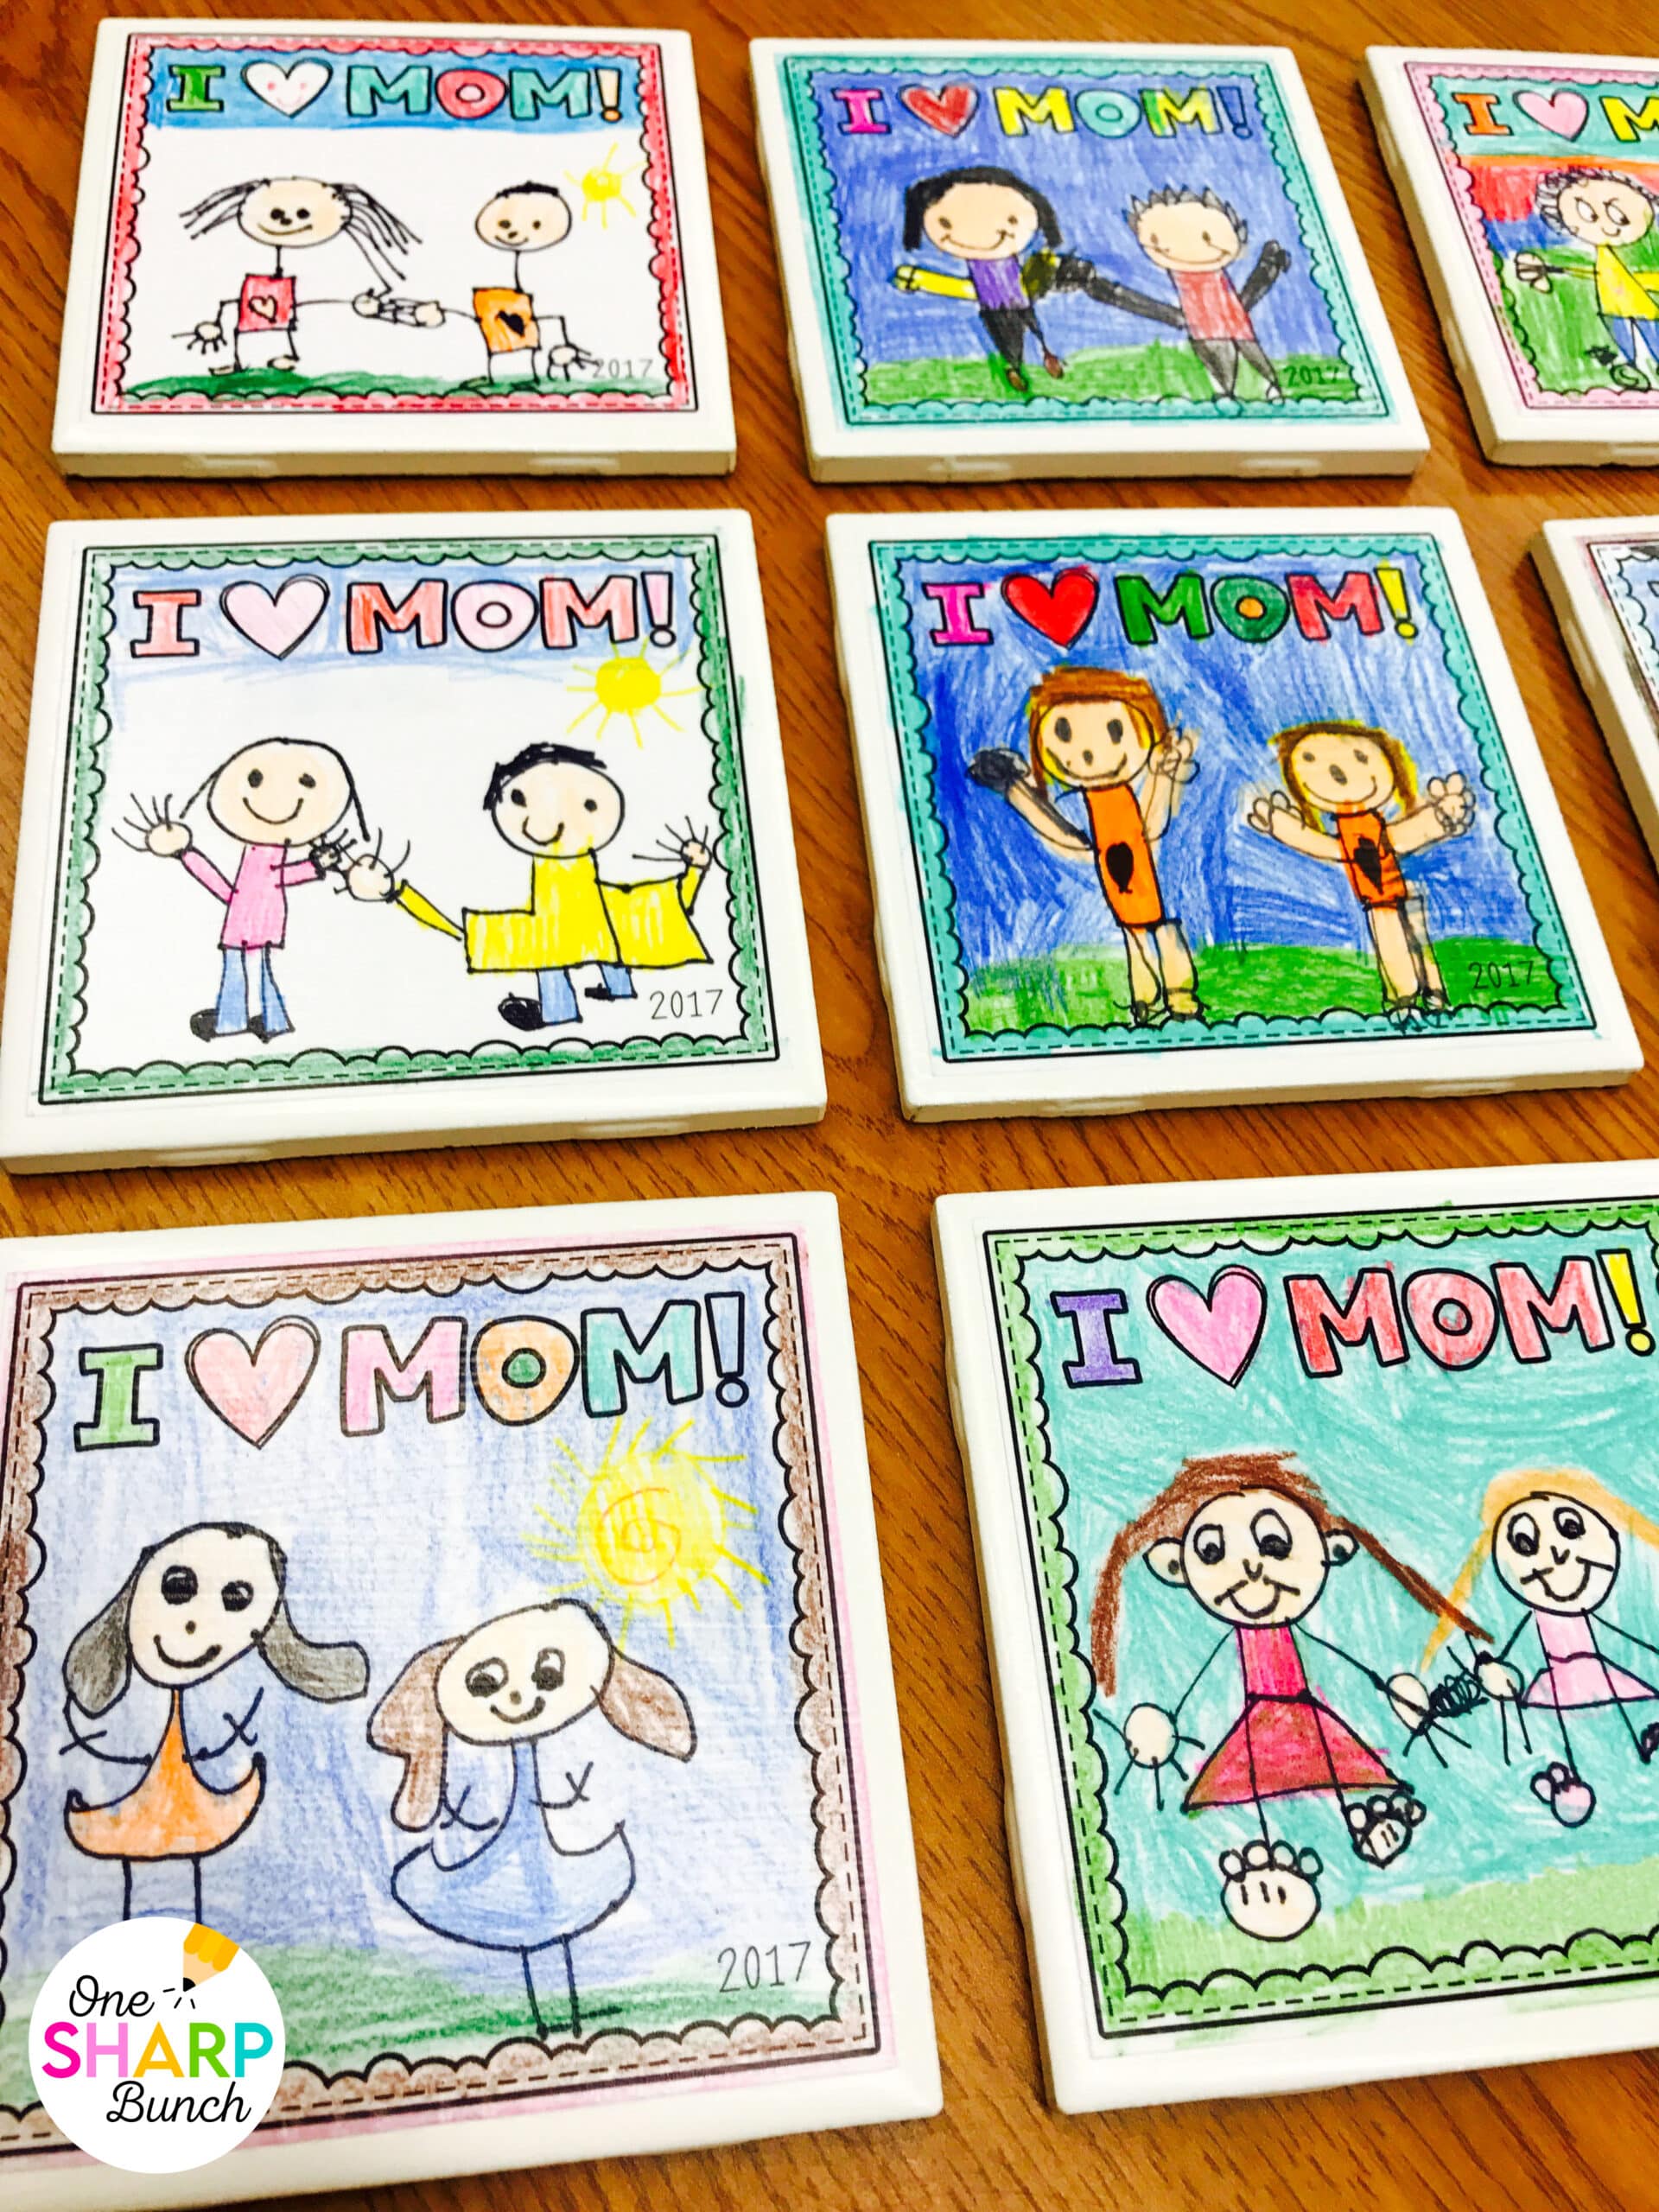
Finished DIY Tile Coasters Mother’s Day Crafts
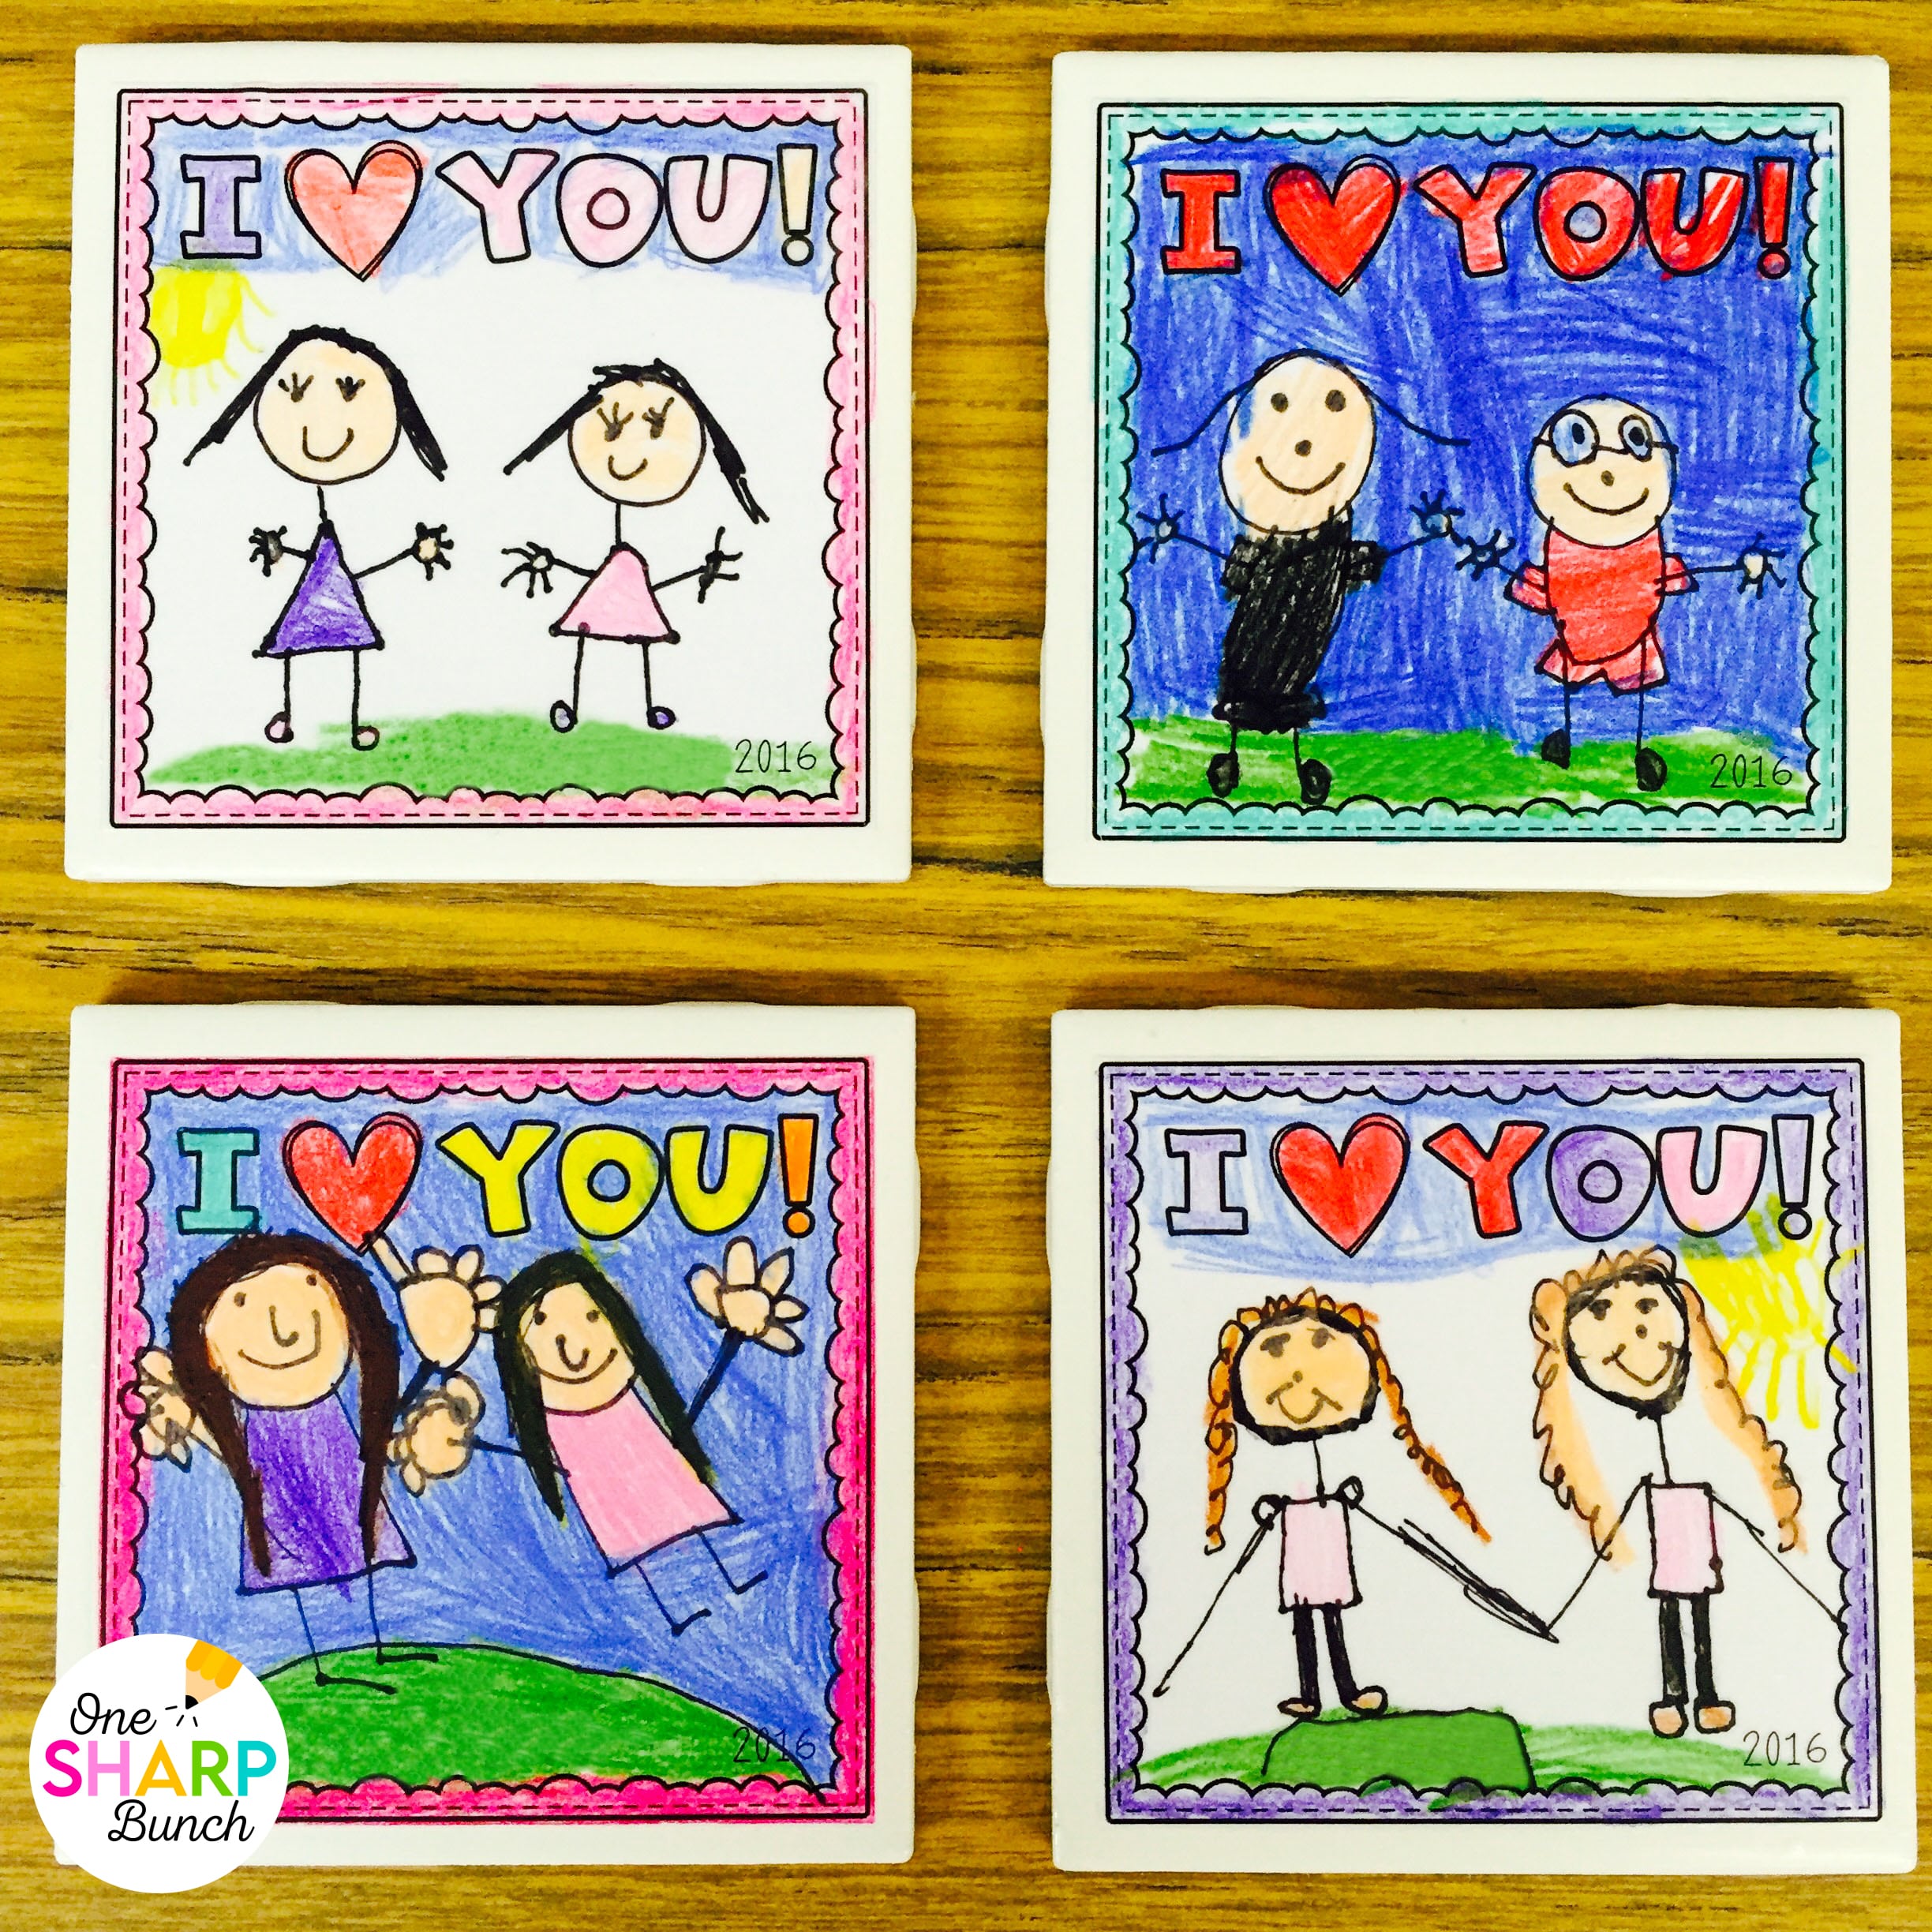
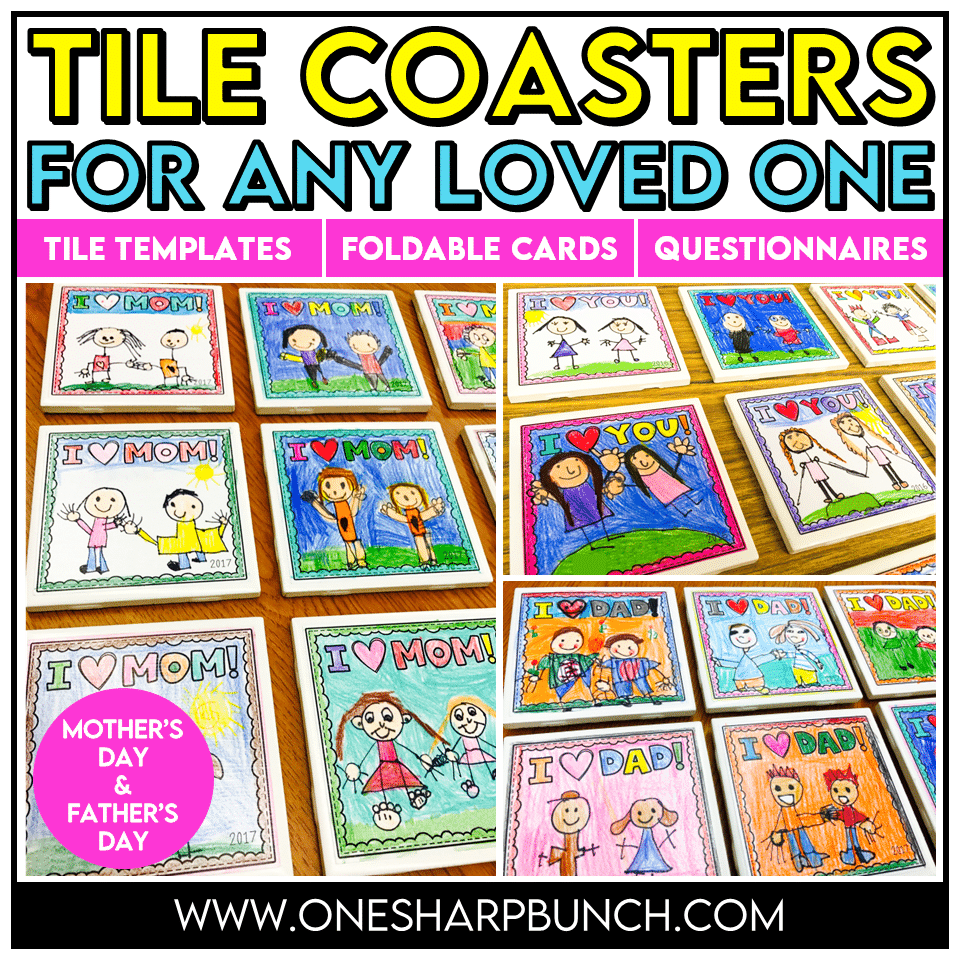
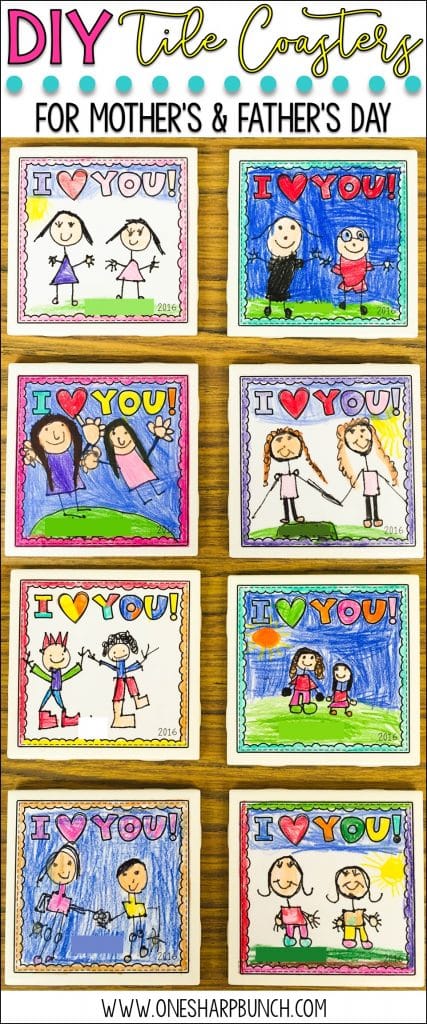
Just look at these finished Mother’s Day crafts! Aren’t they adorable?!
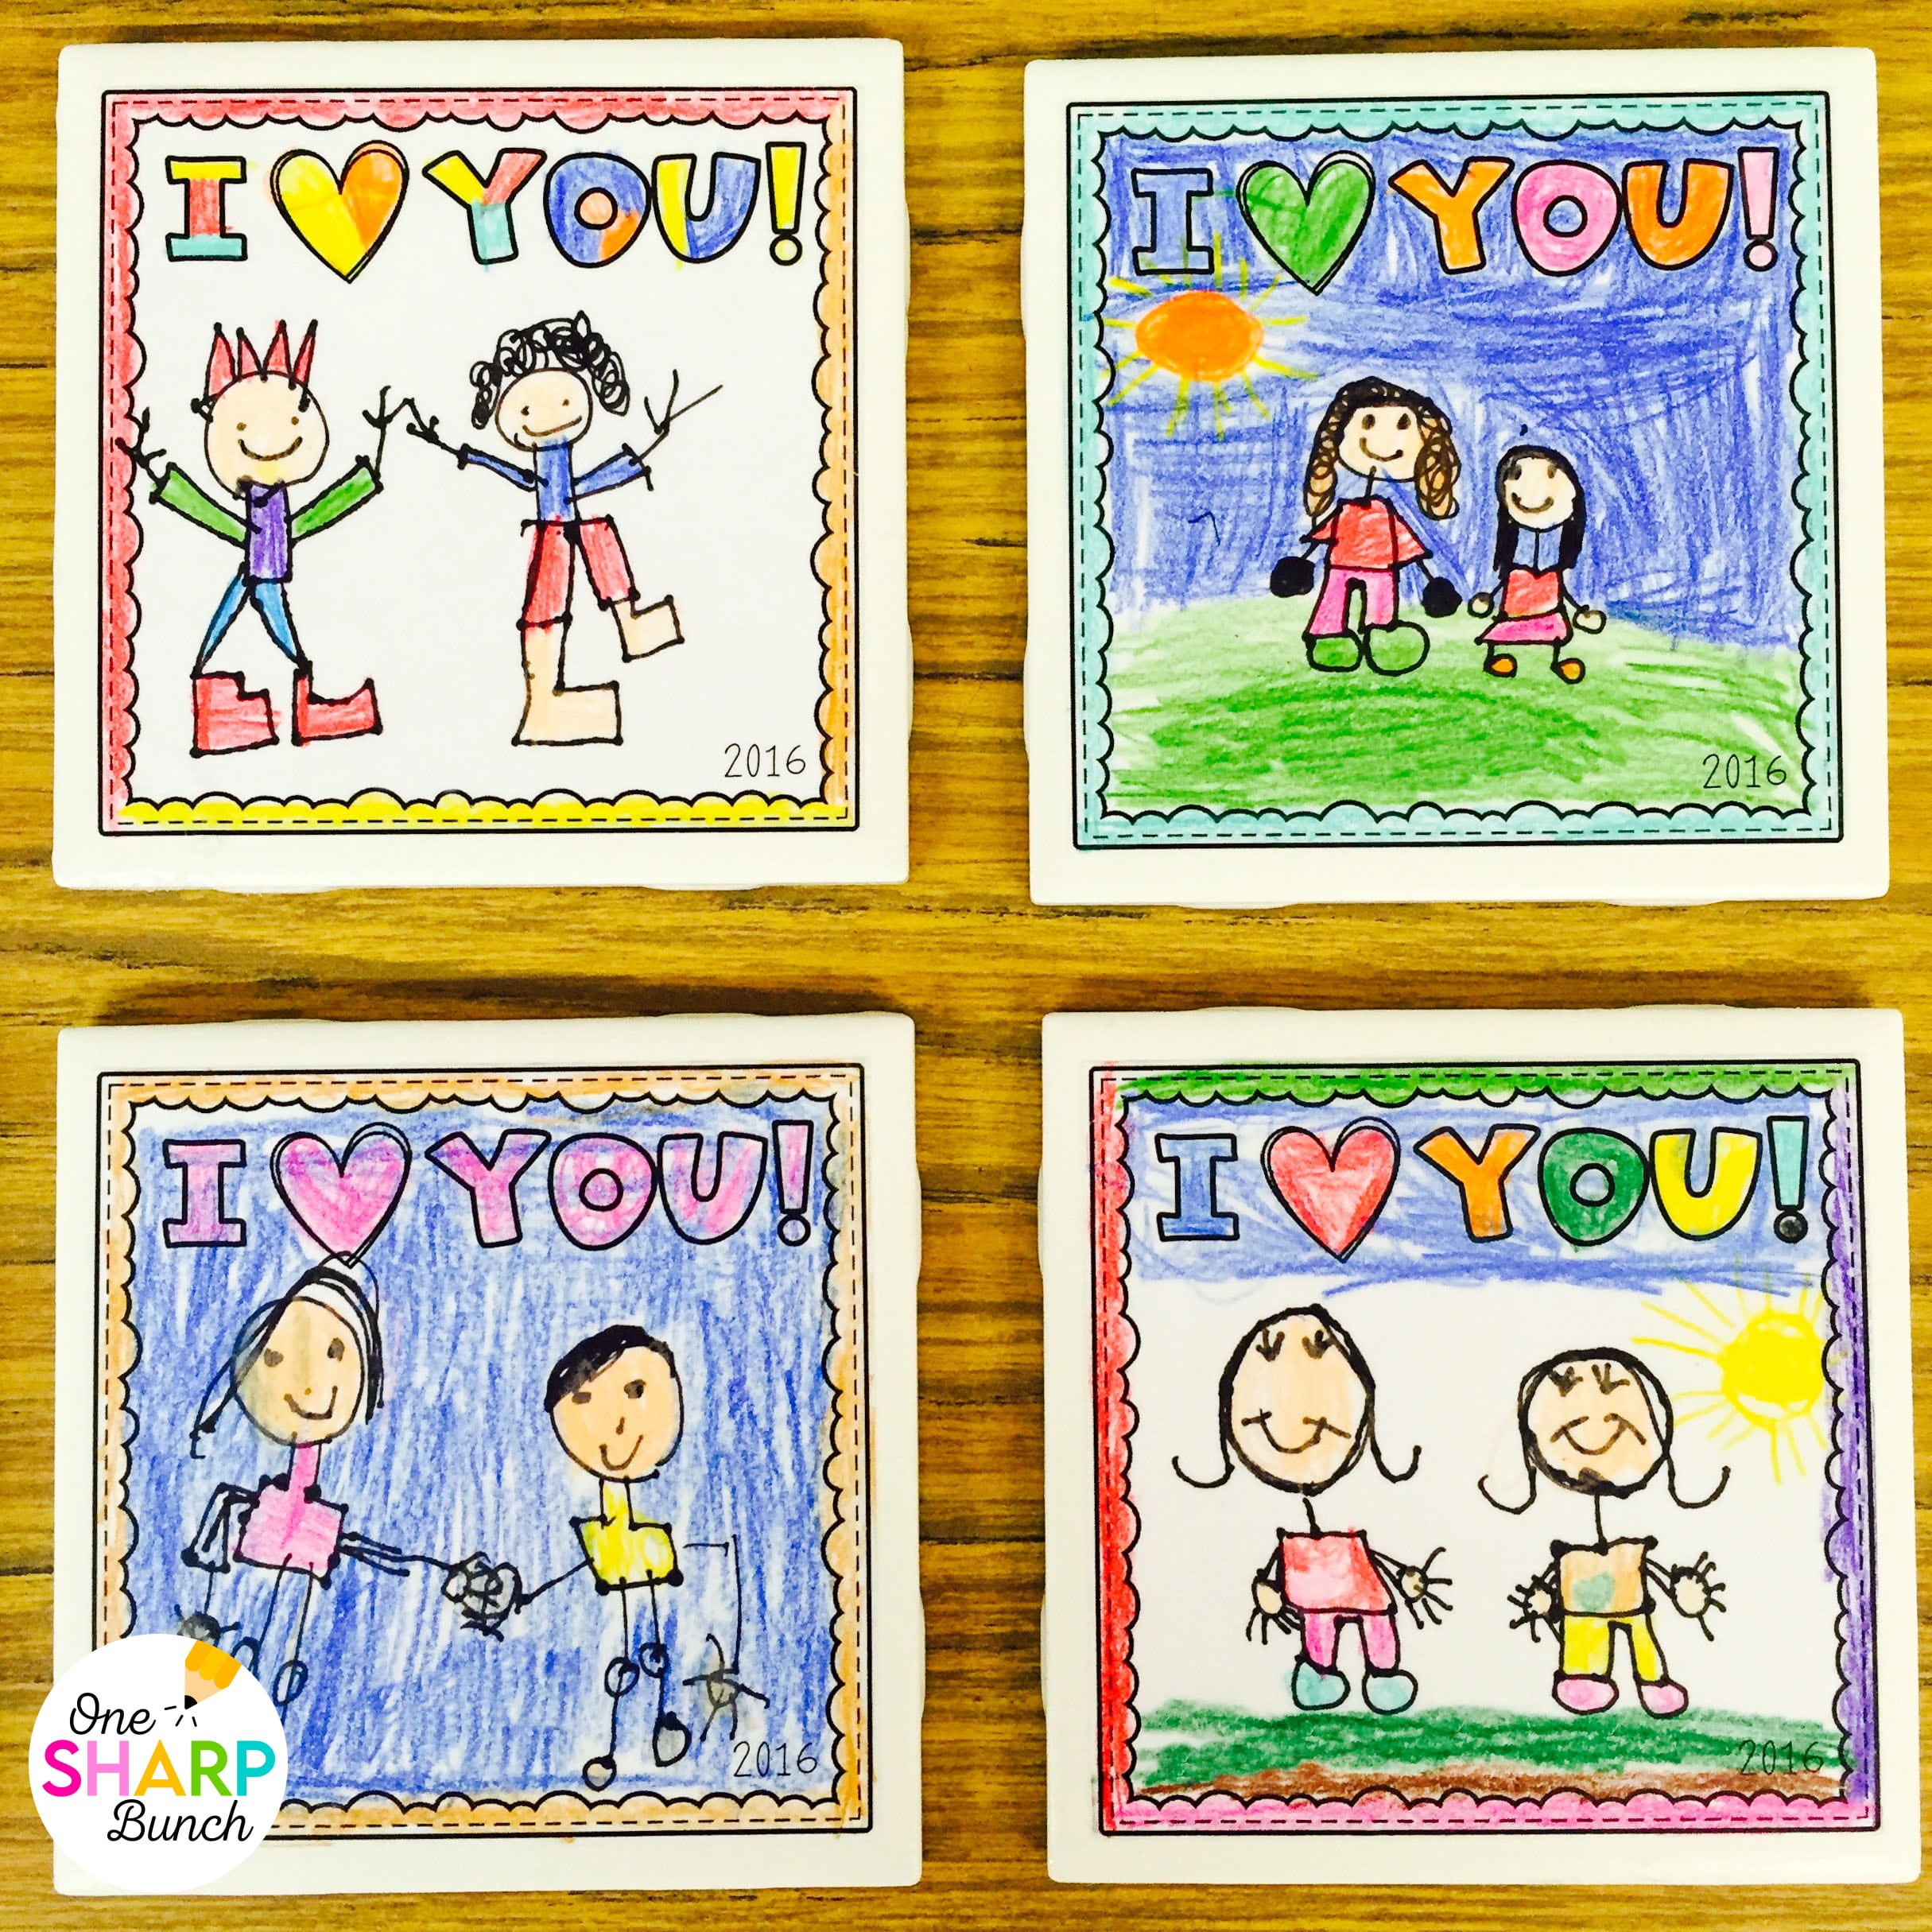
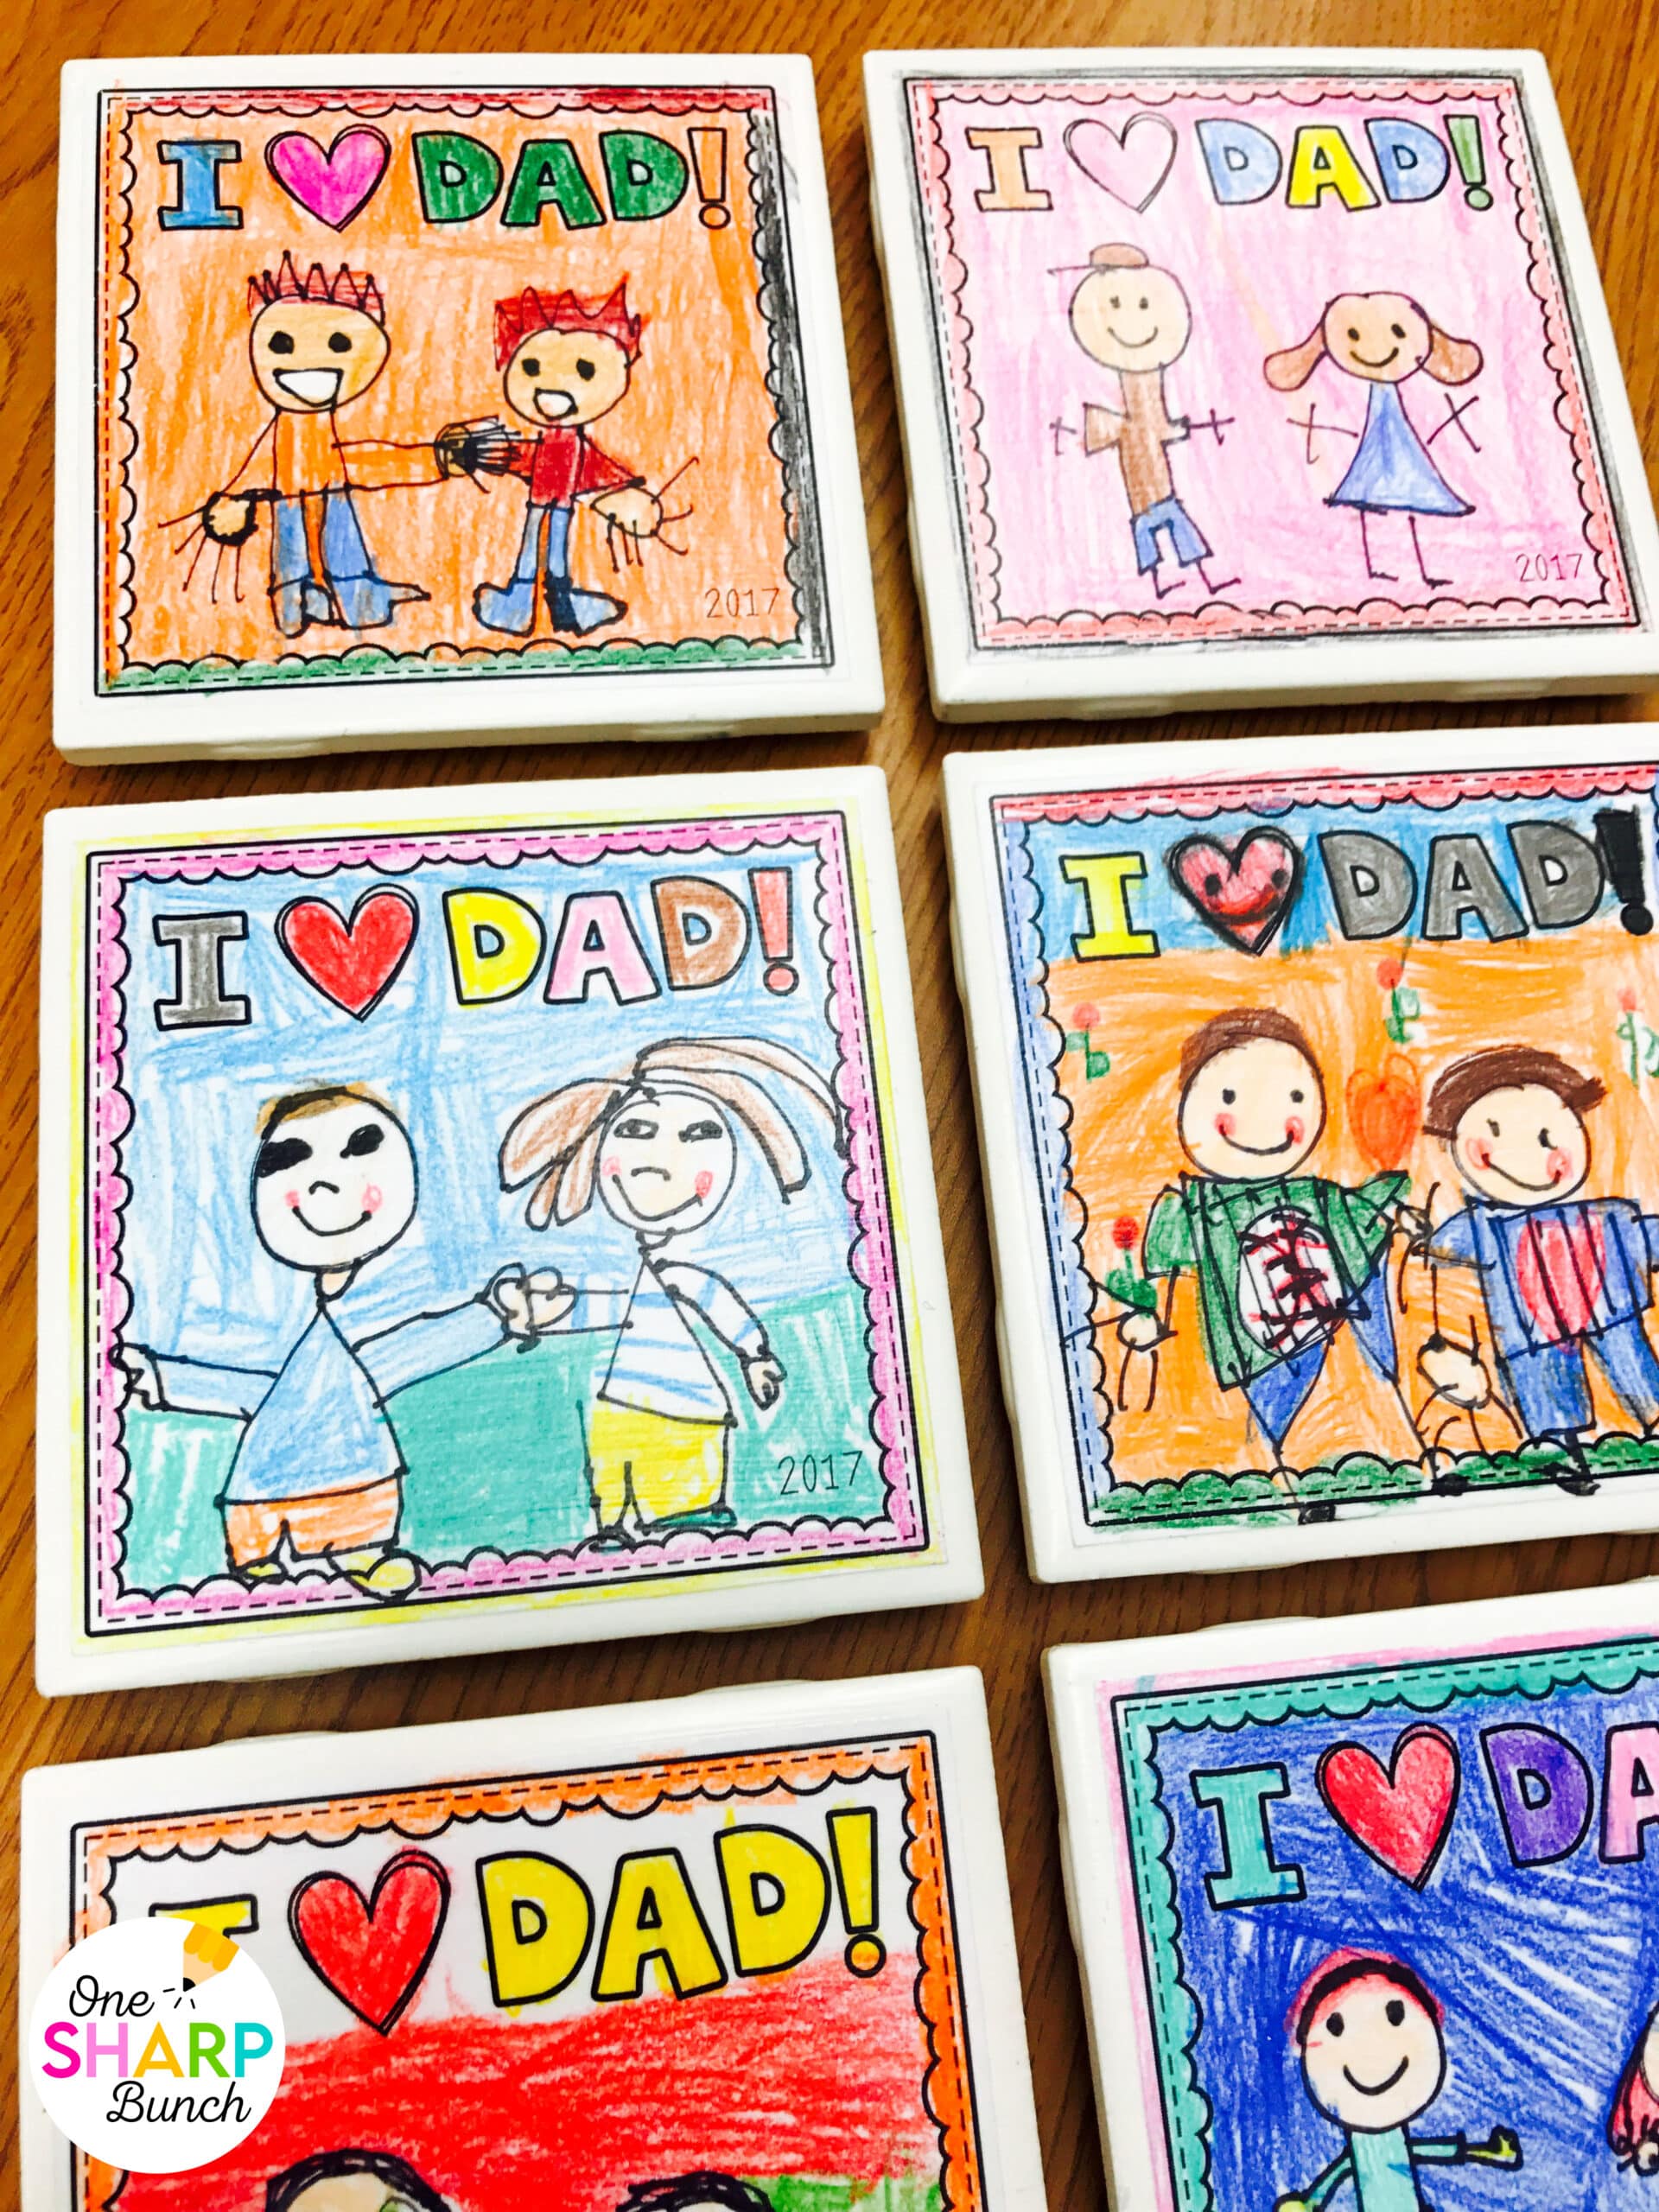
We also made these DIY tile coasters for Father’s Day!
Wrapping the Mother’s Day Crafts
Easily wrap the DIY tile coasters with these no prep gift tags.
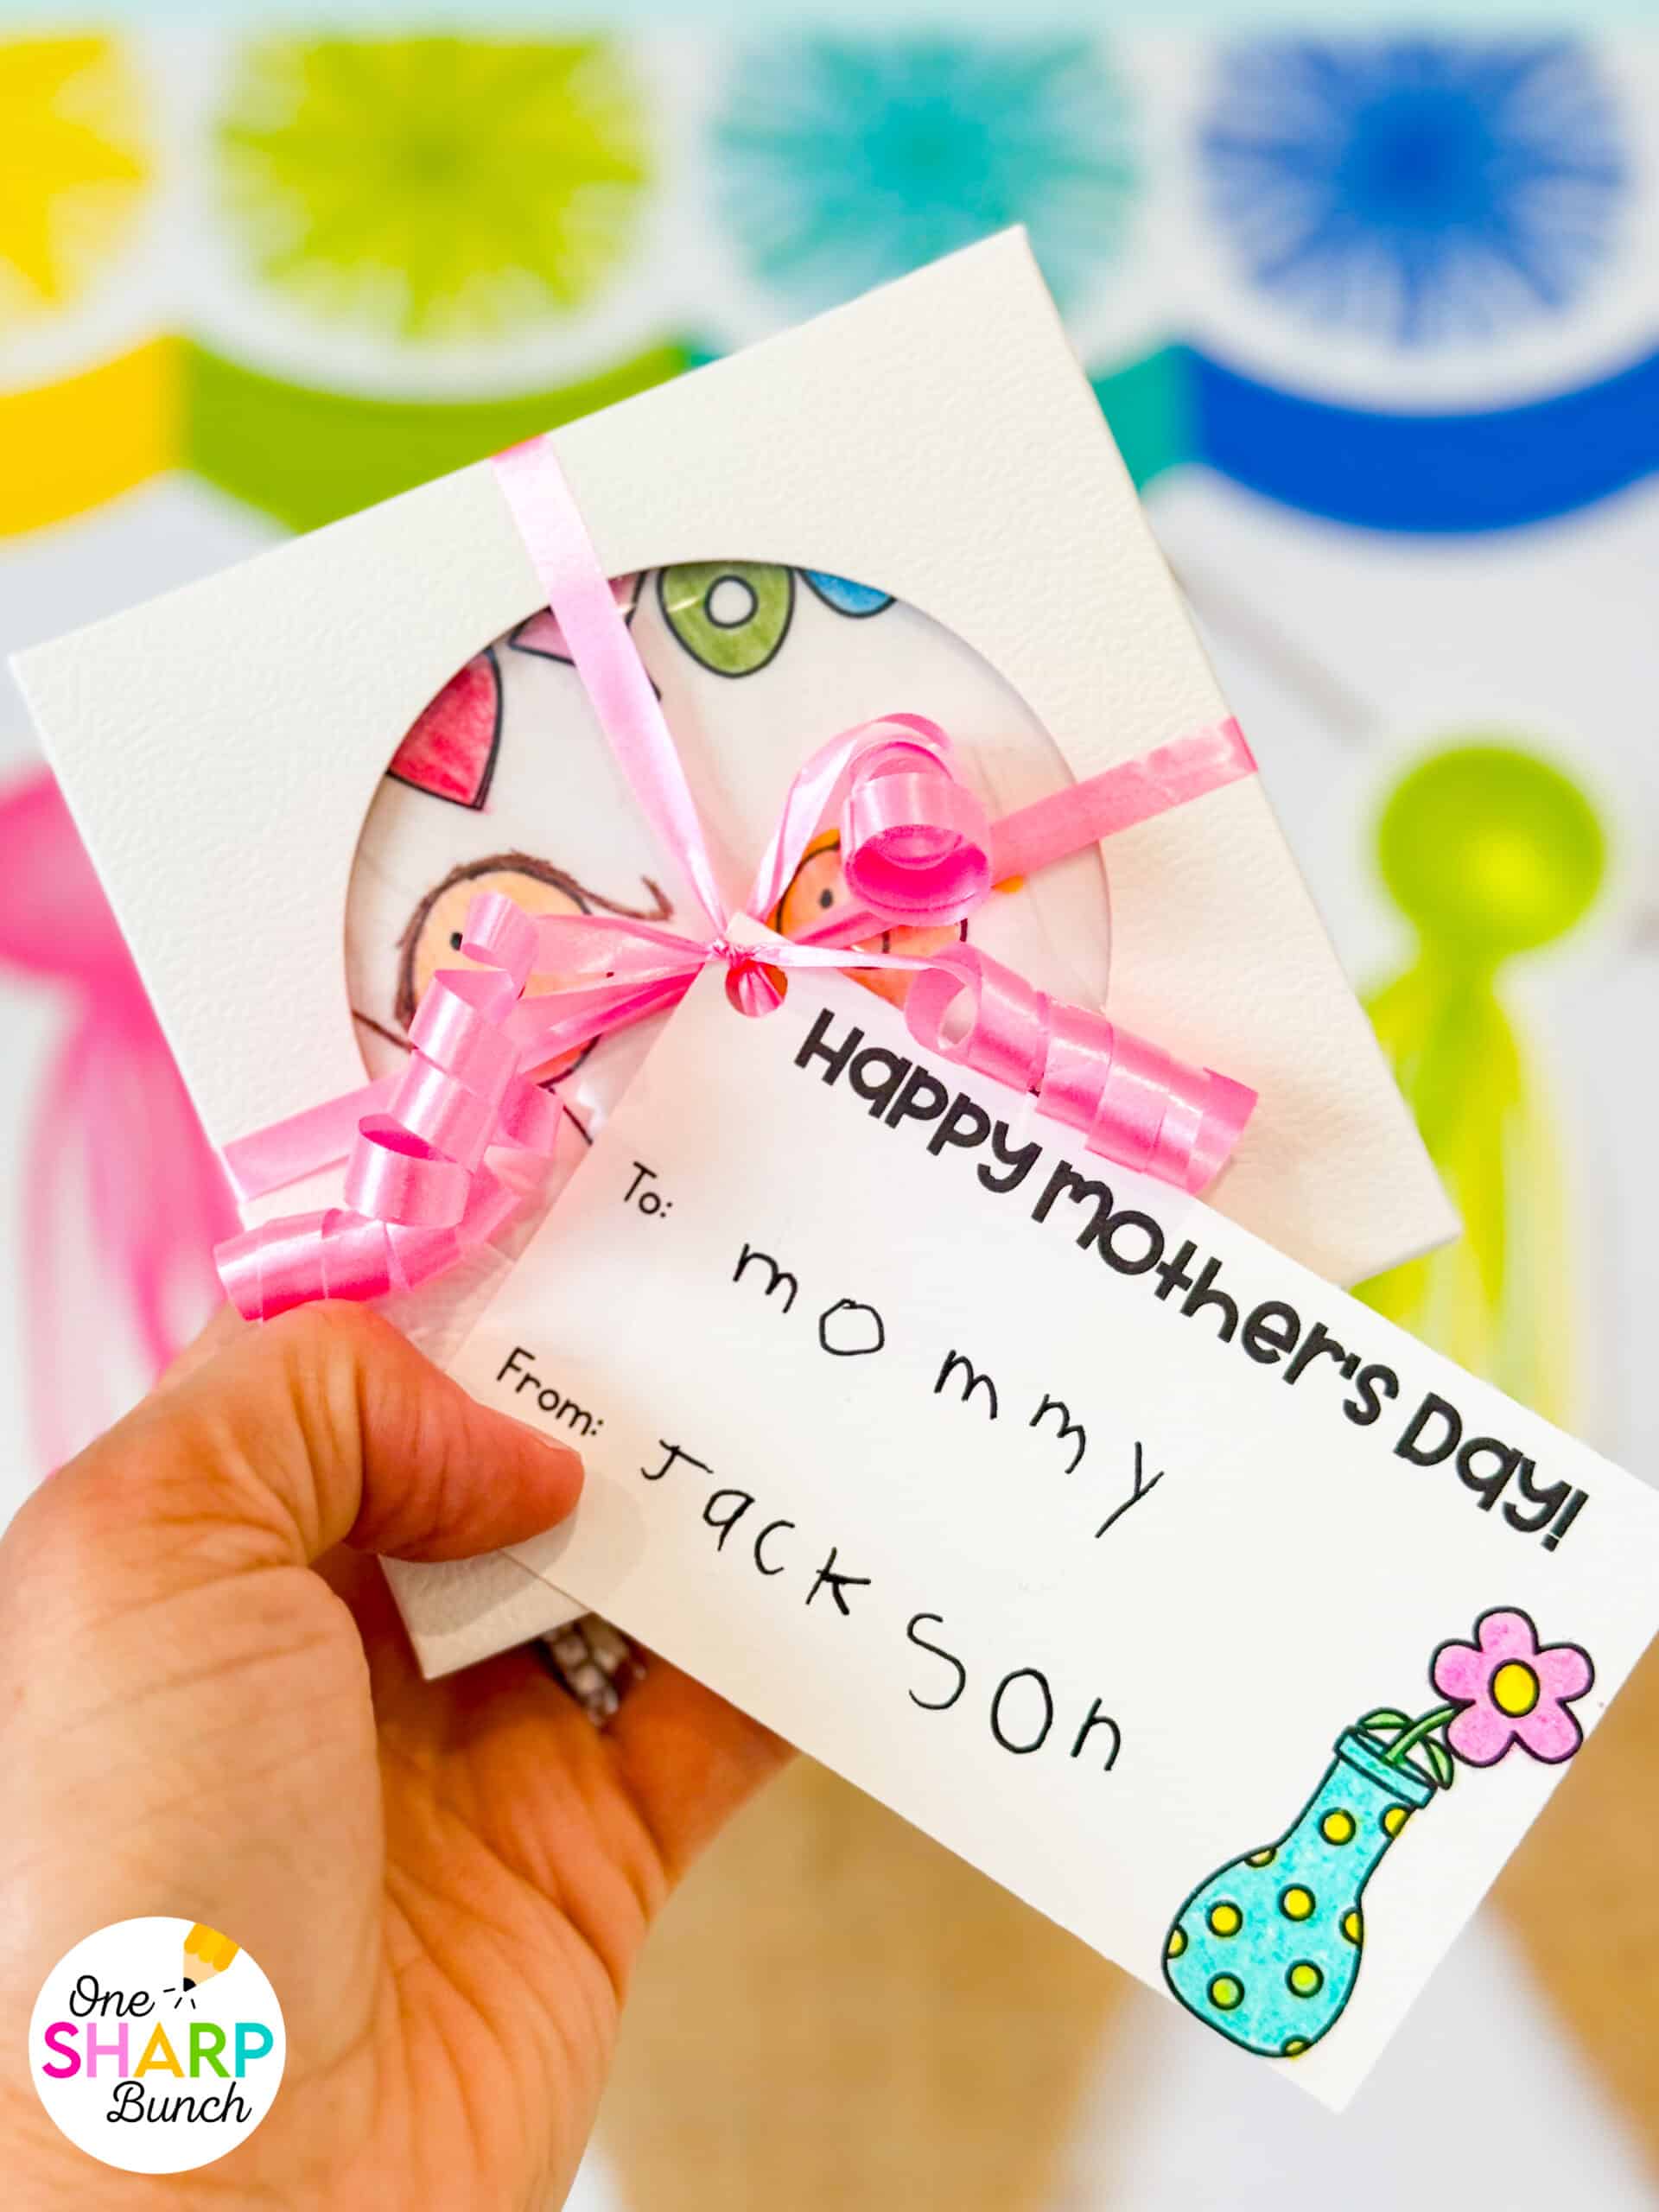
Simply place the completed Mother’s Day crafts inside a small box or paper sack. Address the gift tag, color the picture, and attach it to the DIY tile coasters.
Templates for DIY Tile Coasters
If you’d like to have your kiddos make these adorable Mother’s Day crafts, you can find the templates for the DIY tile coasters here! I’ve included templates for mom and dad, as well as a generic template that can be used for any special person.
Finish the gift with the one of ten foldable cards, seven questionnaires and two printable gift tags!
More Simple Crafts for Kids
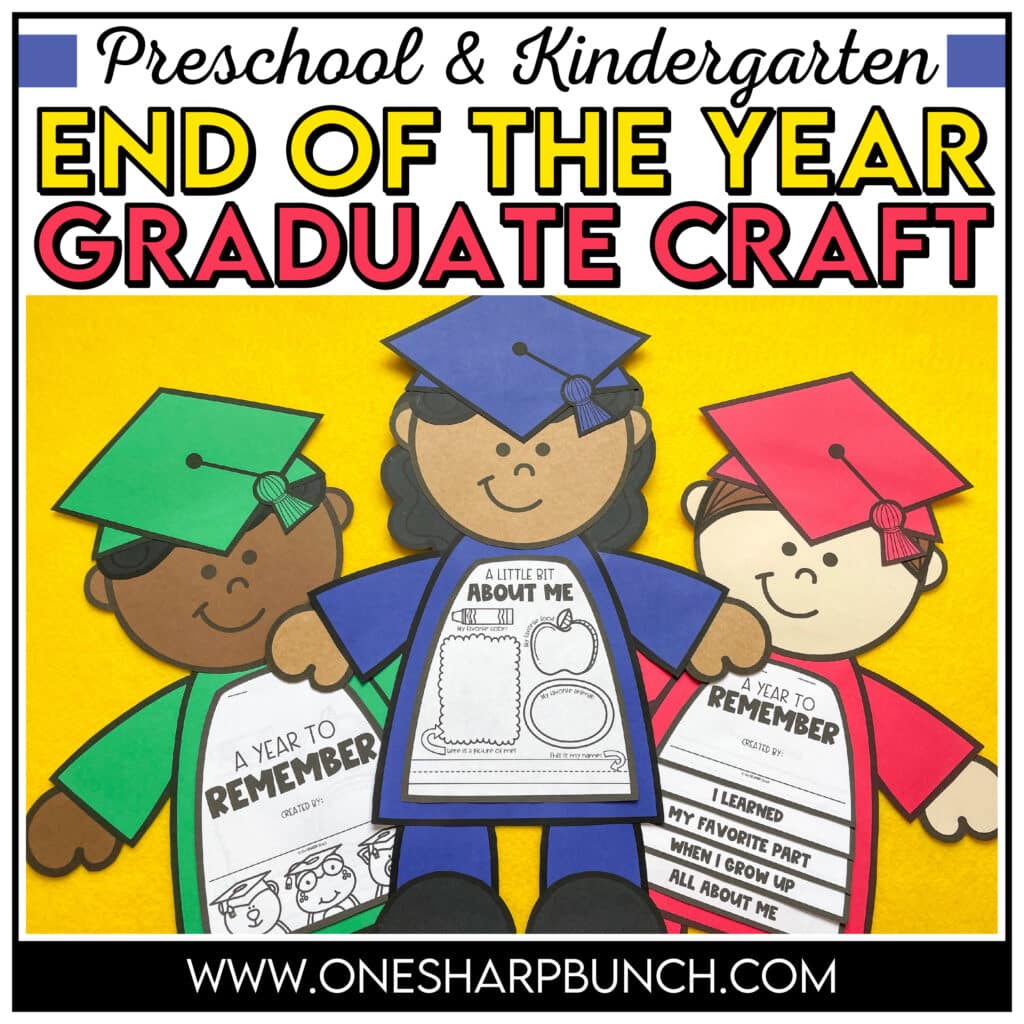
You might also like this adorable end of the year graduate craft for preschool and kindergarten!
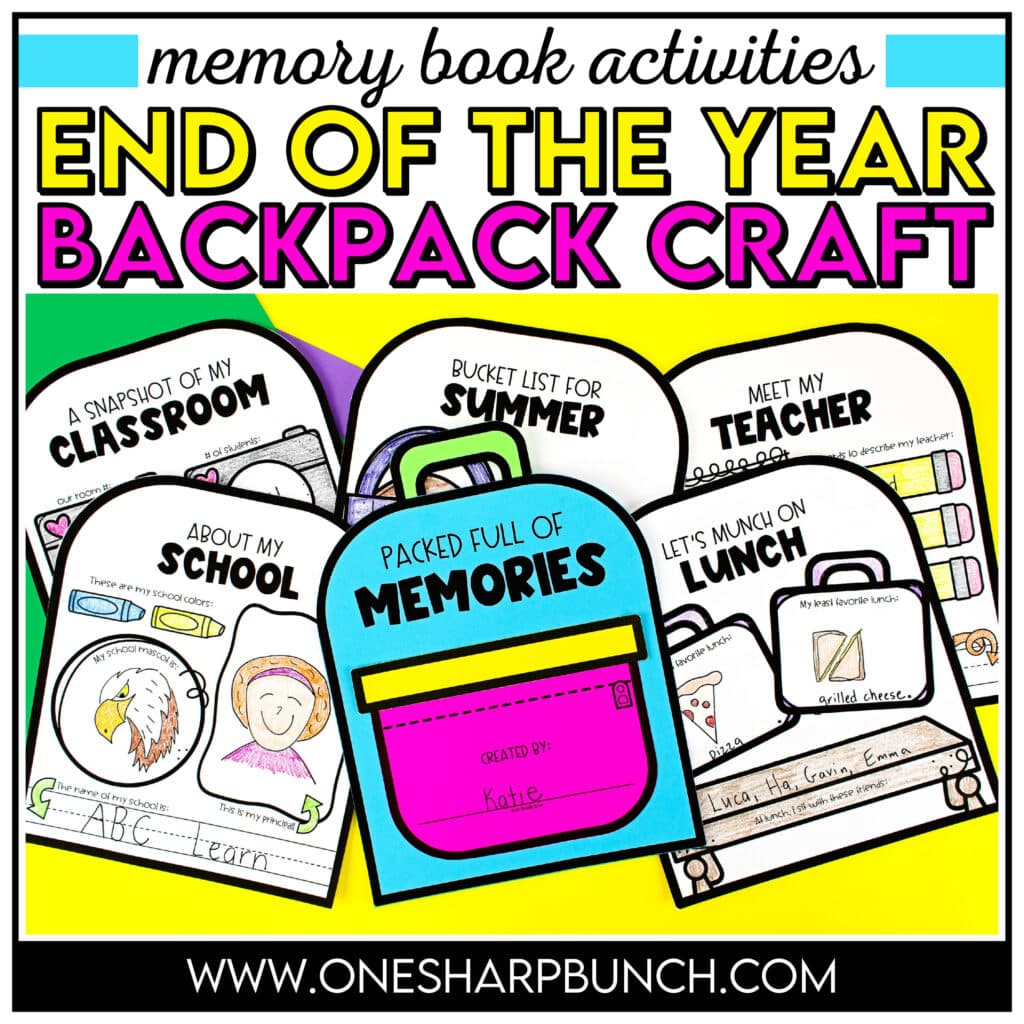
This memory book backpack craft is another easy to assemble end of the year craft!
For even more great ideas, head over to Proud to be Primary!
DON’T FORGET IT… PIN IT
Share this Post

Ashley Sharp
As a dedicated Kindergarten teacher for nearly 20 years, I believe the words “fun, play, and creativity” can sit right alongside the words “developmentally appropriate, engaging, and rigorous.” Learning is meant to be fun and messy!







Leave a Reply