Your cart is currently empty!


Classroom Freebie
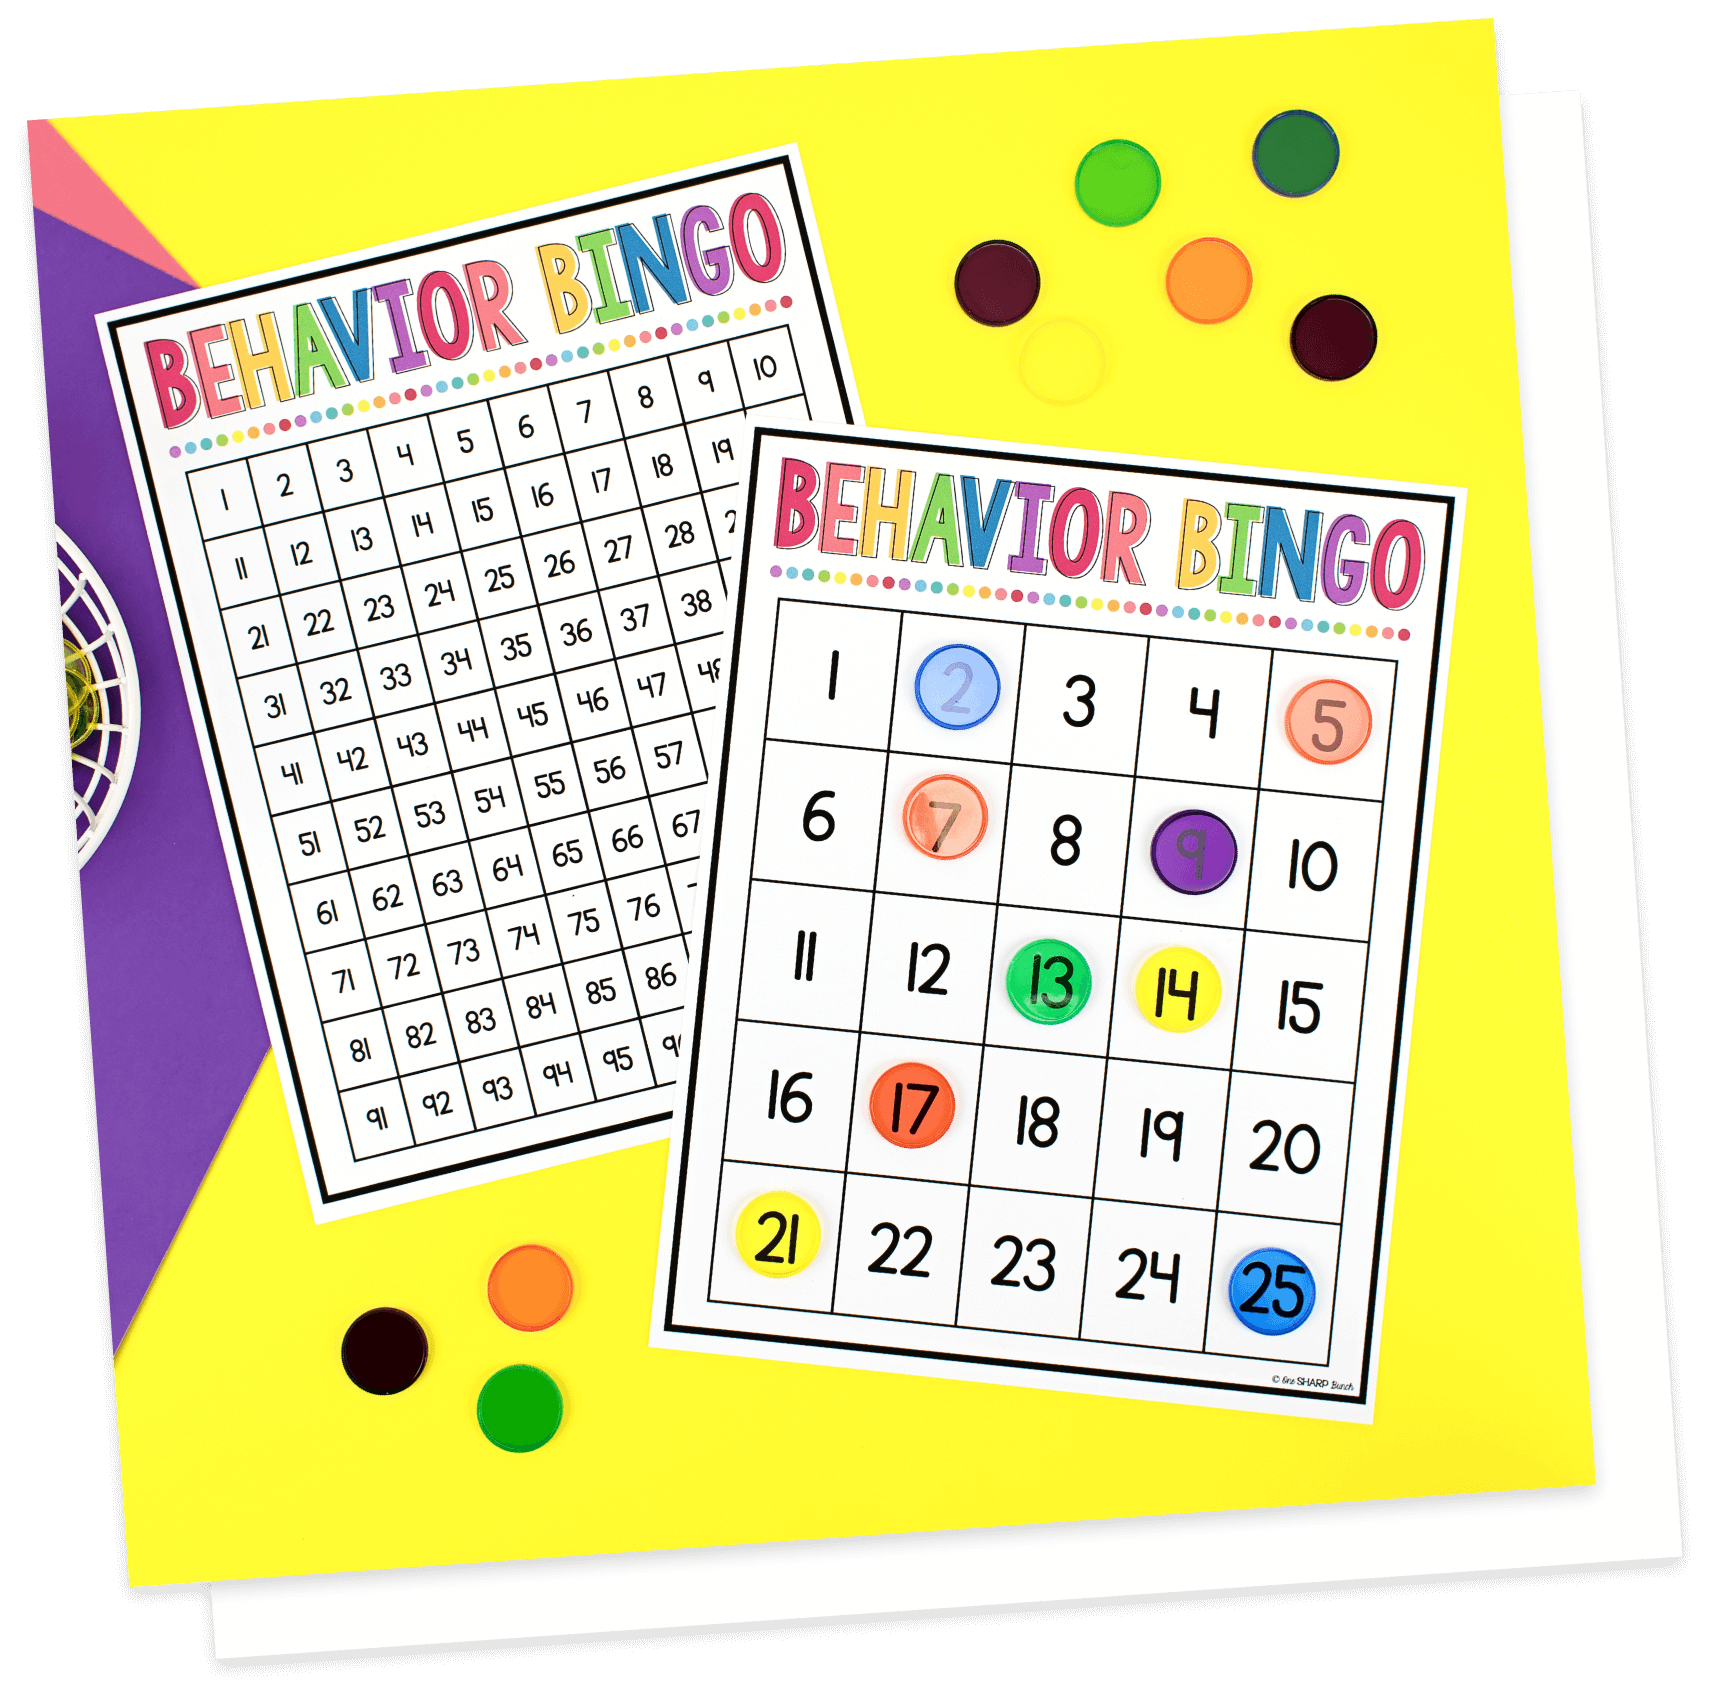
Free Whole-Class Behavior Bingo Boards
Boost student engagement and increase positive behavior with these FREE classroom management BINGO boards!
⎯ Classroom ⎯
DIY Number Magnets
Share this Post
Hi, friends! I know many of us are just beginning spring break, so I wanted to share a simple DIY project with you that will give you a little something to do with all that extra spare time!

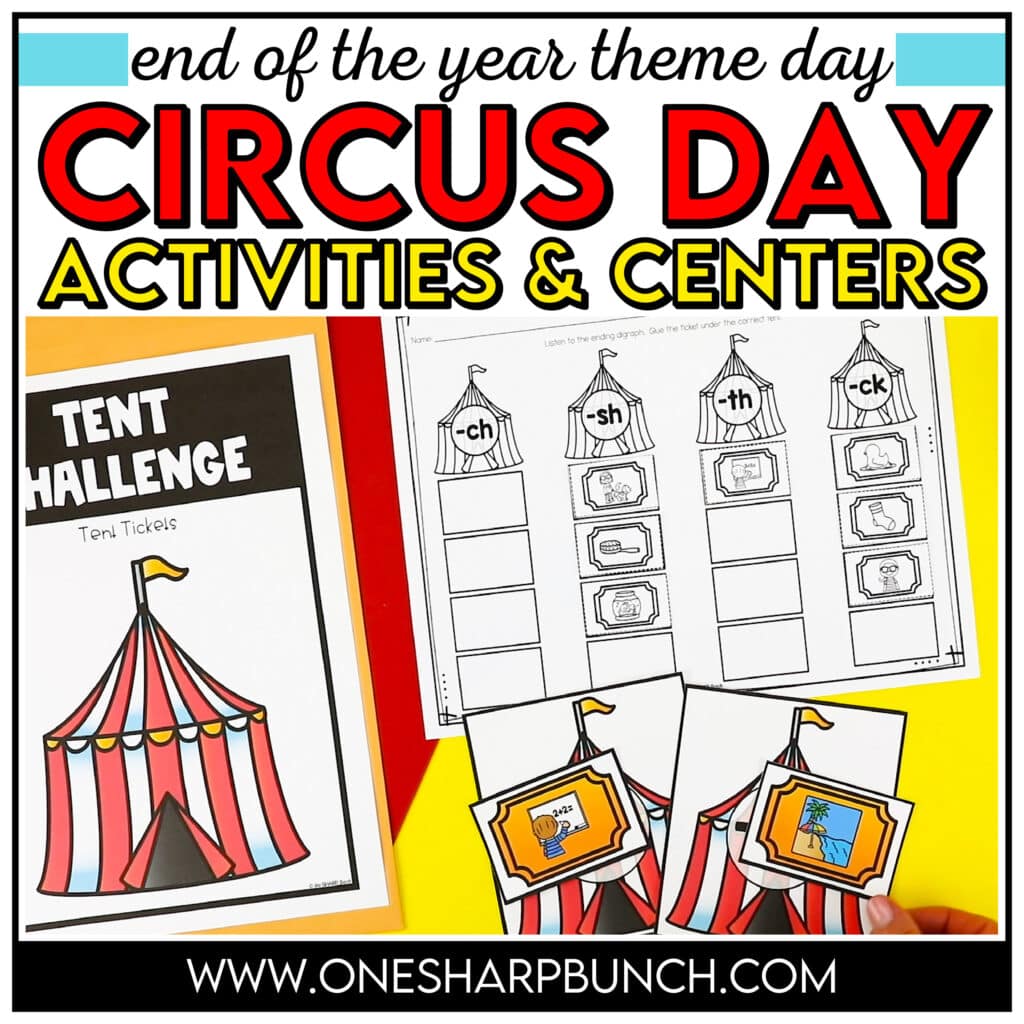
Just before school started this year, I posted a “Behavior Bingo” board as a freebie in my store. So many people wanted to know how I made the number magnets that I used to cover each square, so I thought I’d share here! I also had a bunch of questions on how I printed my “Behavior Bingo” poster size, which I will share at the end of this post!

It was really quite simple! First I gathered all of my supplies:
- 4 bags of large glass gems from Dollar Tree.
- 3 packs of number stickers from Walmart.
- 6 packages of adhesive magnetic buttons from Walmart.

Then, I got to work! The trickiest part was getting the numbers centered on each stone. Once I had the stickers placed to my OCD liking, I stuck the magnetic buttons to the back of each stone. The adhesive wasn’t sticky enough, so I ended up having to use a hot glue gun. Walmart also had non-adhesive magnetic buttons, but I liked that these were white on the back…especially since you can see the magnet through the front of the stone.

Many of you also wanted to know how I printed my “Behavior Bingo” board poster size. It is actually four sheets of cardstock that I glued together, and the best part is… you can’t even tell!

So here is my little poster printing hack, which is inspired by Dragonflies in First, for this particular board. Open the document and click on the print button (or use the shortcut “ctrl p” if you are using a PC). Once the print menu is open, select the page you wish to print poster size. Then, click the “Poster” button. Next, change the “Tile Scale” to 175%. This will ensure that it prints on four pages. Then, change the “Overlap” to .02. This is how much border will be left on the inside edges of each page. These are the flaps that you need for gluing. You could always make them larger by increasing the size in the “Overlap” box. After you have changed these settings, you are ready to print!

If you’d like to grab this “Behavior Bingo” board freebie, head over to my post on Classroom Management and read all about behavior management in my classroom!

Don’t forget to check out my “Classroom DIY” board on Pinterest!
Happy crafting!

Share this Post

Ashley Sharp
As a dedicated Kindergarten teacher for nearly 20 years, I believe the words “fun, play, and creativity” can sit right alongside the words “developmentally appropriate, engaging, and rigorous.” Learning is meant to be fun and messy!

Leave a Reply