


Classroom Freebie
Free Whole-Class Behavior Bingo Boards
Boost student engagement and increase positive behavior with these FREE classroom management BINGO boards!
⎯ Classroom ⎯
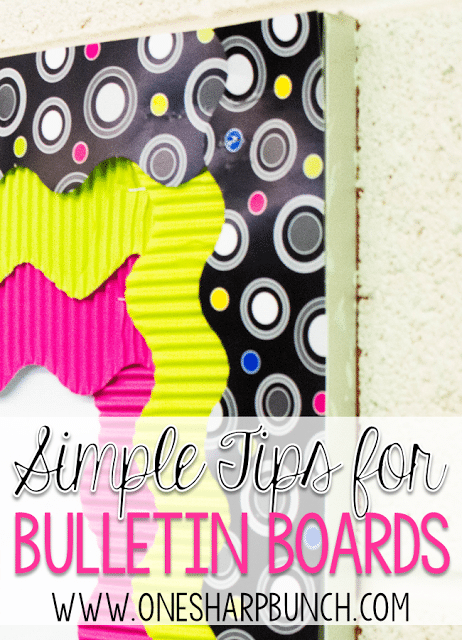
Simple Tips for Bulletin Boards & Borders
Share this Post
It’s August, and you know what that means… It’s almost time to head back to school! So let’s talk all things bulletin boards and borders! I have three tips for you to help create gorgeous bulletin boards!
This post contains affiliate links for your shopping convenience. Any purchases made through one of our links earns us a small commission, at no extra cost to you. As an Amazon Associate, I earn from qualifying purchases. All creative ideas and opinions expressed are purely our own. Read our full privacy policy and disclosure for more information.
3 Tips for Creating Bulletin Boards
1. Use layered borders to create a focal point.
I know you all are busy prepping your room for back-to-school, and some of you are probably all set for your first day! Don’t hate me…. I don’t go back until after Labor Day! Believe me, I want to be in my room prepping and prettying up my bulletin boards, but I am waiting until our floors are finished.
Recommended Resources:

Writing Checklist and Writing Goal Tracker

All About Me Back to School Backpack Craft and Writing Activities Bulletin Board

David Goes to School Activities and Craft | First Week of Back to School Rules
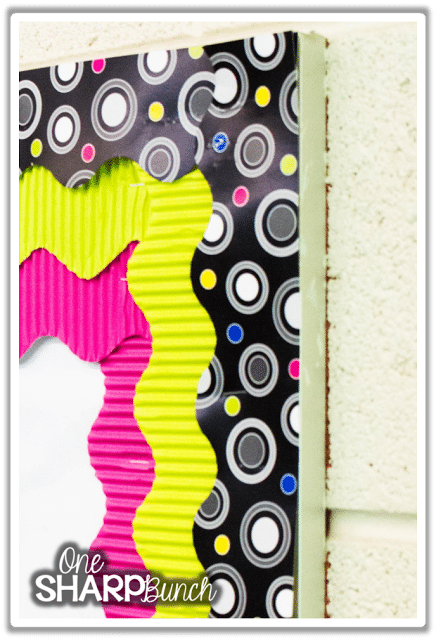
I did sneak in last week to redo my word wall, which is the focal point in my room. Here’s what it looked like last year. I went with layered borders, and absolutely love them! They sure do make my word wall pop!
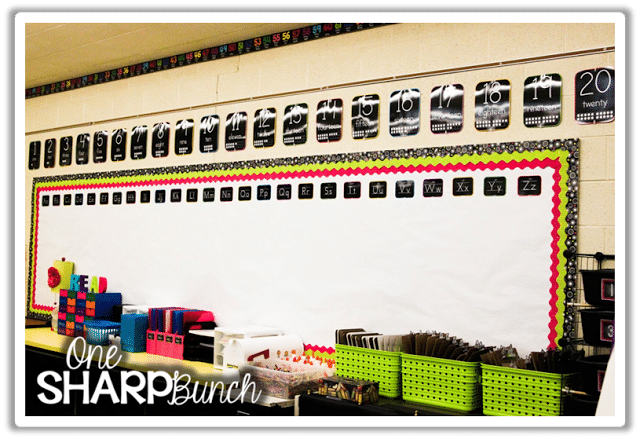
Let’s take a closer look… This year, I decided to redo my word wall letters, mostly because I wanted them to also include a picture. See how they coordinate with my Polka Dot Party border!
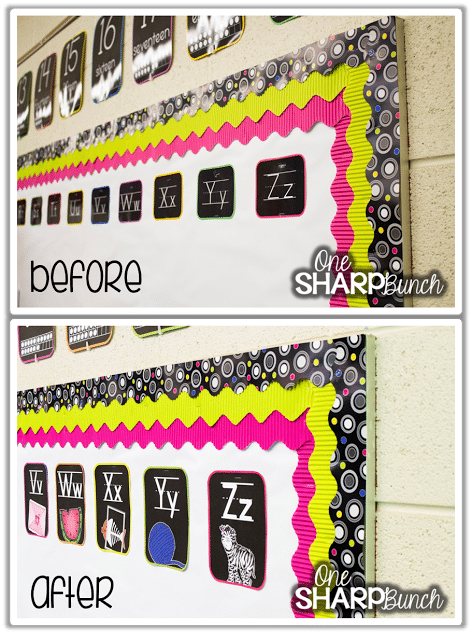
While I was in my classroom for that hot second, I replaced my number posters with these newly updated Chalk Inspired Number Posters. My number posters are directly above my word wall, and they also coordinate perfectly with the layered borders! I just love how they POP against my drab, white wall!
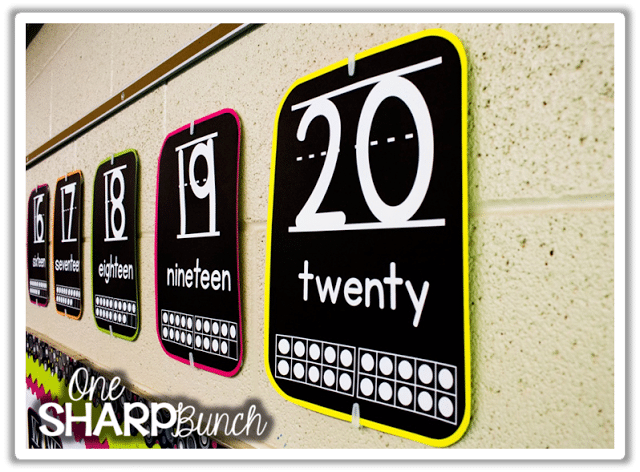
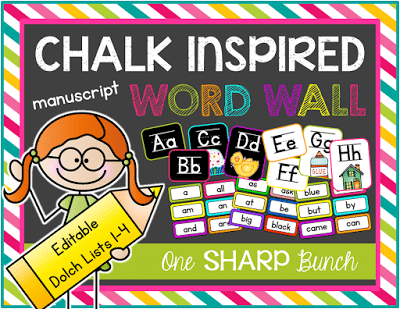
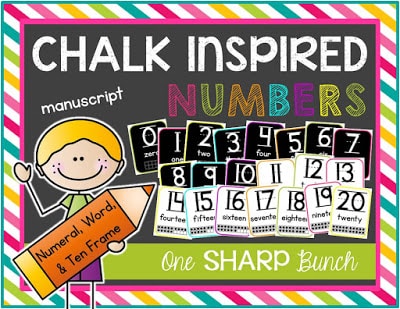
If you’d like to check out my Chalk Inspired Word Wall or Number Posters, you can find them here.
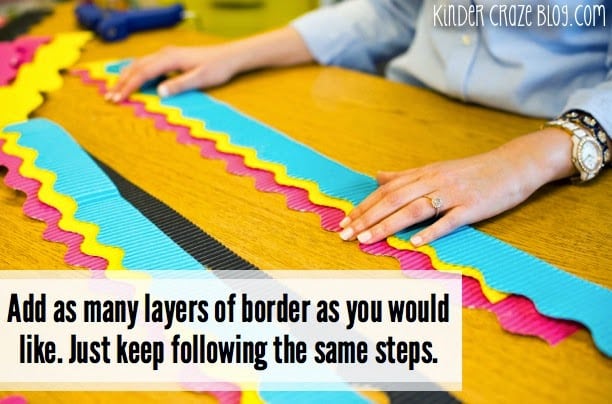
Now, you are probably all wondering how I layered these borders so perfectly! Well, let me tell you it took a whole lot of measuring. I used my trusty yardstick and measured in from the frame of my bulletin board. I made a small pencil mark, and then repeated this all around my board.
Next, I stapled all of the pink border along these pencil marks. Now, it was time to measure in from the frame again, but this time a little less. Once I was finished with my measurements, I stapled up the lime bordette. The black border was the easiest, since I simply had to line it up with the edge of the frame.
Now… in an effort to save you all a bunch of time and measuring, I searched online for an easier method and came across this from Maria over at Kinder Craze. She’s genius, I tell ya! Click the picture to see how she perfectly layers borders before stapling them to the board.
2. Use door and cabinet space.
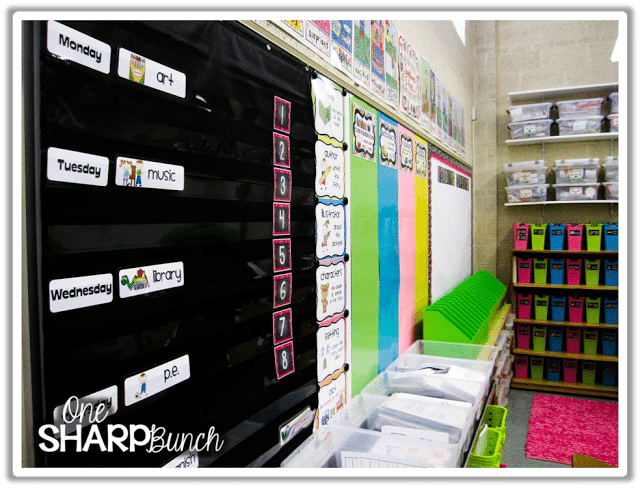
My room is quite tiny. I have one large bulletin board, which you all saw above, and three small bulletin boards. One of the smaller boards is my calendar board, which spills onto my white board; the other is a math board; and the third is a reading board. Last year, I wanted to add a writing wall, but alas… I was out of bulletin boards and wall space.
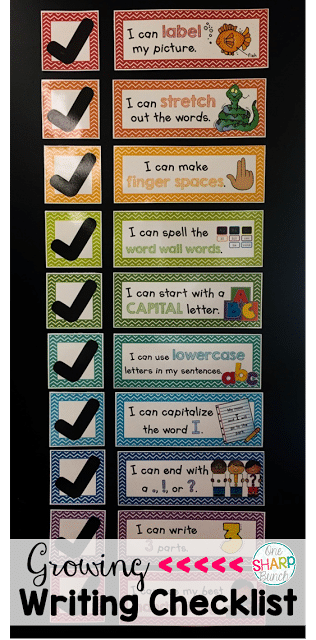
I knew I needed a tall, skinny space for my growing Writing Checklist. Since I had just painted my tall cabinet doors black, I knew they would make the perfect backdrop! You can read about my growing Writing Checklist here.
3. Use contact paper to cover old boards.
As I mentioned earlier, my room is small and has very few bulletin boards. I do, however, have a giant chalkboard on one wall and my beloved white board that doubles as the screen for my IWB on another wall. The chalkboard was hideous, old, scratched, and this ugly brown color. It didn’t take me long to figure out a way to cover this board!
The first year, I covered it with bulletin board paper, but let me tell you… It was a pain and so much tape! The next year, I got a little wiser! I bought myself a few rolls of white contact paper and got to work. I worked in strips going down. Be sure to only remove a small amount of the backing at a time. Smooth that part and rub all of the bubbles out, before removing another section of backing.
That old chalkboard has now become my reading wall. I simply attach everything using magnets. So easy! Here’s what it looks like now… pocket chart, story elements posters, CAFE board, and Rock Star Readers board.
If you’d like to see the rest of my bulletin boards and take a tour of my classroom, click here!
Share this Post

Ashley Sharp
As a dedicated Kindergarten teacher for nearly 20 years, I believe the words “fun, play, and creativity” can sit right alongside the words “developmentally appropriate, engaging, and rigorous.” Learning is meant to be fun and messy!
More Posts


11 responses to “Simple Tips for Bulletin Boards & Borders”
-
Ashley, I absolutely love your color scheme, and the look of layered borders! Thank you for finding an easy to follow guide to create this in my own classroom! And LUCKY you not having to go back until after Labor day! Wishing you a great school year!
Melanie
Momma with a Teaching Mission-
Thank you so much, Melanie! I really worked hard to transform the space from drab white to something colorful and bright! Good luck to you too!
-
-
I love that triple layered look! I wish I would have thought of that as I did my boards yesterday! I also love the polka dot party look. Amazing! Lots to pin here. Thanks for posting!!!
Jessica
The Whimsical Teacher-
Oh, thank you, Jessica! I am glad you found some bulletin board inspiration! I was debating on changing out the polka dot party border for another chalkboard border, but I think I may keep it for one more year. Borders are so much work!
-
-
I love your word wall bulletin board!! That was the ONE board I wasn't going to redo this coming school year, but after seeing yours, I think I'm going to have to redo it 🙂 Looks great!!
Bonnie
The Cutesy Teacher-
Oh no! Sorry to create more work for you, Bonnie… but I am glad that you like my word wall! Good luck! 🙂
-
-
Your layering is perfect!!!! I was just reading about how framing for kids is very helpful. It gives the eye a definitive border and helps the brain store everything together. Your room looks so inviting!
-
Amy, you have got to be the sweetest person! It was nice meeting you in Vegas! Thank you so much! I'll have to do some research on the framing. It is very intriguing!
-
-
I love the colors of your room! Now I'm thinking I should add one more layer of border;)
Victoria Moller
Teach With a Smile -
I buy solid colors shower curtains at the dollar store to cover my bulletin board, then add the borders. Shower curtains stay on very nicely and don't fade. Also very durable and can be reused.
-
I love your writing goals checklist! Do you happen to have something similar for the reading goals?


Leave a Reply