Your cart is currently empty!

Reading Freebie
Free CVC Word Sliders
Take a visual, kinesthetic, and auditory approach to orthographic mapping with these FREE multisensory CVC word activities!
⎯ Reading ⎯
DIY Felt Board & Storyboards
Share this Post
Hi, friends! The art of retelling a story is often a complex skill for some of our kinder friends. Trying to remember all of the key details, events and characters can be tricky. This year, I thought I’d try something new. I’ve found that story props, or retelling props, really help my kinder friends remember the story. Normally, I just print and laminate these props, but I wanted to create something that my kiddos would beg me to use… much like they do when they see my puppets. The answer was simple… a felt board!
Some of these products were made using provided samples. Opinions and the choice to use are 100% my own! This post contains product links.
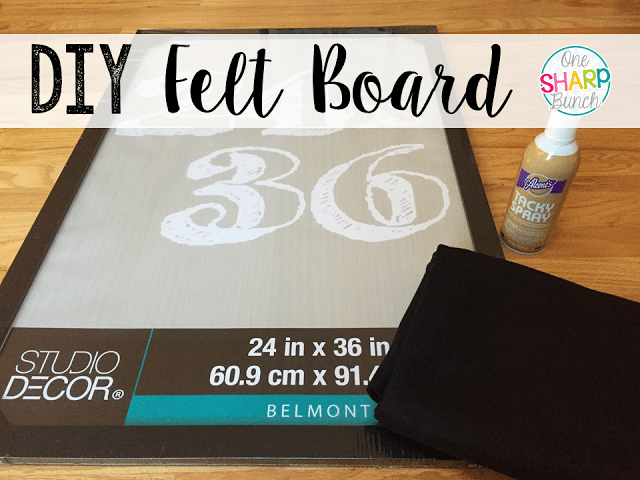
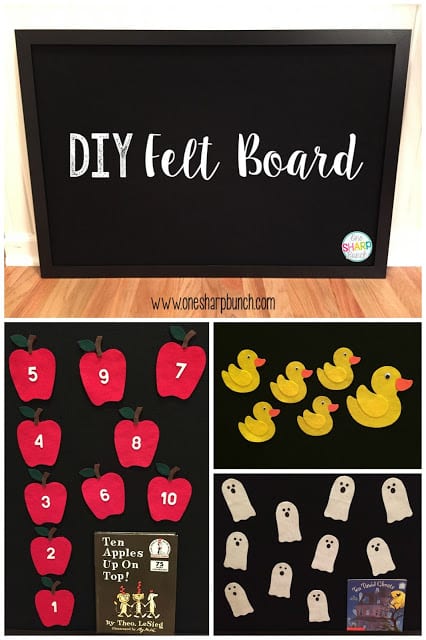
I’ve always wanted a felt board, but didn’t want to spend an arm and a leg buying one! Of course, I turned to the most obvious source for some inspiration… Pinterest! When I saw Wait ‘Til Your Father Gets Home! DIY felt board, I knew I had to make one! It was so affordable, especially since I scored my poster frame for 60% off, plus an additional 15% off with my teaching discount at Michaels! If you aren’t lucky enough to catch the frames on sale, make sure you use a coupon.
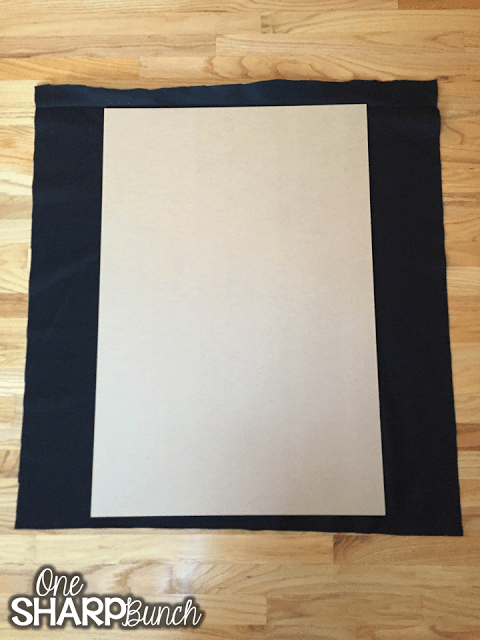
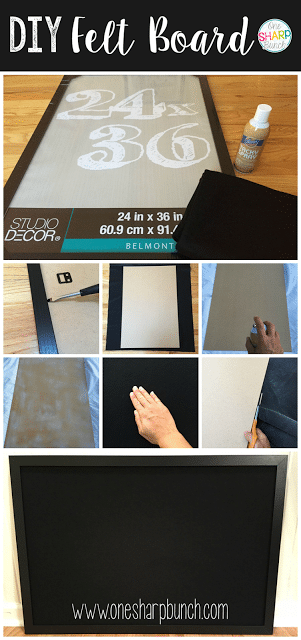
First, I removed the backing using a flat screwdriver. The back of my frame was actually a sturdy type of particle board, rather than a cardboard backing.
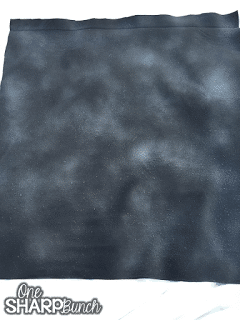
Next, I cut my felt, leaving a little extra around the edges. This cut by the yard black Kunin Eco-fiPlus™ Premiumfelt was so easy to work with.
Once I had the felt cut to the correct size, I took my project outside so I could spray the board and the felt with Aleene’s Tacky Spray Adhesive.
I generously coated both the board and the felt with the Tacky Spray.
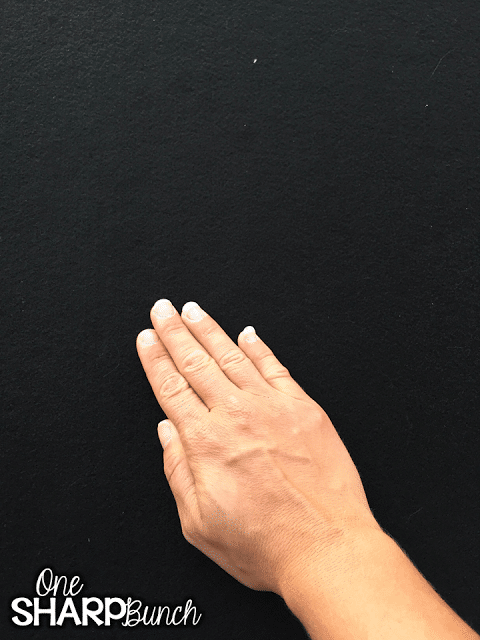
Then, I flipped the Kunin Eco-fiPlus™ Premiumfelt onto the board and rubbed out any wrinkles.
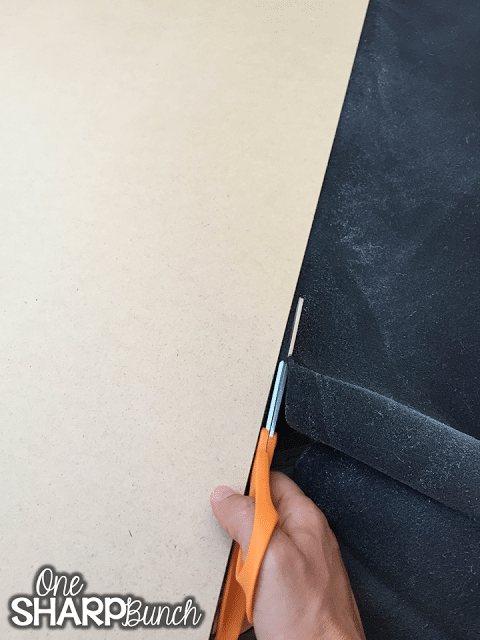
You’ll have to trim off any extra felt. I used scissors, but you could also use one of those fancy rotary fabric cutters.
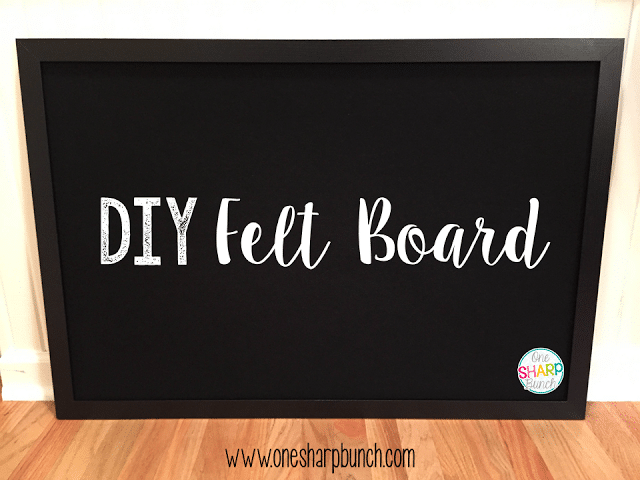
The last step was placing the felt-covered board back into the frame. You won’t need to insert the plastic front. Simply discard this, or save it for a future project.
And there you have it… a simple and affordable felt board perfect for retelling your favorite stories!
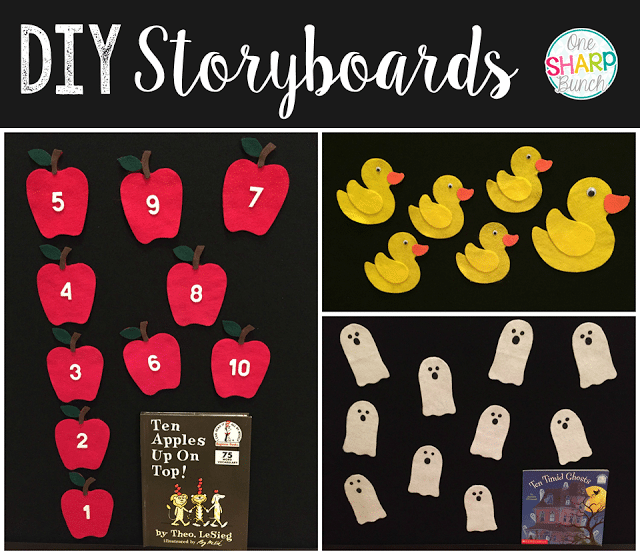
Of course, I couldn’t just stop there! Now that I had my fancy felt board, I had to make some felt storyboards!
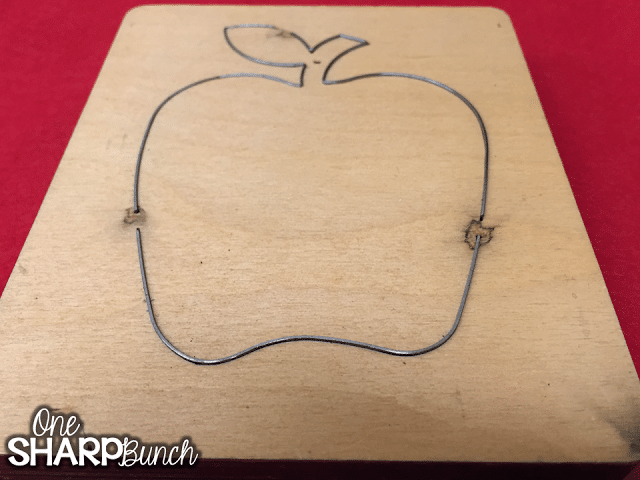
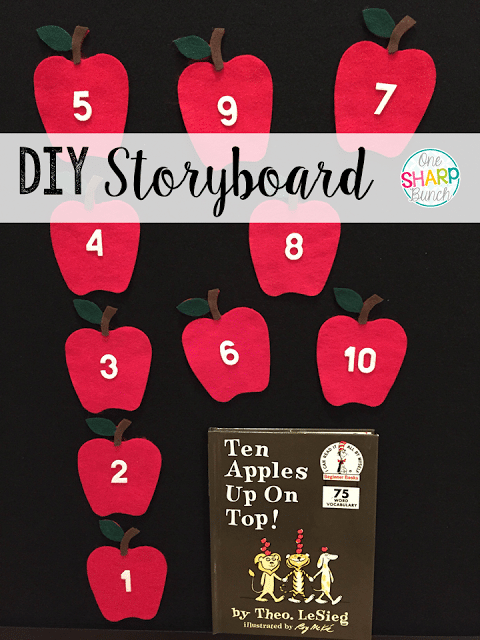
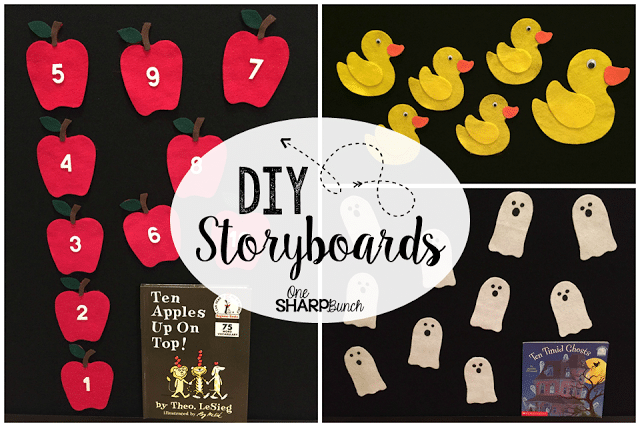
For these projects, I used 9″ x 12″ Craft Cuts Kunin Eco-fi Classicfelt™. The apples were so easy to make. I simply placed some red Kunin Eco-fi Classicfelt™ under an apple shaped Ellison cutting die.
After I cut out each apple, I added a brown stem and green leaf using the same Kunin Eco-fi Classicfelt™. The numbers are actually felt stickers that I got years ago from Joann’s. I wanted the numbers so that we could use the apples with the story Ten Apples Up On Top! Plus, they’ll be perfect for ordering the numbers and counting 1:1.
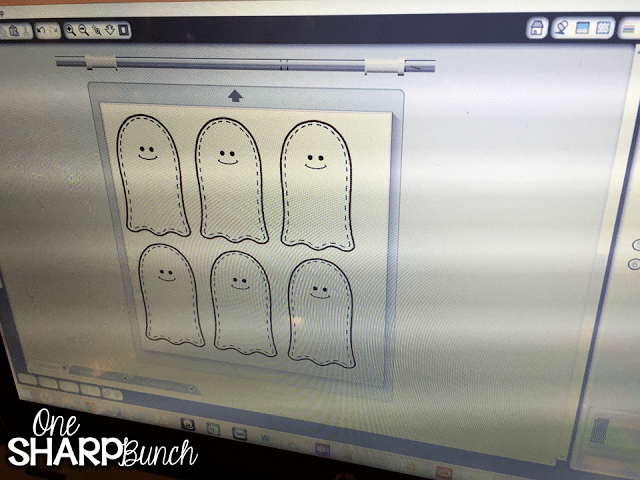
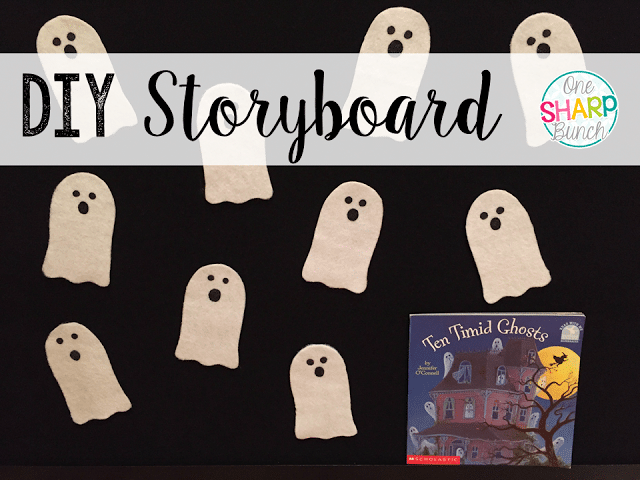
The ghosts were equally as easy to make. Since I can’t draw to save my life, I used Teaching in the Tongass’ free ghost clipart and my Silhouette Cameo to cut out each of the ghosts. Since the Kunin Eco-fiPlus™ Premiumfelt was so thick, I set my machine to double cut each image. Here’s what it looked like on my screen:
Then, I added eyes using some 3D fabric paint and a pencil eraser. Just squirt some paint onto a paper plate, dab the eraser into the paint, and press it onto the felt.
I hand drew the mouths using the same 3D fabric paint. This is about as much drawing as I can handle… LOL!
I think they are the cutest little ghosts, and they will be perfect for retelling the story Ten Timid Ghosts, as well as acting out the subtraction problems in the story!
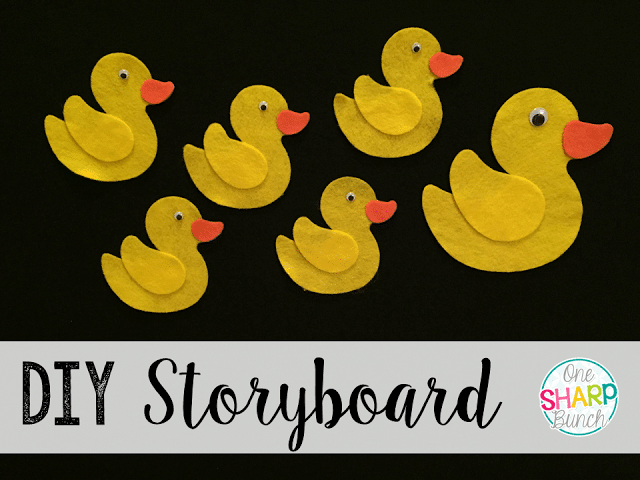
My last felt storyboard creation were these adorable ducks for the familiar poem “Five Little Ducks.” These were made with yellow 9″ x 12″ Craft Cuts Kunin Eco-fi Classicfelt™ and a duck pattern I found on Pinterest. I simply imported the duck image into my Silhouette Studio software image gallery and double cut. After cutting each duck, I glued on the wing, bill, and eye using Aleene’s Tacky Glue. I think they turned out pretty darn cute, if I do say so myself!
I’m so excited for the kiddos to use these storyboard props! I also have a bunch of others that I inherited when I moved into my room. Both my old and new felt storyboards are going to make the perfect dramatic play center!
Don’t forget to head over to my “Classroom DIY” board on Pinterest!
Plus, hop around and check out all of the other felt creations from these great bloggers!
Share this Post

Ashley Sharp
As a dedicated Kindergarten teacher for nearly 20 years, I believe the words “fun, play, and creativity” can sit right alongside the words “developmentally appropriate, engaging, and rigorous.” Learning is meant to be fun and messy!












Leave a Reply