









Math Freebie
Free Number Tracing Activities
Keep your students engaged, as they practice proper number formation, with this FREE “Rainbow Roll and Trace” number writing activity!
⎯ Math ⎯
DIY Rekenreks
Share this Post
Hi, friends! I’m here today to share with you how my team made our dry erase rekenrek boards! Let me just tell you all about my team’s wonderful experience with making rekenreks! It was one of those fun make and take days where the humor was flowing! Here is a little preview of our completed boards in action!
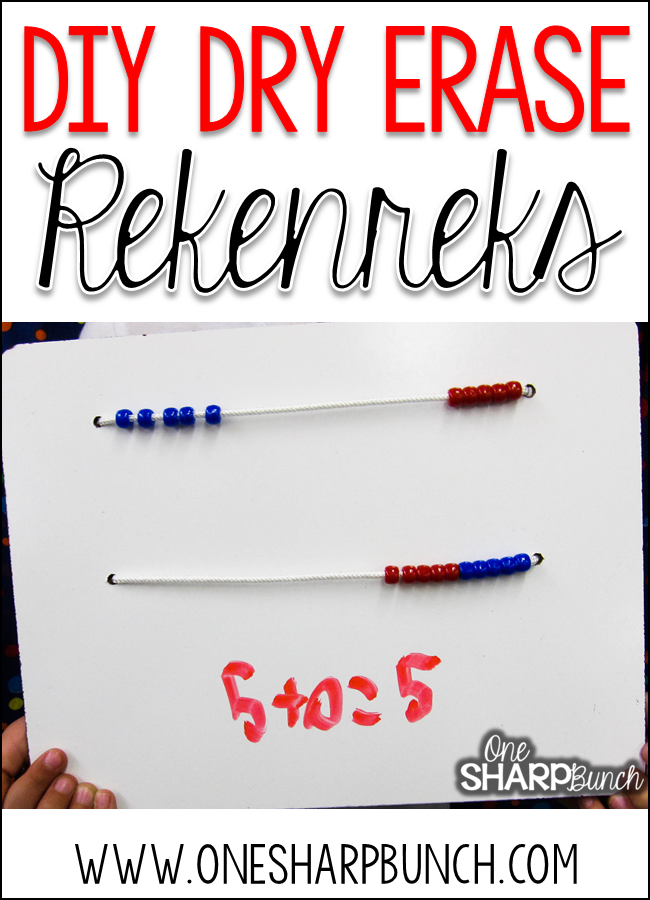
First, we had to devise a plan! We googled, we searched, and we binged images! None of the boards were dry erase, but we added this option to our plan. Once we figured out what we wanted our boards to look like, we needed to gather our materials. We thought about using just regular dry erase boards and drilling holes, which you could totally do. However, this method was going to be a little too costly for over 200 boards. Then, I remembered a third grade teacher whom I completed my TE 100 hours with who had used shower board to cover her old chalkboard. BINGO! I quickly went to the Home Depot website and found exactly what we were looking for — Thrifty White 32 sq. ft. Hardboard Panel Board! Our PTO was kind enough to purchase the boards for us! Thank you PTO!
Since our boards were white, we decided to use red and blue pony beads. We wanted colors that would stand out against the white. We purchased our blue and red pony beads from School Specialty. For the teacher boards, we purchased 20 mm wooden beads from Joann’s, and my loving husband spray painted them red and blue for my entire team!

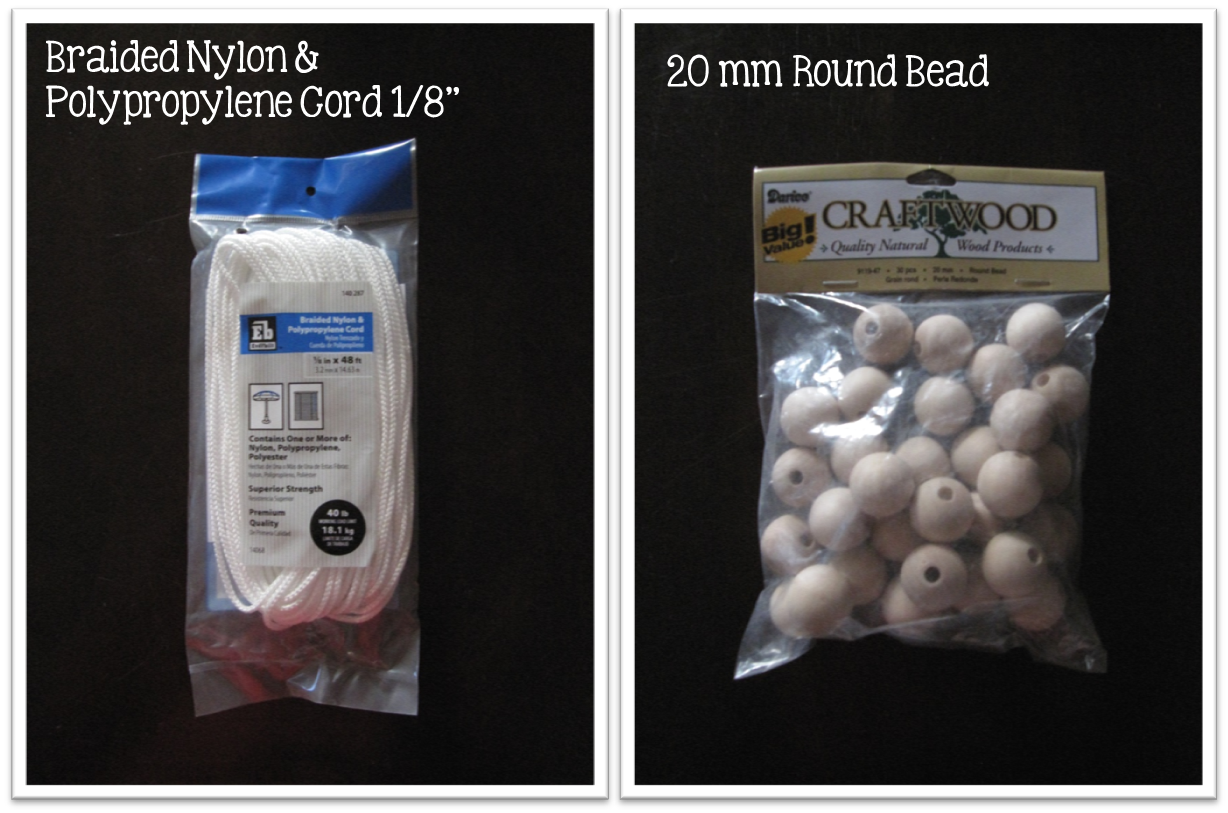

Now, here we were with all of our cut and drilled boards! What next?!?!
Step 1: Prevent the rope from fraying! We ran into a bit a of a snag with the rope. Once we cut it and tried to string the beads, the rope began to fray….SO we decided to melt the ends.

Step 2: Pinch the end of the melted rope! This prevented the end of the rope from becoming too fat for the beads to fit over. Notice my nice working glove!

Step 3: String the beads! We used five red and five blue beads, but you could easily use whichever color you prefer.

Step 4: Tie the beads onto your board! For this step, we just tied the rope in a knot. It seems to be working for now, but I wonder if the knot will loosen over time and the rope will begin to sag. This will drive me BUNKERS, in which case I will squeeze a little glue into the knot. Any suggestions on how I can prevent the knot from loosening overtime?

Well, there you have it folks — step by step directions on how to make your very own dry erase rekenrek boards! It certainly wasn’t an easy task, but totally worth all the agony and effort! Don’t forget to grab my rekenrek FREEBIE from last week’s post!


You can also check out more number sense ideas on my “Number Sense” Pinterest board!
Now, I have a few questions for you! Would you use something other than rope for stringing the beads? How would you prevent the knot from loosening? Would you flip the colors in each row like we did (5 blue and 5 red on the top and then 5 red and 5 blue on the bottom)?

Share this Post

Ashley Sharp
As a dedicated Kindergarten teacher for nearly 20 years, I believe the words “fun, play, and creativity” can sit right alongside the words “developmentally appropriate, engaging, and rigorous.” Learning is meant to be fun and messy!
More Posts


14 responses to “DIY Rekenreks”
-
I love them!
-
Thank you! My team loves them too! I just hope the rope doesn't loosen and start to sag!
-
-
I love these!
I like that you flipped the beads. I think it gives them a good visual. Great job! 🙂Rachel
-
Thanks, Rachel! That was what we thought too — that they would be able to visualize that 5 and 5 make ten a little easier with the colors flipped.
-
-
This is awesome! I am going to share it with the other teachers at my school! I am going to look into making these for multiplication problems! Thanks for the idea!
Kerry
FlipFloppingToSchool-
Awesome idea, Kerry! I never thought of multiplication, but I teach kindergarten. Let me know how they turn out!
-
-
I might have to do this for my little one! Thanks for the idea!
-
No problem! My kiddos loved using the rekenreks!
-
-
THis looks great! Love how they turned out.
-Sarah
A Rocky Top Teacher-
Thank you, Sarah! I hope they last for years, and by years, I mean FOREVER!
-
-
What a great idea to help enhance Number Talks! I do NT's with my 5th graders, and they love coming up with different solutions. I love how you tailored this for your younger kids. Hope you can stop by my blog sometime.
-
Thanks, Mel! I will have to pop over and check it out!
-
-
Did the rope sag? What about tying them tight and putting super glue on the knot?
-
I cannot thank you enough for the article.Thanks Again. Awesome.


Leave a Reply